“It’s too cold. The weather is awful. There’s not enough sun. I don’t have the right gear or enough experience”. Have you found yourself making any (or all) of those comments? You’re not alone, but winter shouldn’t put you off tramping.
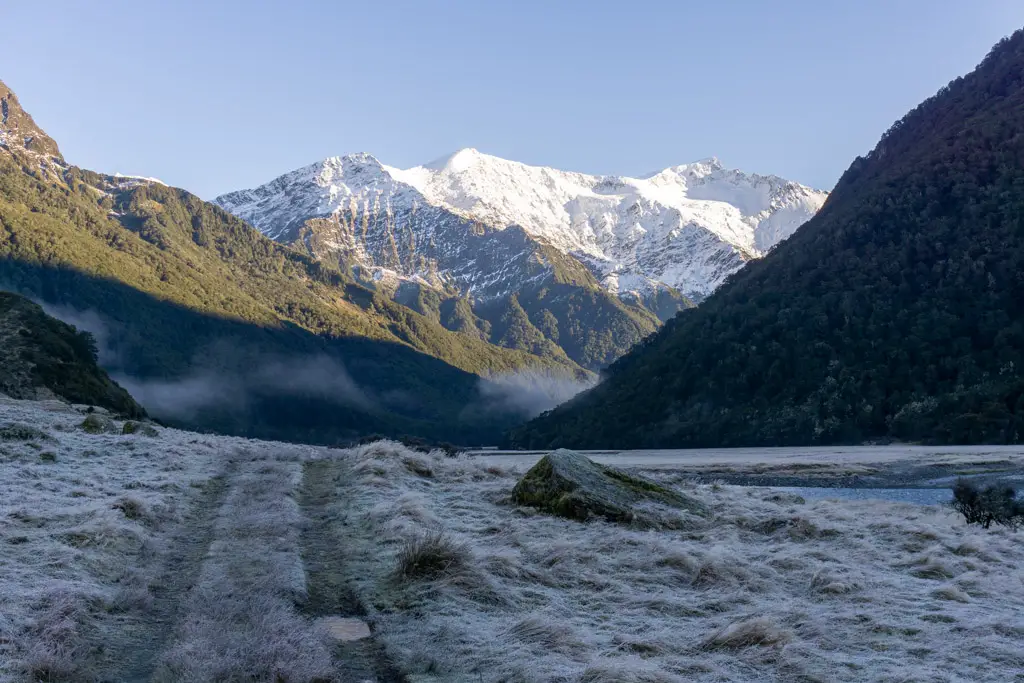
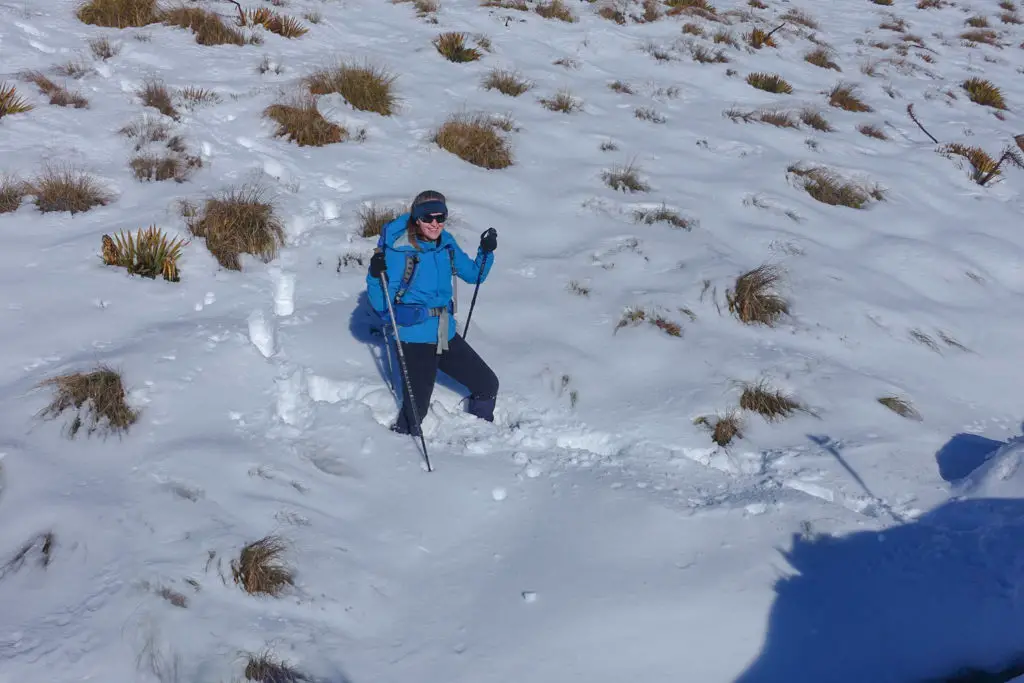
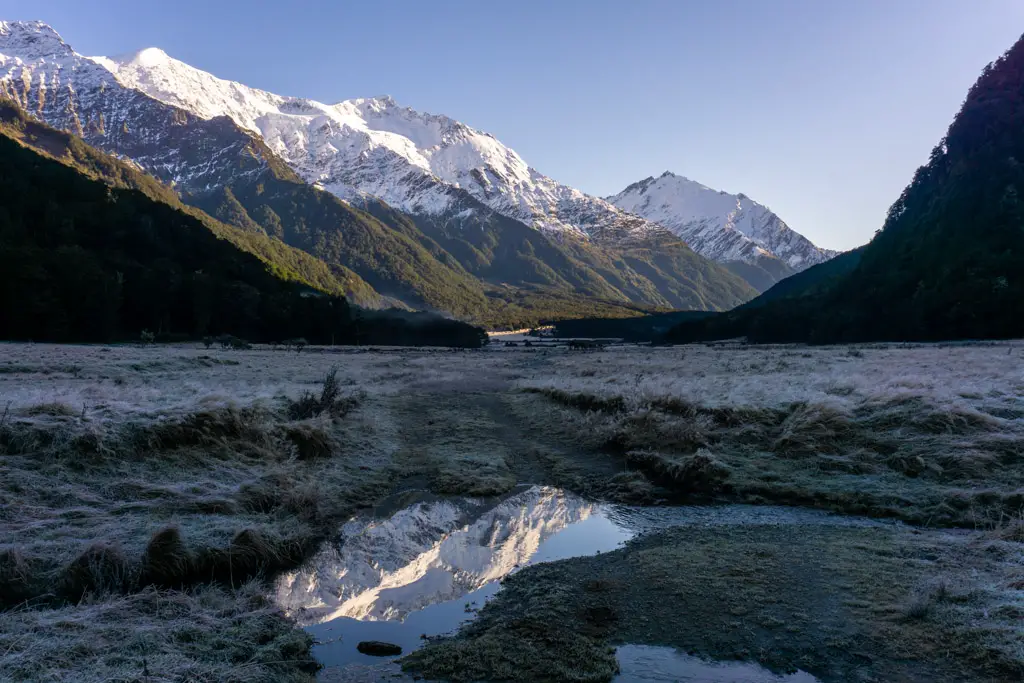
There are so many reasons to enjoy tramping in winter. Sunlight glistening off frosted grass, cracking frozen puddles, soaking in the solitude with waaaay less people, mesmerising snow-covered peaks, the perfect temperatures for climbing up hills.
With the right preparation you can enjoy winter tramping just as much (or even more so) as hitting the trails in summer. So don’t let winter slow you down.
Read on for some tips to help motivate you to hit the hills this winter. Let’s get you winter tramping ready!
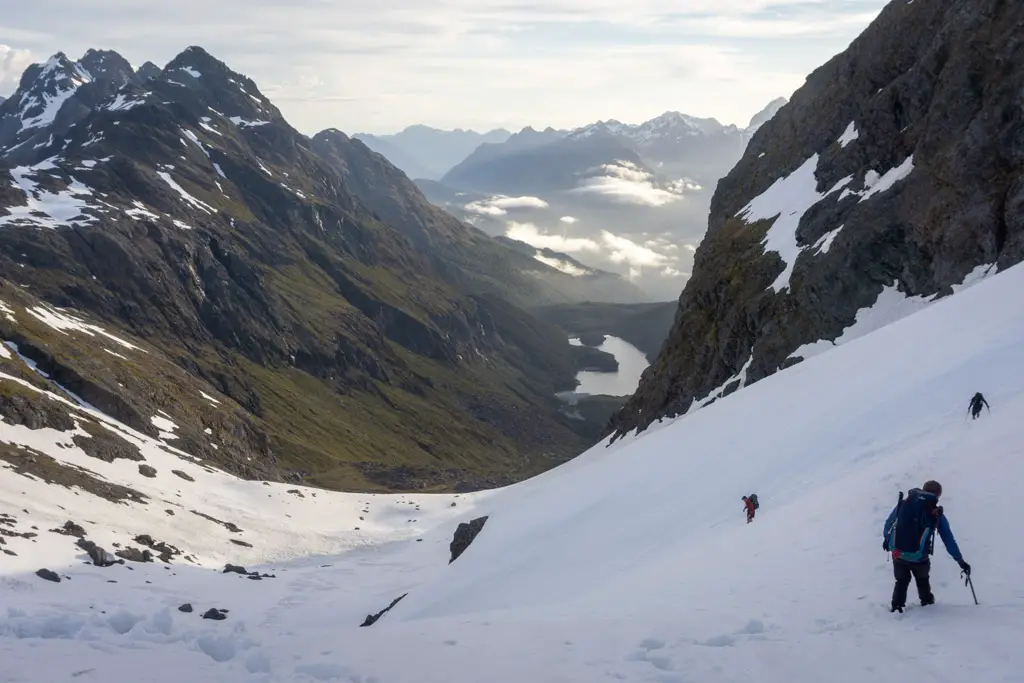
Table of contents
What gear do you need to pack for winter tramping?
Clothing
– Channel your inner onion: layer your clothes to help you avoid sweating
Damp, sweaty clothes will chill you to the bone in winter. So if you notice you’re getting warm, stop and take off one of your layers straight away. I tend to start off with one layer less than is comfortable. I know I’ll warm up really quickly once I get going, and I want to avoid sweating. Then, when you stop for a break, immediately put your warm layers back on again so you don’t get cold. Having layers gives you plenty of options to control your body temperature and ensure you’re comfortable.
(And if you do get sweaty, make sure you quickly change into dry clothes as soon as you stop for the day.)
– Avoid cotton (or denim)
The type of fabric you choose for your layers is crucial. Cotton is often called a ‘killer’ as it very quickly absorbs moisture (including sweat) and when damp, it looses any insulation which can lead to hypothermia. The fabrics I normally choose for my base and mid layers are merino blends. They’re relatively light, and are great insulators for both cold and hot temps. Plus they continue to insulate when wet. I like merino blends because I find they wick moisture away more than 100% merino.
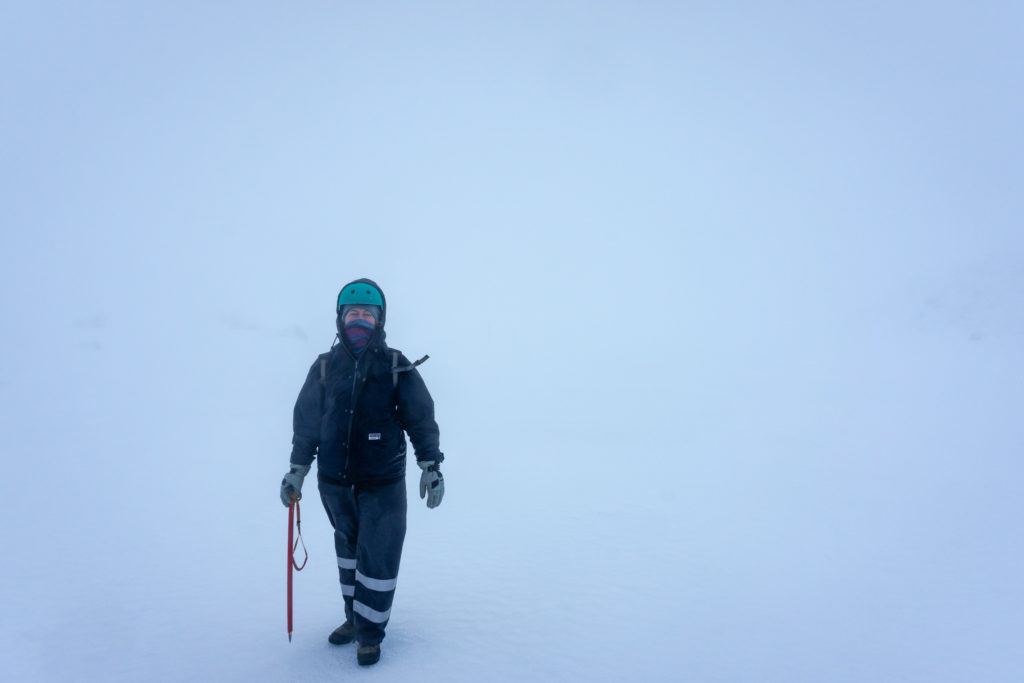
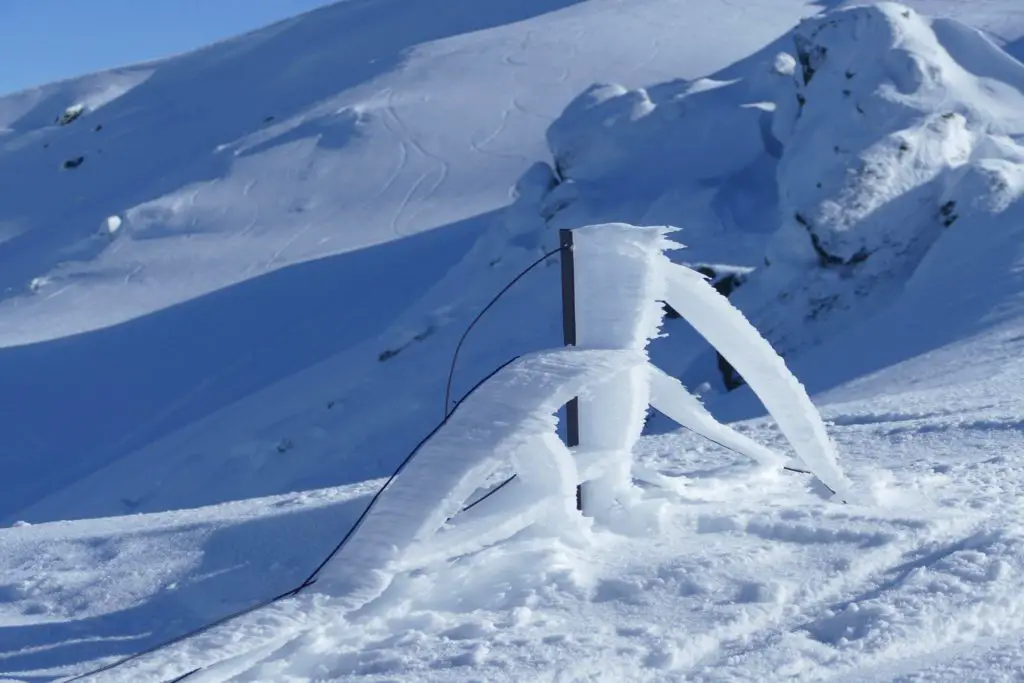
– Prepare for windchill
Windchill is the temperature that we perceive, when factoring in the combined effects of air temperature, wind, and humidity. Windchill often makes people feel a lot colder than the actual temperature (hence why the temperature can be 1°C, but it actually feels like -10°C). This is because we lose heat through the process of convection. It’s all very scientific (and if you want to learn more, check out this article), but the gist is, if you’re exposed to wind, you’ll get colder a lot more quickly.
If you’re heading out in winter on an exposed track (i.e. not in the bush), then you need to protect yourself from the wind by packing good waterproof / windproof gear like rain jackets and over-trousers (“over-trou”). Soft shells work well for wind when it’s not actively precipitating. Hat and gloves are also crucial. Any exposed skin will lower your body’s temperature and make you miserable.
– Consider taking an extra change of clothes for overnights / multi-day tramps
In summer you can get away with only one change of base layers (the ones that sit next to your skin like socks, t-shirt, etc) for long trips. (Or none, if you really dislike the people you’re tramping with). Gear often dries overnight in warm weather, ready to be worn again the next day. In winter this can’t be relied upon, and there’s nothing worse than putting on cold (or worse, actually frozen) socks. Packing extra changes of clothes makes your pack heavier, but in my opinion it’s worth it.
Example of what I wear / pack for my winter clothes:
| Bottom half | Top half |
| – Shorts (I like the idea of hiking pants, but haven’t found a pair that fits me well enough yet) – Merino blend tights / long johns – Merino socks (thick pairs) – Gaiters – Waterproof boots – Waterproof overtrou | – Woollen beanie – Neck buff – Polyprop gloves (+/- extra waterproof pair for on top) – Merino blend t-shirt – Merino long sleeve (x1-2) – Fleece jersey with hood – Puffer jacket (for camp, not walking in) – Waterproof jacket |
Footwear
Trail runners might be great for summer, but depending on the trip you’re planning, you might want to swap them for boots in winter. Trail runners are considerably lighter and dry more quickly, but if you’re going to encounter water or snow, then waterproof boots are worth it. Prioritise keeping your feet warm and your socks / pants dry. I double down on this by wearing gaiters for encountering snow and wet / frozen tussocks, and to keep drips out of my boots.
Other tips for footwear: try not to let your boots freeze overnight – bring them into the hut, tent, or even your sleeping bag to avoid freezing. There’s nothing worse than trying to stuff your feet into frozen, unyielding footwear. Just take a look at my Earnslaw Burn highlights over on Instagram to see what we had to do with my husband Matt’s frozen trail runners over Easter.
And lastly, don’t dry your boots too close to the fire. This can shorten their life span and cause damage to the fabric and adhesive. I’ve heard of this shrinking leather boots to the point they were unwearable the next morning. The best place is on the edge of the hearth where the heat is noticeable but not hot.
Extra gear
Winter tramping does unfortunately often mean a heavier (and potentially larger) pack. You’ll want to take more food than over summer (more on that below), and you’ll have more gear, which also tends to be heavier than summer gear.
So it’s a good thing you built up such a great level of fitness over summer, right? Right? And now you can maintain that for next summer’s adventures, rather than starting from scratch again in November. (But if you do need to start from scratch, I’ve written up a blog on how to become (and stay) tramping fit!)
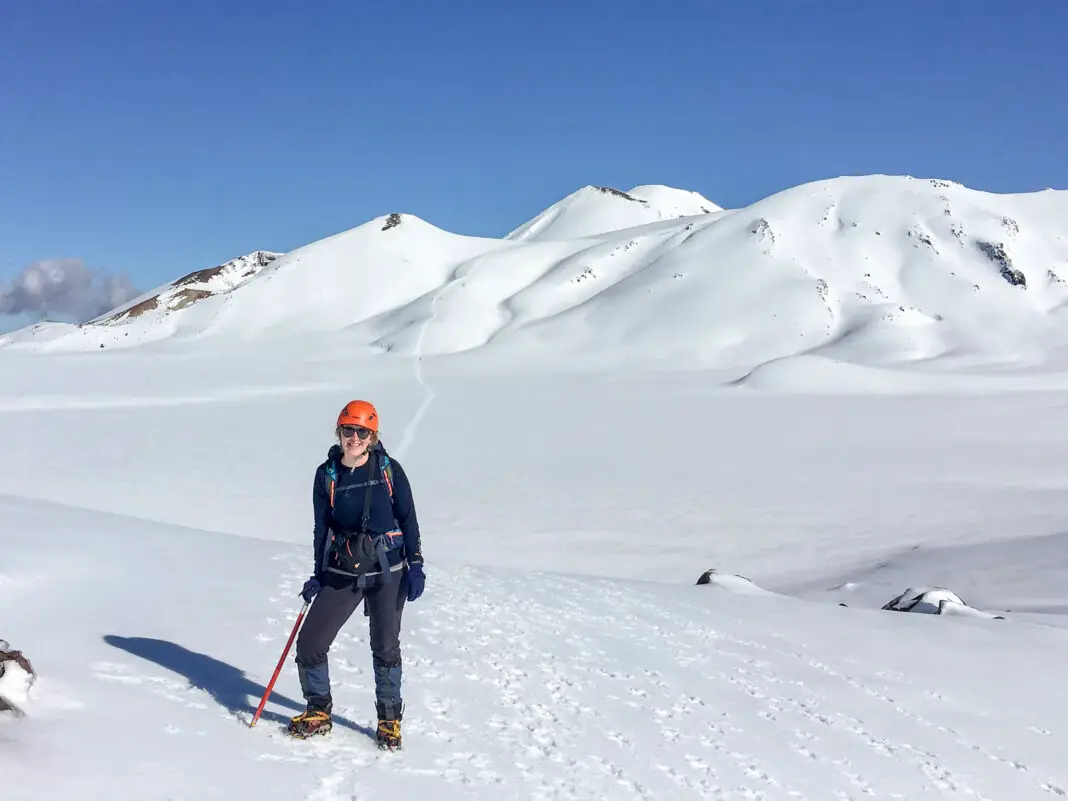
– Snowblindness
You should still carry sunglasses and sunscreen in winter, even on slightly overcast days. It can be tempting to forgo sun protection because the temperatures are low, but UV rays can still easily burn in winter. And you really want to avoid snow blindness (which is essentially your cornea becoming sunburnt from UV rays reflecting off snow). You can read more about it here, but wearing wrap-around UV protection glasses protects against this.
– PLB (Personal Locator Beacon)
You should always carry a PLB, regardless of the time of year and, I would argue, regardless of the trip you’re attempting. That doesn’t change in winter, but it’s particularly important to carry one over the colder months. There are additional hazards over winter that aren’t present in summer. You should always have a way to call for help in an emergency, particularly in winter when delays can be more dangerous due to cold temperatures.
A PLB should ideally be carried on your person, but at the very least be in an easily accessible place in your pack. The rest of your party should also know where to find it in an emergency as well, not just you.
If you’re not in a position to fork out the money to buy your own PLB, there are many places in New Zealand where you can hire one. The Mountain Safety Council have compiled a handy list here. As with all electronics in winter, keep your PLB wrapped up warm. Your phone and camera will lose battery much more quickly than normal, so I tend to sleep with mine in my sleeping bag to help prevent this.
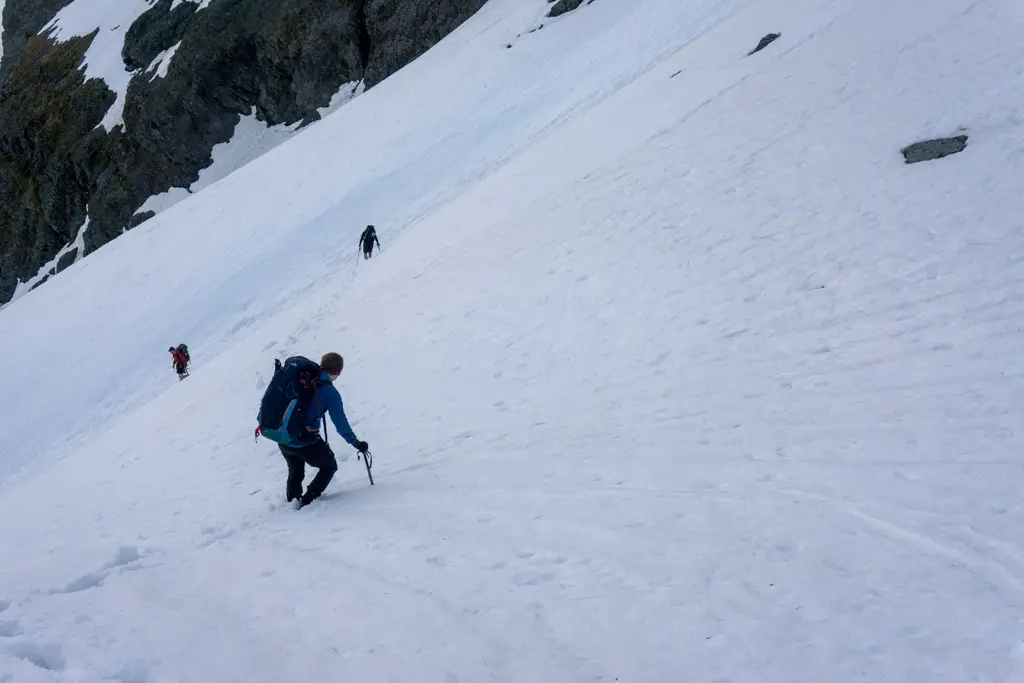
– Micro-spikes, ice axe, crampons and snowshoes
There is lots of extra gear to help you cope with ice and snow in winter. Most of this extra winter gear is used in snowy conditions above the snowline (which, to be fair in New Zealand you can come across at any time of year). This means you could be encountering complex and potentially dangerous terrain, so I would recommend pairing this gear with at minimum some avalanche awareness training (more on that later).
Microspikes wrap around your boots and add mini spikes to the soles. They help you grip in ice and snow, and are especially helpful on snowy tracks that have been compressed with foot traffic and turned to ice. They don’t take too much experience to use and are great on ice, but aren’t all that helpful in soft snow.
Snowshoes attach to your boots and are almost like walking on tennis rackets. They are used in snowy / powdery conditions to stop you postholing (sinking) into the snow. They take a bit of getting used to, but aren’t too hard to use either. You can rent them from various places, for example Small Planet in Queenstown.
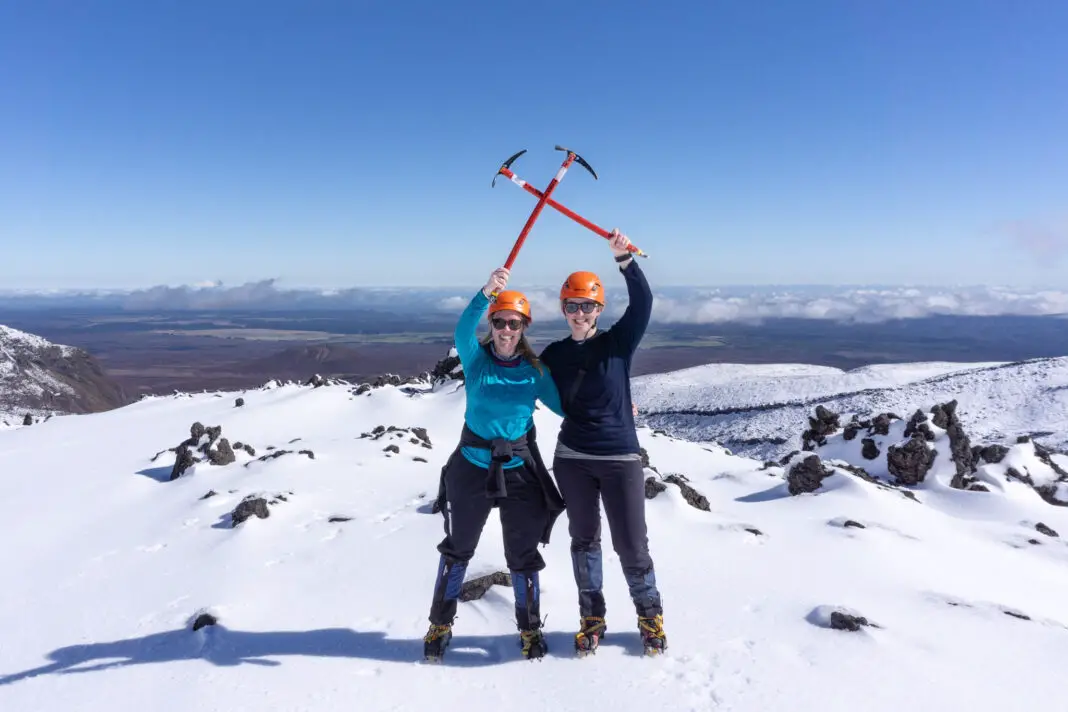
Crampons & ice axes are the adult parents of microspikes and snowshoes. They are used for more serious mountaineering adventures. They can cause more harm than good if used without proper technique (which makes sense if you think about the fact you’re attaching long, sharp spikes to your feet!). I wouldn’t recommend using them without proper training.
Some guided winter trips (e.g. the Tongariro Crossing) will give you some rudimentary knowledge and practice, but it’s best to attend a course. The Mountain Safety Council have a list of providers here. I don’t yet have any recommendations for courses, but would love to attend one of the more intensive ones some day. Please comment if you’ve participated in a great course that you’d recommend to others!
What food should you take tramping in winter?
Food
There realistically isn’t too much difference between the food you take tramping in summer compared to winter. One of the main differences is the amount; you’ll likely need to take more food in winter. Prioritise high energy food, as people normally consume more energy tramping in the cold than in summer. It’s also nice to take food that you can easily eat on-the-go, so that you can minimise stopping if it’s really cold (but do make sure you take rests!). And packing a hot drink in a thermos for partway through the day can be a game changer!
One of the benefits of tramping in winter is that you can pack food that goes off quickly in the heat (cheese, meat, hard-boiled eggs, etc.) with more confidence. Perishable food will last longer in the colder temperatures. But bladder tubes (particularly ones that aren’t insulated) can freeze, so storing water in bottles can be helpful.
Planning to stop at a hut or shelter for lunch if possible can also be welcome – a spot out of the wind and elements, and a chance to heat up food for a warm lunch. Be mindful that if you’re relying on melting snow for drinking or cooking water, you’ll go through gas much more quickly than heating water in summer.
Alcohol and hypothermia
Be wary of consuming too much alcohol while tramping in winter. I often take a little bit of Baileys to nip into my hot chocolate in the evenings – it’s a delicious treat after a long day. Alcohol can make you feel warm, but really this is just your blood vessels dilating, allowing more heat loss via the skin and leading to hypothermia. Plus a drunk person has very similar symptoms to the onset of hypothermia; slurred speech, impaired judgement / confusion, and impaired balance. So avoid drinking in excess.
Dehydration and hypothermia
People tend to drink less in winter than in summer, since you’re less likely to overheat or feel thirsty. But although you might not be sweating, you still need to drink just as much, if not more than in summer. Your body can lose its moisture just as effectively from exposure to cold air, as it does in hot temperatures.
Dehydration (and low blood sugar in diabetes) increases the risk of hypothermia. When you’re dehydrated your body’s circulation slows down, which in turn lowers your core body temperature. Early signs of dehydration include a headache and urine that darkens in colour. Hydrate yourself the night before a trip, and keep up regular sips of water while tramping to avoid dehydration.
Other considerations for winter tramping
Here are some other things to think about when it comes to tramping in winter that I couldn’t fit under a handy section title.
Winter hazards
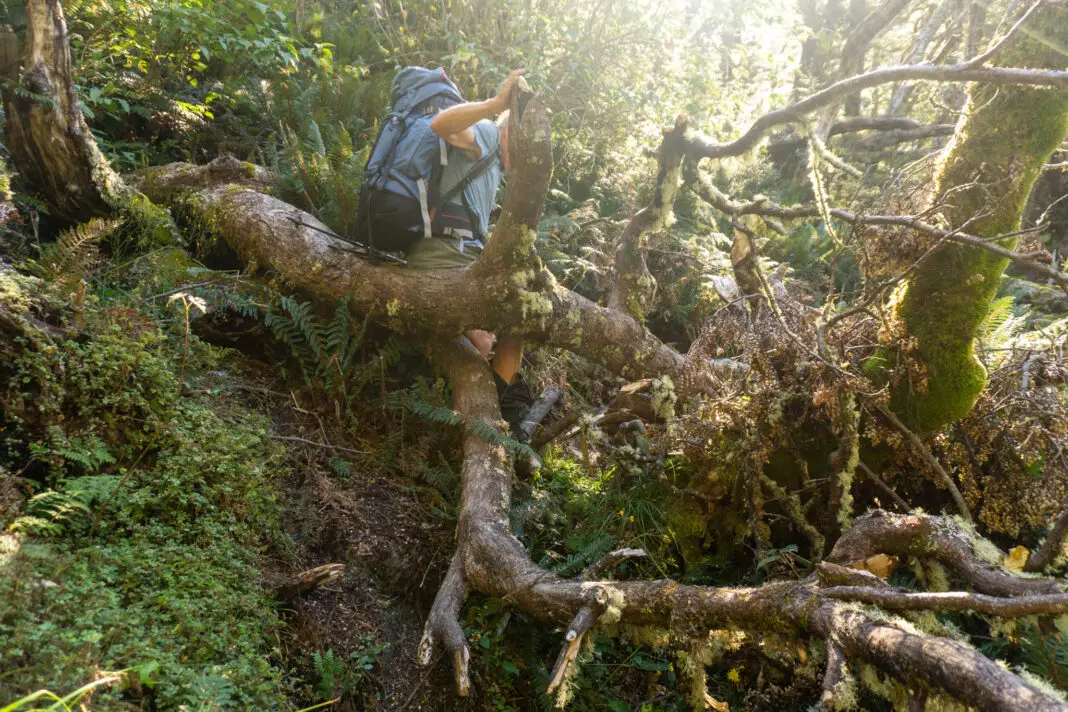
The winter months can present unique hazards that aren’t present (or as frequent) in summer. From an environment point of view; tree-fall (trees fallen across the track) and slips are more common. These can drastically slow you down. Bridges are sometimes removed by DOC to avoid avalanche damage (this is normally advised on their website for the specific track). And this can mean more river crossings. Plus tracks are just generally less maintained (and used) than in summer. Allow more time than you normally would to tackle even familiar tracks in winter in case you encounter any of these hazards.
We’ve already briefly discussed hazards to your health like snow-blindness, dehydration and hypothermia. In terms of treating hypothermia I’ll leave it to much more knowledgeable people than myself to explain; check out the Mayo Clinic page here. But know that recovering from hypothermia can takes days to weeks, rather than just hours. The key is prevention!
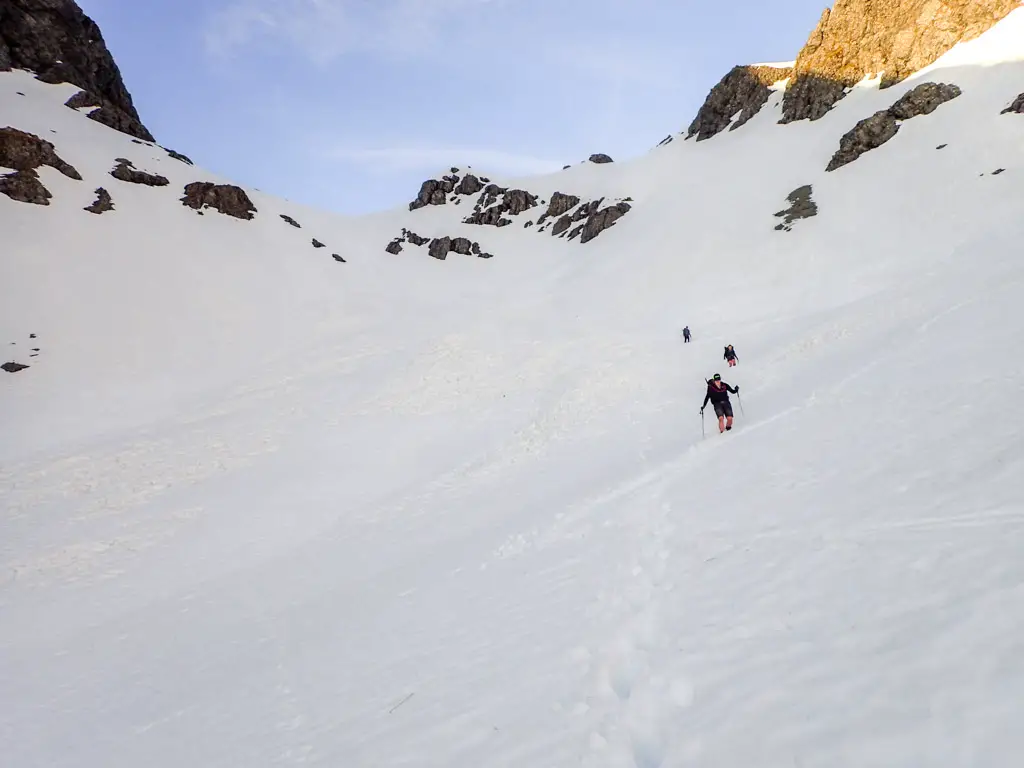
Avalanche and snow skills
On top of this, there is a very unique hazard that is much more common in winter than summer: avalanche. Avalanches can be deadly. You don’t have to be walking in snow yourself to be swept up in one – it’s not just the terrain you’re walking through that can present the danger, but the terrain above you as well. A valley might be clear of snow, but avalanche paths can run down into it from catchments on the peaks high above.
You should also consider where an avalanche might sweep you if you do get caught in one. For example the bluffs above Lake Harris on the Routeburn Track can be a very dangerous place to be caught in an avalanche from above – you can get swept right off the cliff and into the lake far below, even if the avalanche isn’t considered that large.
DOC will often have information on their website to let you know of avalanche paths that cross established tracks. For example, an alert comes up on the Rob Roy track in winter advising of a partial track closure due to avalanche risk. And we have the New Zealand Avalanche Advisory, which has an avalanche danger rating for various parts of the country, as well as lots of handy online resources.
But realistically you can’t learn this stuff from a blog post. You’ll need to do some online and in-person learning to really up-skill yourself when it comes to avalanche awareness and rescue (as well as crampon & ice axe use). There are lots of training providers that you can check out here and most clubs around the country offer various trainings as well.
Choosing the right winter tramp
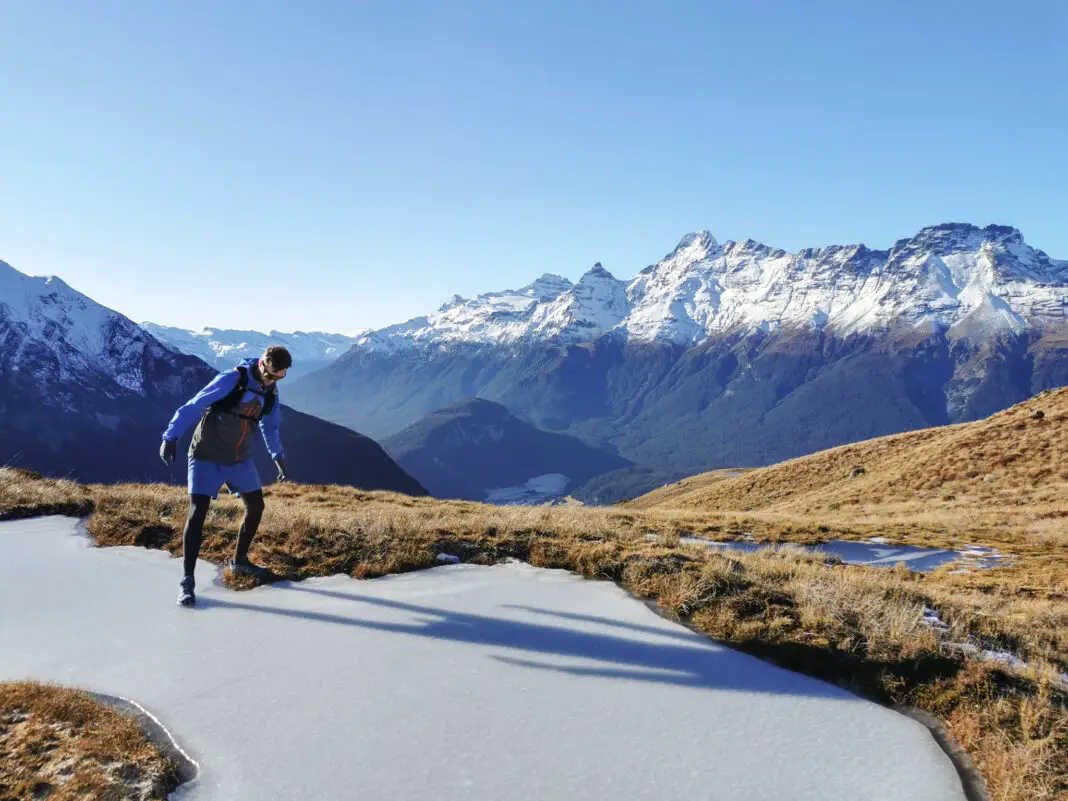
Consider the terrain that you’ll be crossing on your trip and how winter is likely to affect this when choosing where you want to go. Travelling along the tops can mean more exposure to wind with less shelter compared to tramping in the bush. Bridges that have been removed can mean more river crossings compared to what’s marked on maps. A lower freezing level / recent snowfall can mean a track that is covered in ice or snow, even in the bush. And avalanche risk can be present even if you can’t see the snow. Check on the DOC website for details of specific tracks, or call the local DOC visitor centre for more updated info on track conditions.
Plan your trip around the weather and daylight hours. Don’t plan an exposed trip if bad weather or wind is forecast. Give yourself plenty of time and daylight so that if you come across any hazards you have time to navigate them or to turn back. It’s also worthwhile considering whether the track receives sunlight during the day or not. Tracks on the south side of hills for example could be a) freezing, and b) frozen (literally), so prioritise tracks in areas that will receive more sunlight, such as on the north side of hills.
Tenting vs. huts
If you’re planning an overnight trip in winter, factor in whether you want to tent or stay in a hut.
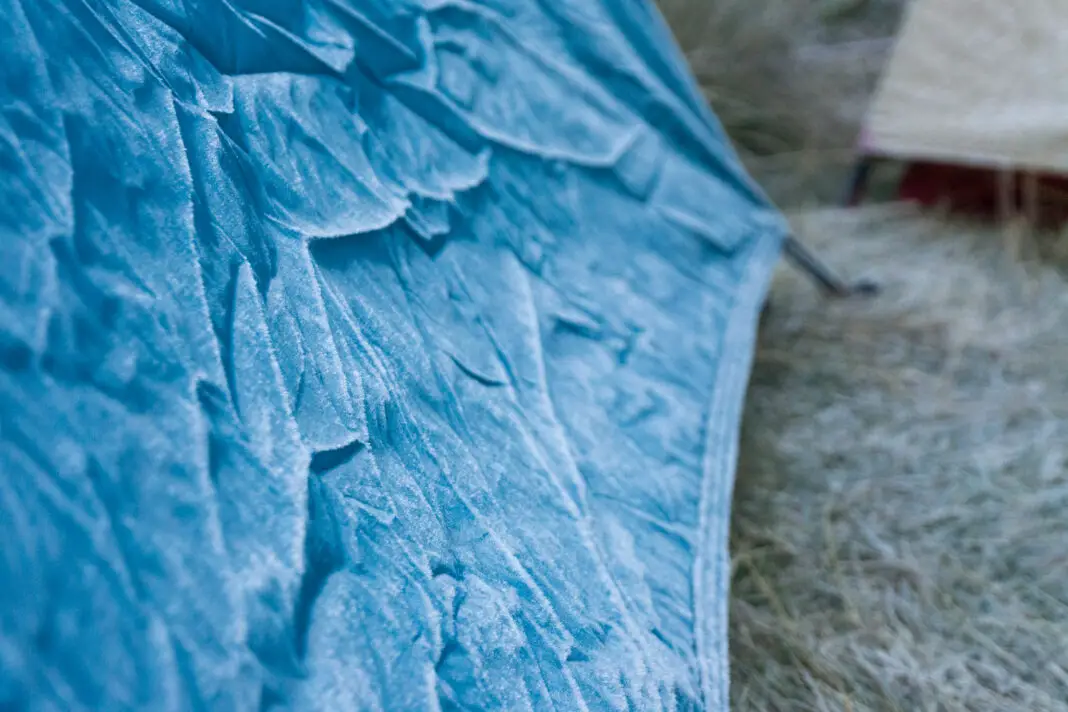
Tenting: you’ll need good quality gear; tent, sleeping mat and sleeping bag to ensure a comfortable night’s sleep. I also find that in winter tenting isn’t as fun since there is so little daylight – you end up spending more time than normal in the tent, which can get boring and claustrophobic quickly. But tenting on snow is on my bucket-list, so don’t let winter put you off tenting if it’s your preference and you’ve got the gear!
Huts: for most beginners it’ll be preferable to stay in a hut during winter. DOC huts are often (but not always) warmer than a tent, depending on your gear. Some even have fireplaces and firewood. Check for fireplaces on the DOC website, and call the local visitor centre to ensure there will be dry firewood to use when you arrive. If you use firewood, it’s common courtesy to replace it with (non-rotten) windfall from around the hut if possible (don’t chop down trees or branches) and leave this to dry in a sensible place for the next person to use.
Regardless of where you stay, you’ll want to bring a good source of light and some entertainment – cards or an e-reader – to while away the longer evening hours. One of my friends also recommends using a nalgene bottle (a brand of water bottle which you can buy from most outdoor retailers) as a hot water bottle. You can fill them with boiling water relatively safely (so long as you screw the lid on tight) and this will help keep you warm as you drift off to sleep. Plus when you wake up in the morning you’ll have unfrozen water if it’s been really cold.
Daylight hours
Most people will know that in New Zealand our daylight hours are reduced in winter compared to summer. This is particularly true in southern New Zealand where I live, with only about 8.5 hours of daylight on the shortest day of the year.
This means that the colder months aren’t the time to try a new and complicated tramp. Factor in reduced daylight when planning your trips. 10 or 12 hour days aren’t a great idea. The bush can get dark and gloomy very quickly as the sun sets.
Allow plenty of time in case you encounter any hazards, or someone in your party becomes injured. Always take a head torch, even for day walks. There is less margin for error in winter, as sunset doesn’t just mean poor visibility like it does in summer – it also means cold.

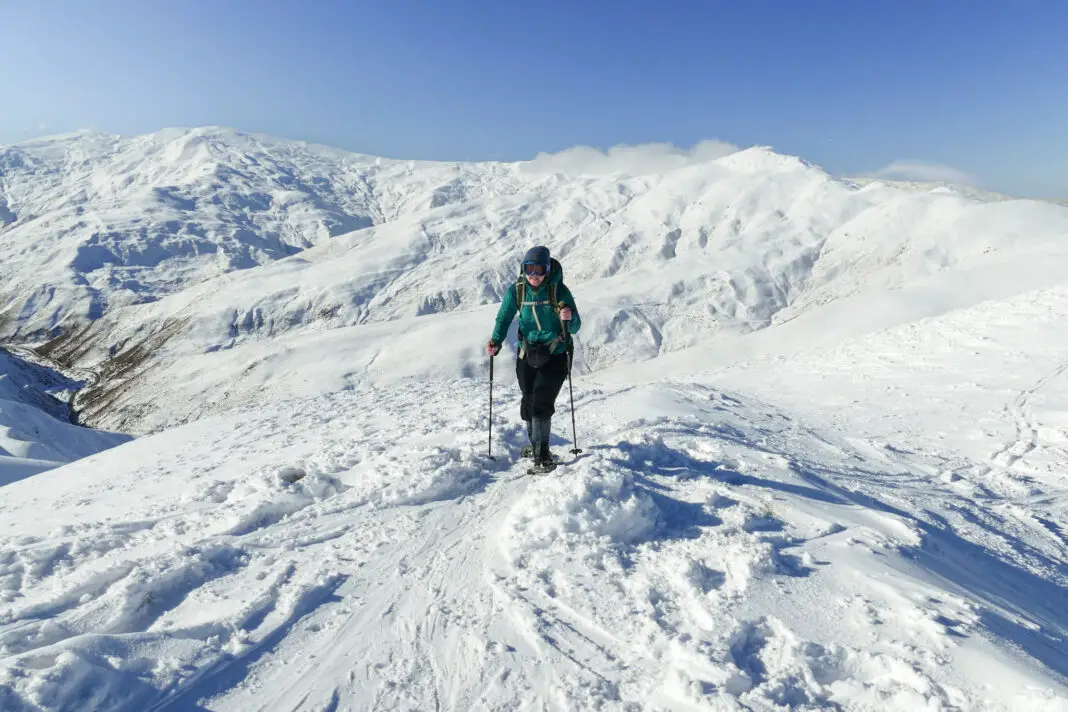
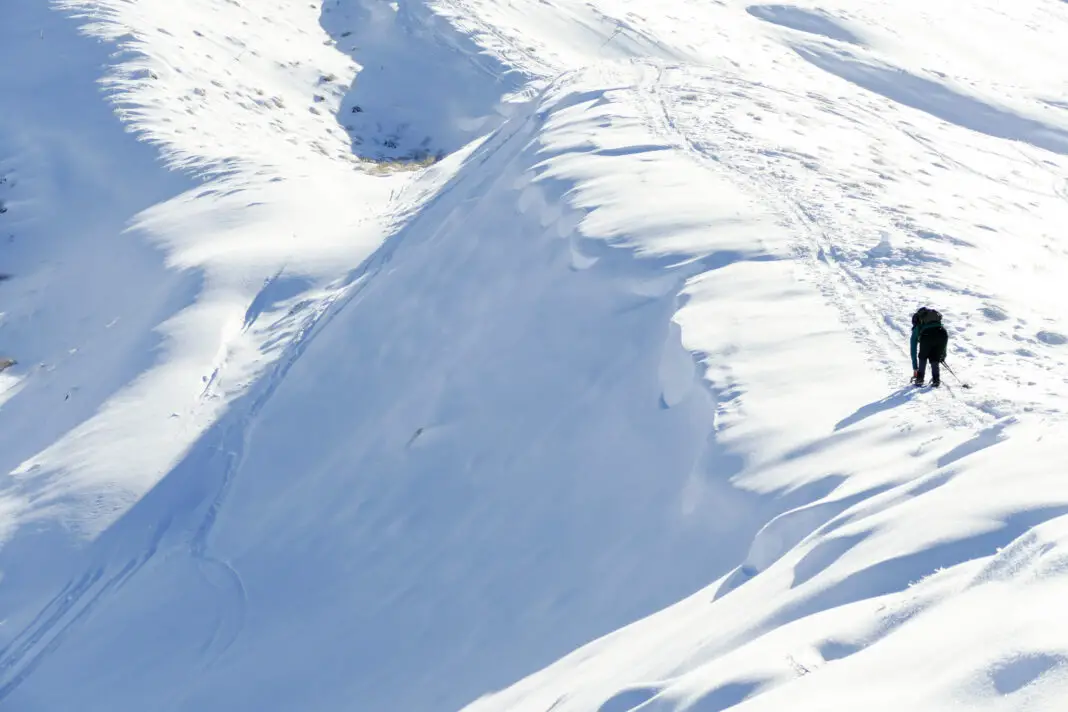
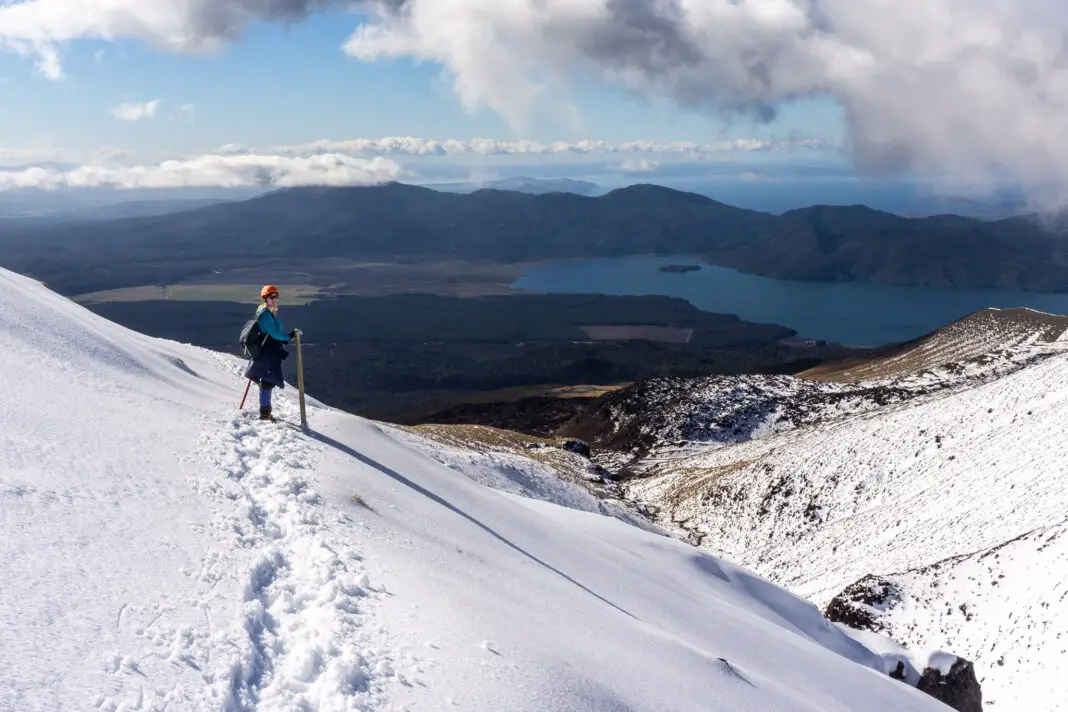
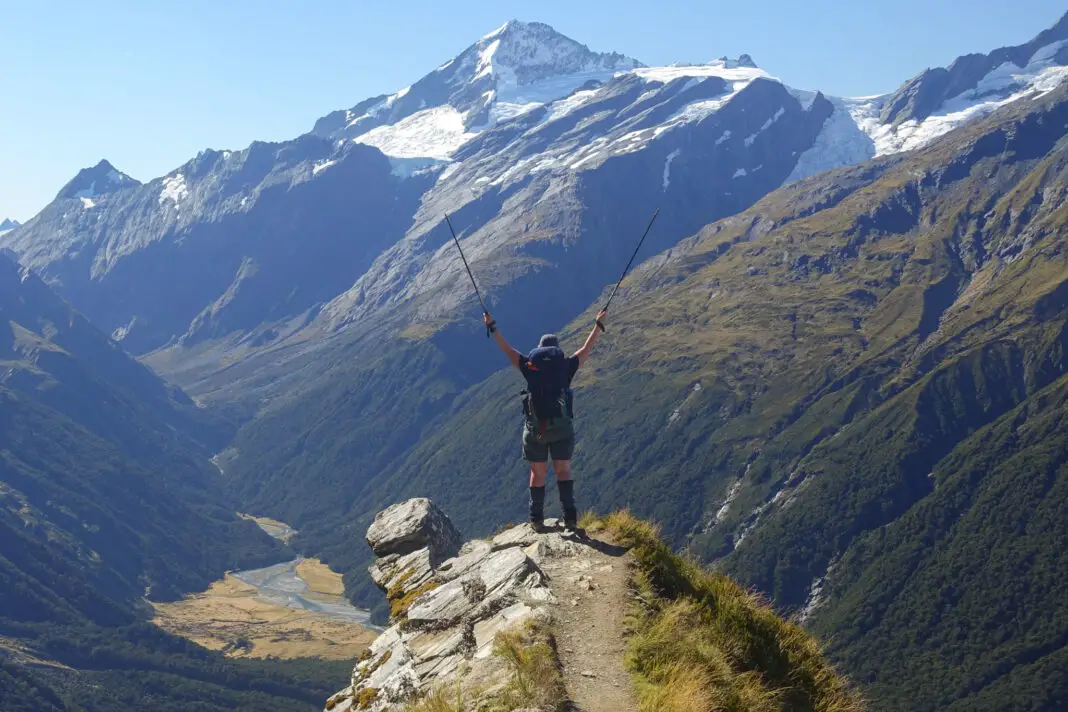
I hope you’ve found this article helpful and encouraging. My aim was to boost your confidence to get out tramping in winter, but I found it hard to include all the information I felt was necessary, while still being encouraging. Hopefully the photos have shown you just how amazing tramping in winter can be. It honestly is the best, and going on your first winter mission is an awesome challenge to accomplish.
Thanks to friends and family who offered advice and information for this post. Particularly my parents, sister, and my friend Penzy. Thanks guys! Your expertise is much appreciated.
If you have any questions or comments – please comment below or message me over on my Instagram. Happy trails!
Safety
As always, please stay safe when you’re out exploring, particularly in winter. Follow the Outdoor Safety Code:
- Choose the right trip for you
- Understand the weather
- Pack warm clothes and extra food
- Share your plans and take ways to get help
- Take care of yourself and each other
Stay safe and get outside!
Where to next?

LET ME KNOW WHAT YOU THINK! LEAVE ME A COMMENT OR MESSAGE ME OVER ON MY INSTAGRAM.
I love hearing from readers and helping them plan their own adventures!