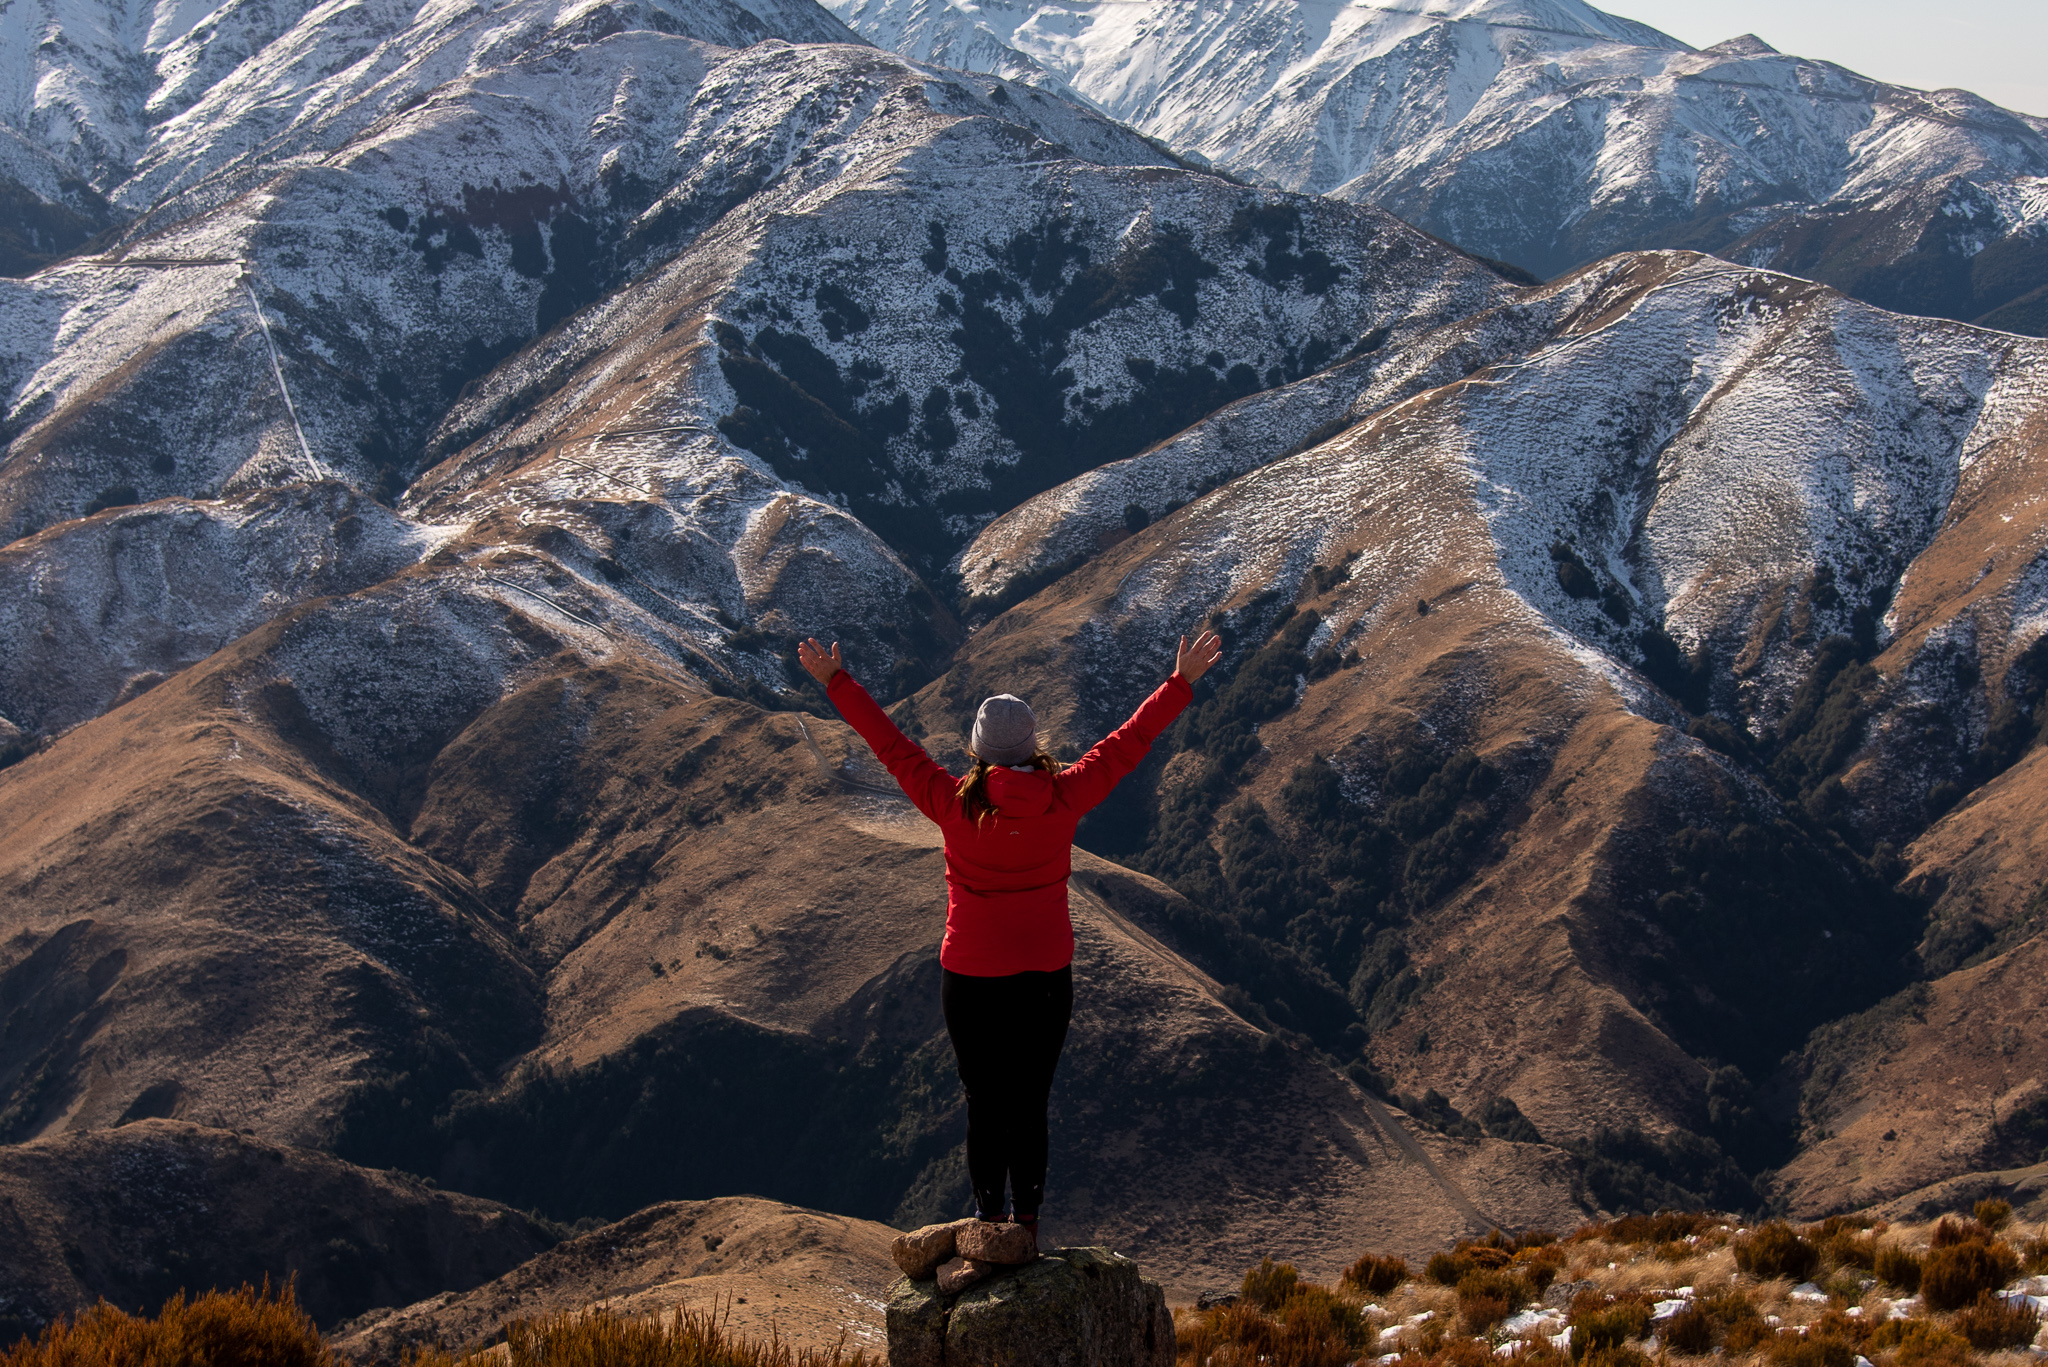
It can be intimidating to start tramping as an adult. Here are five steps to help you gain the knowledge and confidence to conquer mountains!
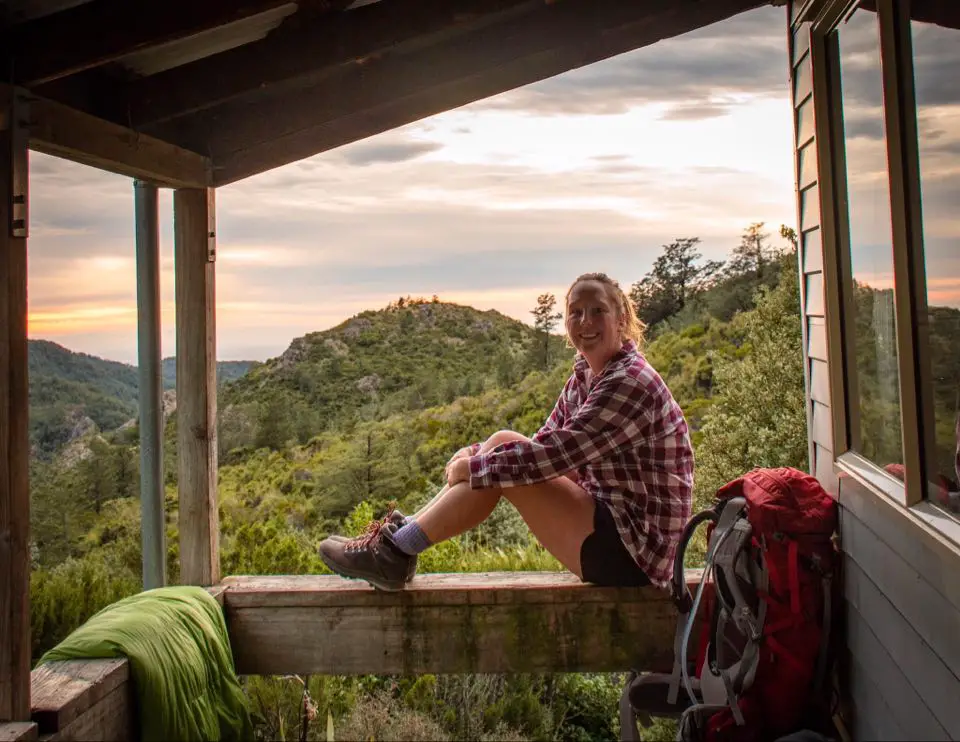
This post is in collaboration with Lauren Korstrom from Kor Adventures Co. Lauren is a Canadian outdoor writer and photographer living in mid-Canterbury, New Zealand. She loves exploring, especially in her own backyard, and finds inspiration from the nature around her. You can check out her adventures on Instagram at @laurenkorstrom or at koradventuresco.com.
5 steps to start tramping as an adult:
If you told me five years ago if I would be writing a blog post about how to start tramping as an adult, I probably would’ve given you a weary confused laugh with an okayyyy at the end and moved onto the next subject. I grew up on the Canadian prairies. We just don’t have hills, let alone mountains, so my confusion would have been very valid.
Here we are though, five years later, and I would now consider myself an avid tramper and summit chaser. After my move to New Zealand in 2017 and seeing how epic the mountains are, I knew I had to be open to new experiences and adventures if I was going to call New Zealand my new home. I’m not exactly the helmet-on, ropes secure, defying gravity type, but instead the tramper who now loves to get out on my days off, catch some epic views, and spend time in nature.
Since I wasn’t born with the natural ability to climb up hills, I had to start tramping the hard way. If you are wanting to get into the hills and add a bit of elevation to your walks, or maybe have just started out on your tramping journey, here are five steps that really helped me to start tramping as an adult!
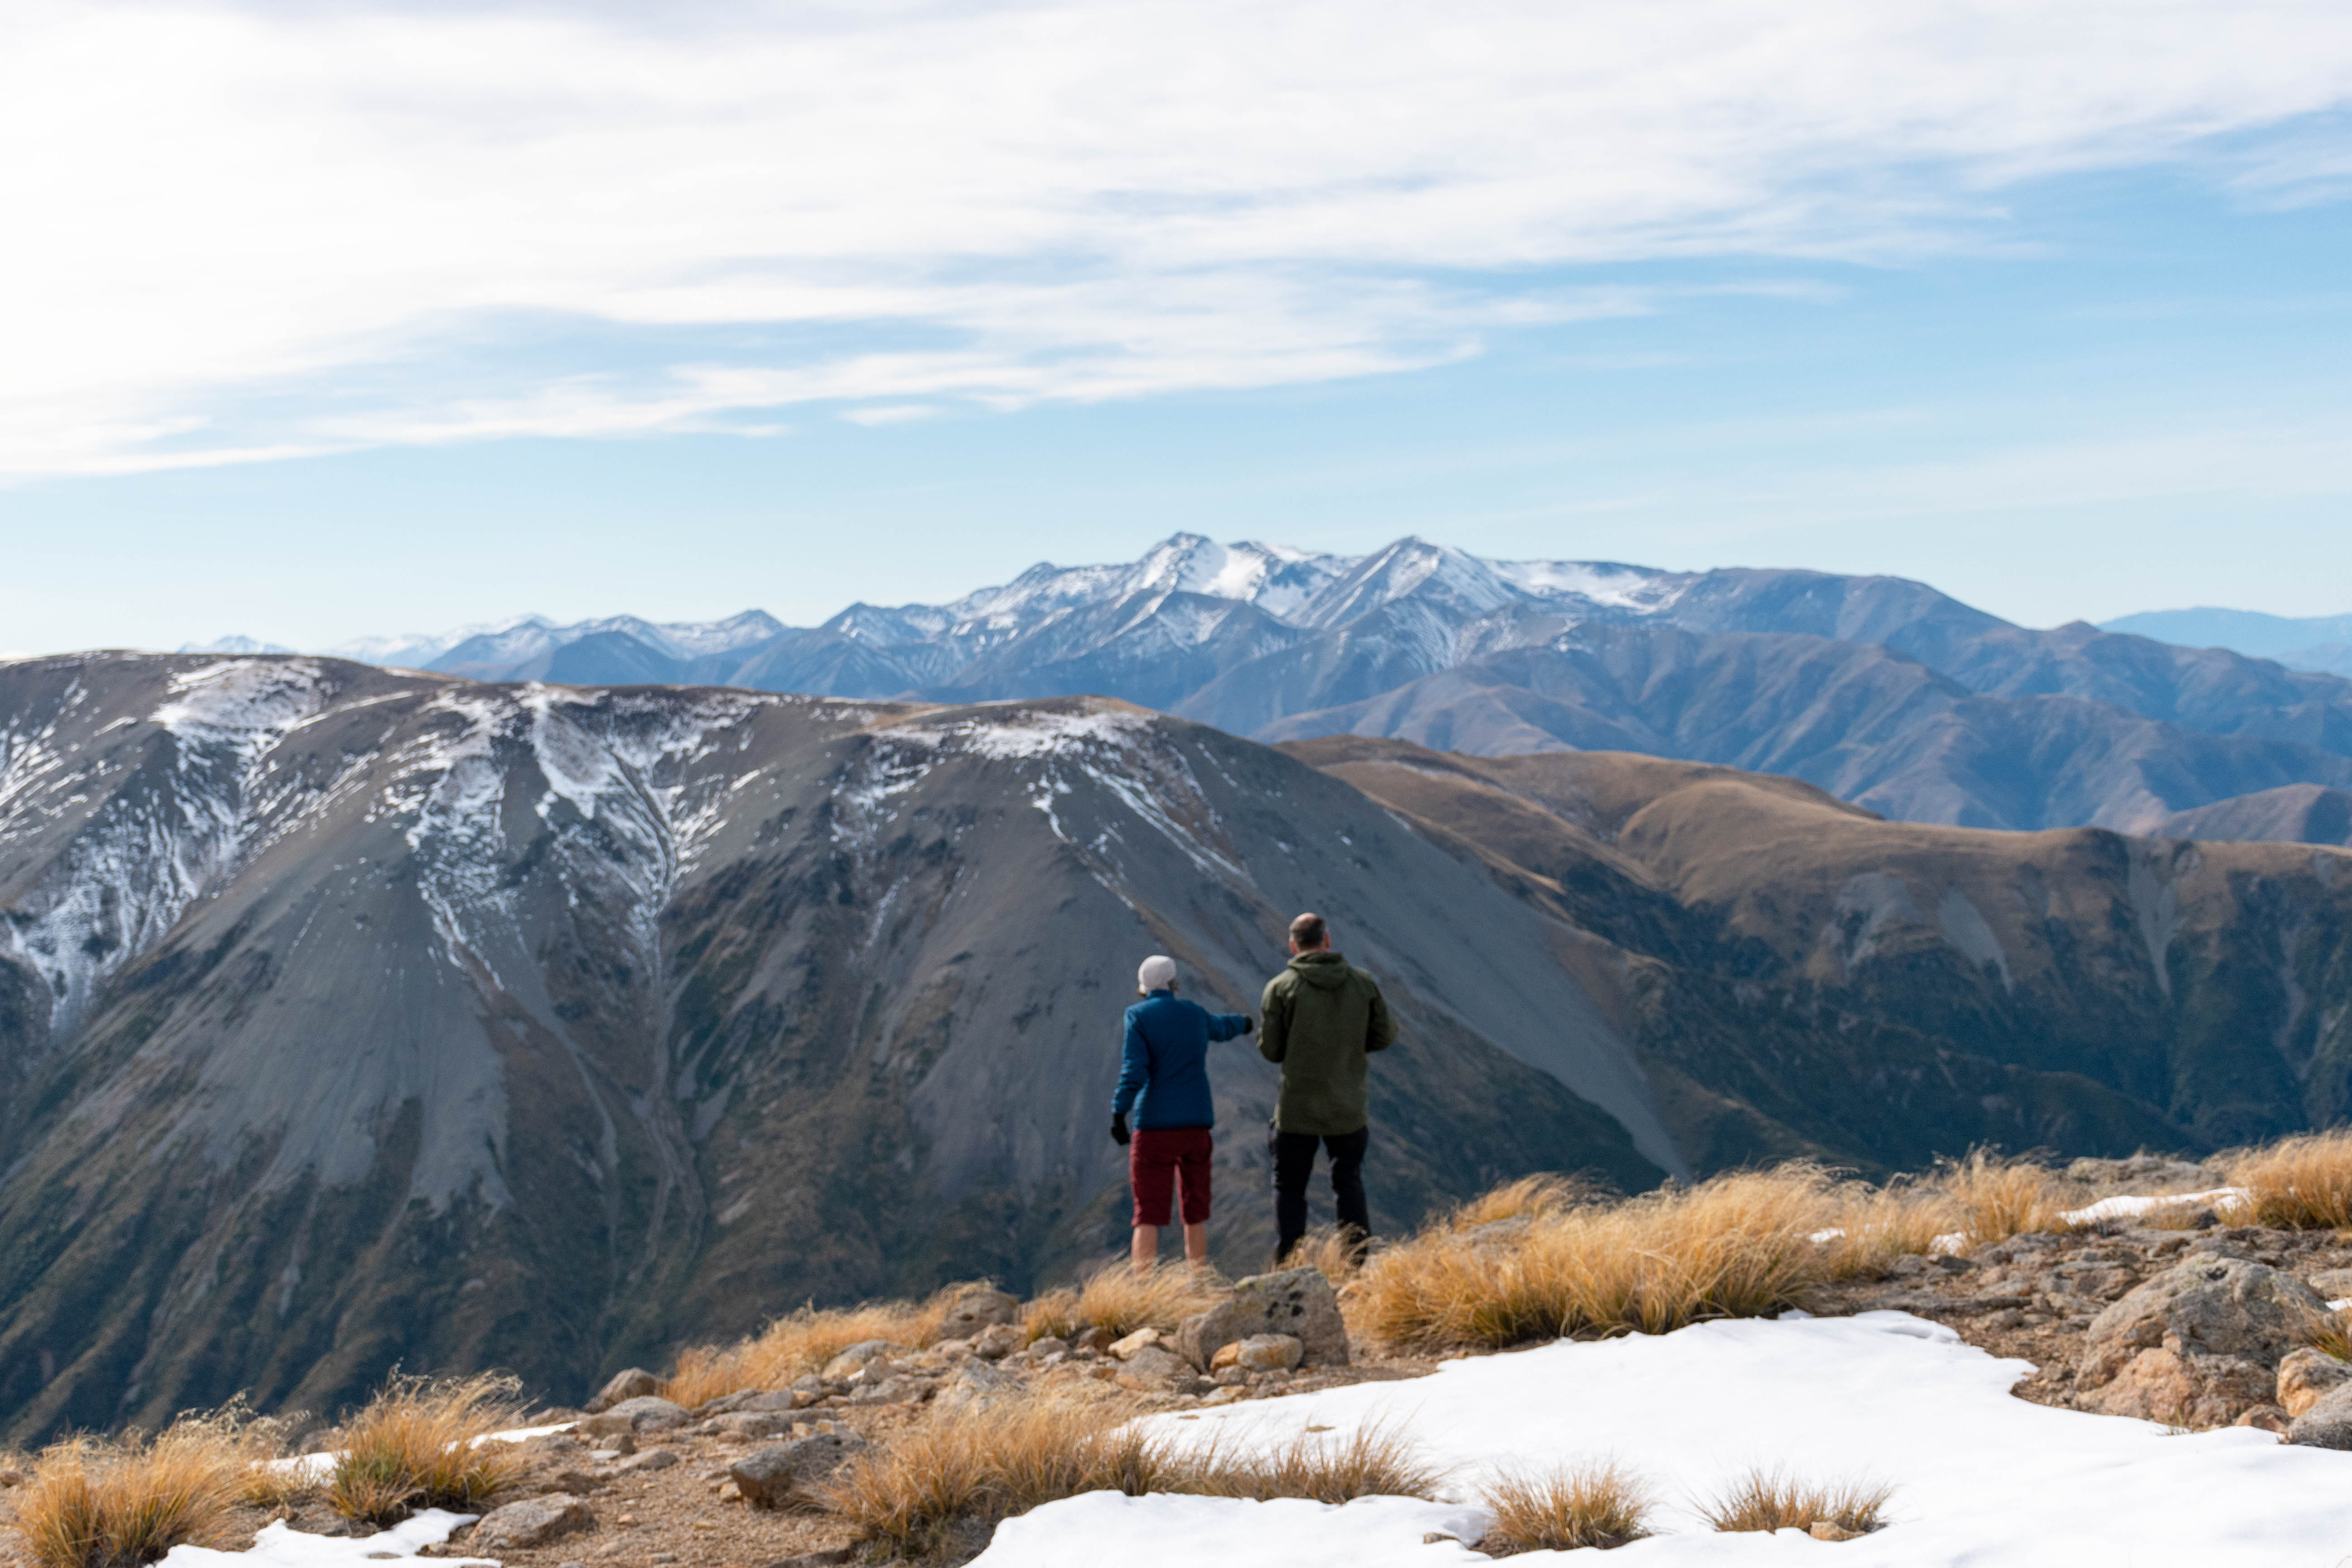
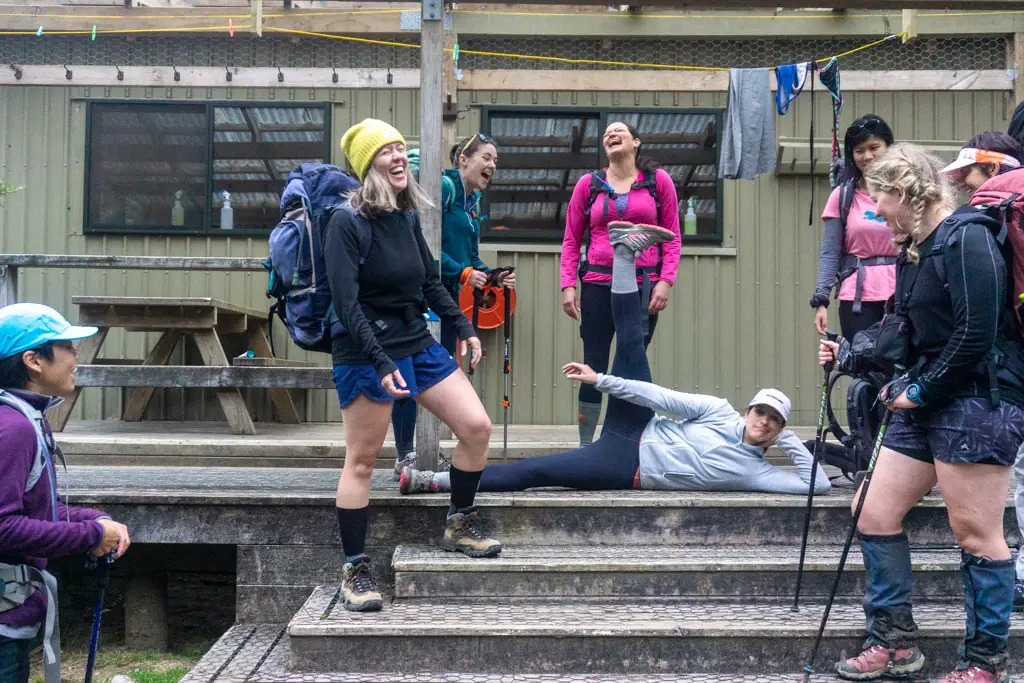
1. Find a tramping buddy
The thought of heading off on a track alone, surrounded by nature and summiting a mountain may sound quite freeing and even tranquil. But if you’re new to tramping, I highly suggest going with a friend. Better yet, someone who has a bit more tramping experience. Not only is this a great safety precaution, it also gives you support while both your mental and physical fitness improve.
When I first started tramping, there were many times when having a friend along to let me know that I COULD keep going was the difference between me getting to the summit, proud and happy, and me throwing in the towel, going home defeated and disappointed. Tramping isn’t always easy. Starting right from the get-go with positive experiences can make a world of difference.
If you don’t have any friends that are particularly interested in tramping there are many ways to connect with others. Social media is a great tool to find group trips, tramping clubs, and others looking for a trail buddy. I know Alice and my DM’s are always open! I’ve met up with a few people and went on great trips just from a simple message over Instagram. Be sure to use your own intuition to choose who you meet up with, but there are some rad people out there wanting to share their knowledge and help you start tramping.

2. Choose the right tramping track
Luckily in New Zealand there are heaps of tracks to choose from. They vary in difficulty and landscape so there really is something for everyone.
When I first began on my tramping journey, I set out on the easiest tracks that I could find. Ones literally labelled ‘easy’ and tracks with small elevation changes and distances. I looked for elevated bush walks and undulating tracks to help me build my fitness before tackling a track like the famous Roy’s Peak.
The term ‘easy’ can be open to interpretation however. Personally I found that tracks with less than 250 m of elevation gain, and which were around 2-3 hours return or up to about 5 km return were considered ‘easy’. These were my starting point. However, there are some tracks, like the famous Hooker Valley track which has very little elevation gain but is a 10km round trip, that are accessible for beginner trampers. These type of trips certainly help build fitness. It really all depends on where your fitness levels are to start and what you’re confident setting out on.
The Department of Conservation website is a great resource to learn more about the tracks when you first start tramping. You can search all different areas and difficulties. Nowadays there are a lot more personal blogs out there that give great insight into different tracks that can be helpful. I’ve written an article on easy hikes in Canterbury for example that are great for beginners.
I will note that just because a track is labelled ‘easy’ doesn’t mean it won’t be hard. Difficulty levels are very subjective and everyone is different. Be kind to yourself. Too many times I put myself down for struggling on an ‘easy’ route. Your fitness and confidence will build in time so keep at it!
3. Get your tramping gear
Don’t worry, you don’t have to blow your whole budget on speciality gear when getting started tramping. In fact, I urge you not to when you’re first beginning tramping, as it can all be very overwhelming. Here are the few pieces of gear that are non-negotiable:
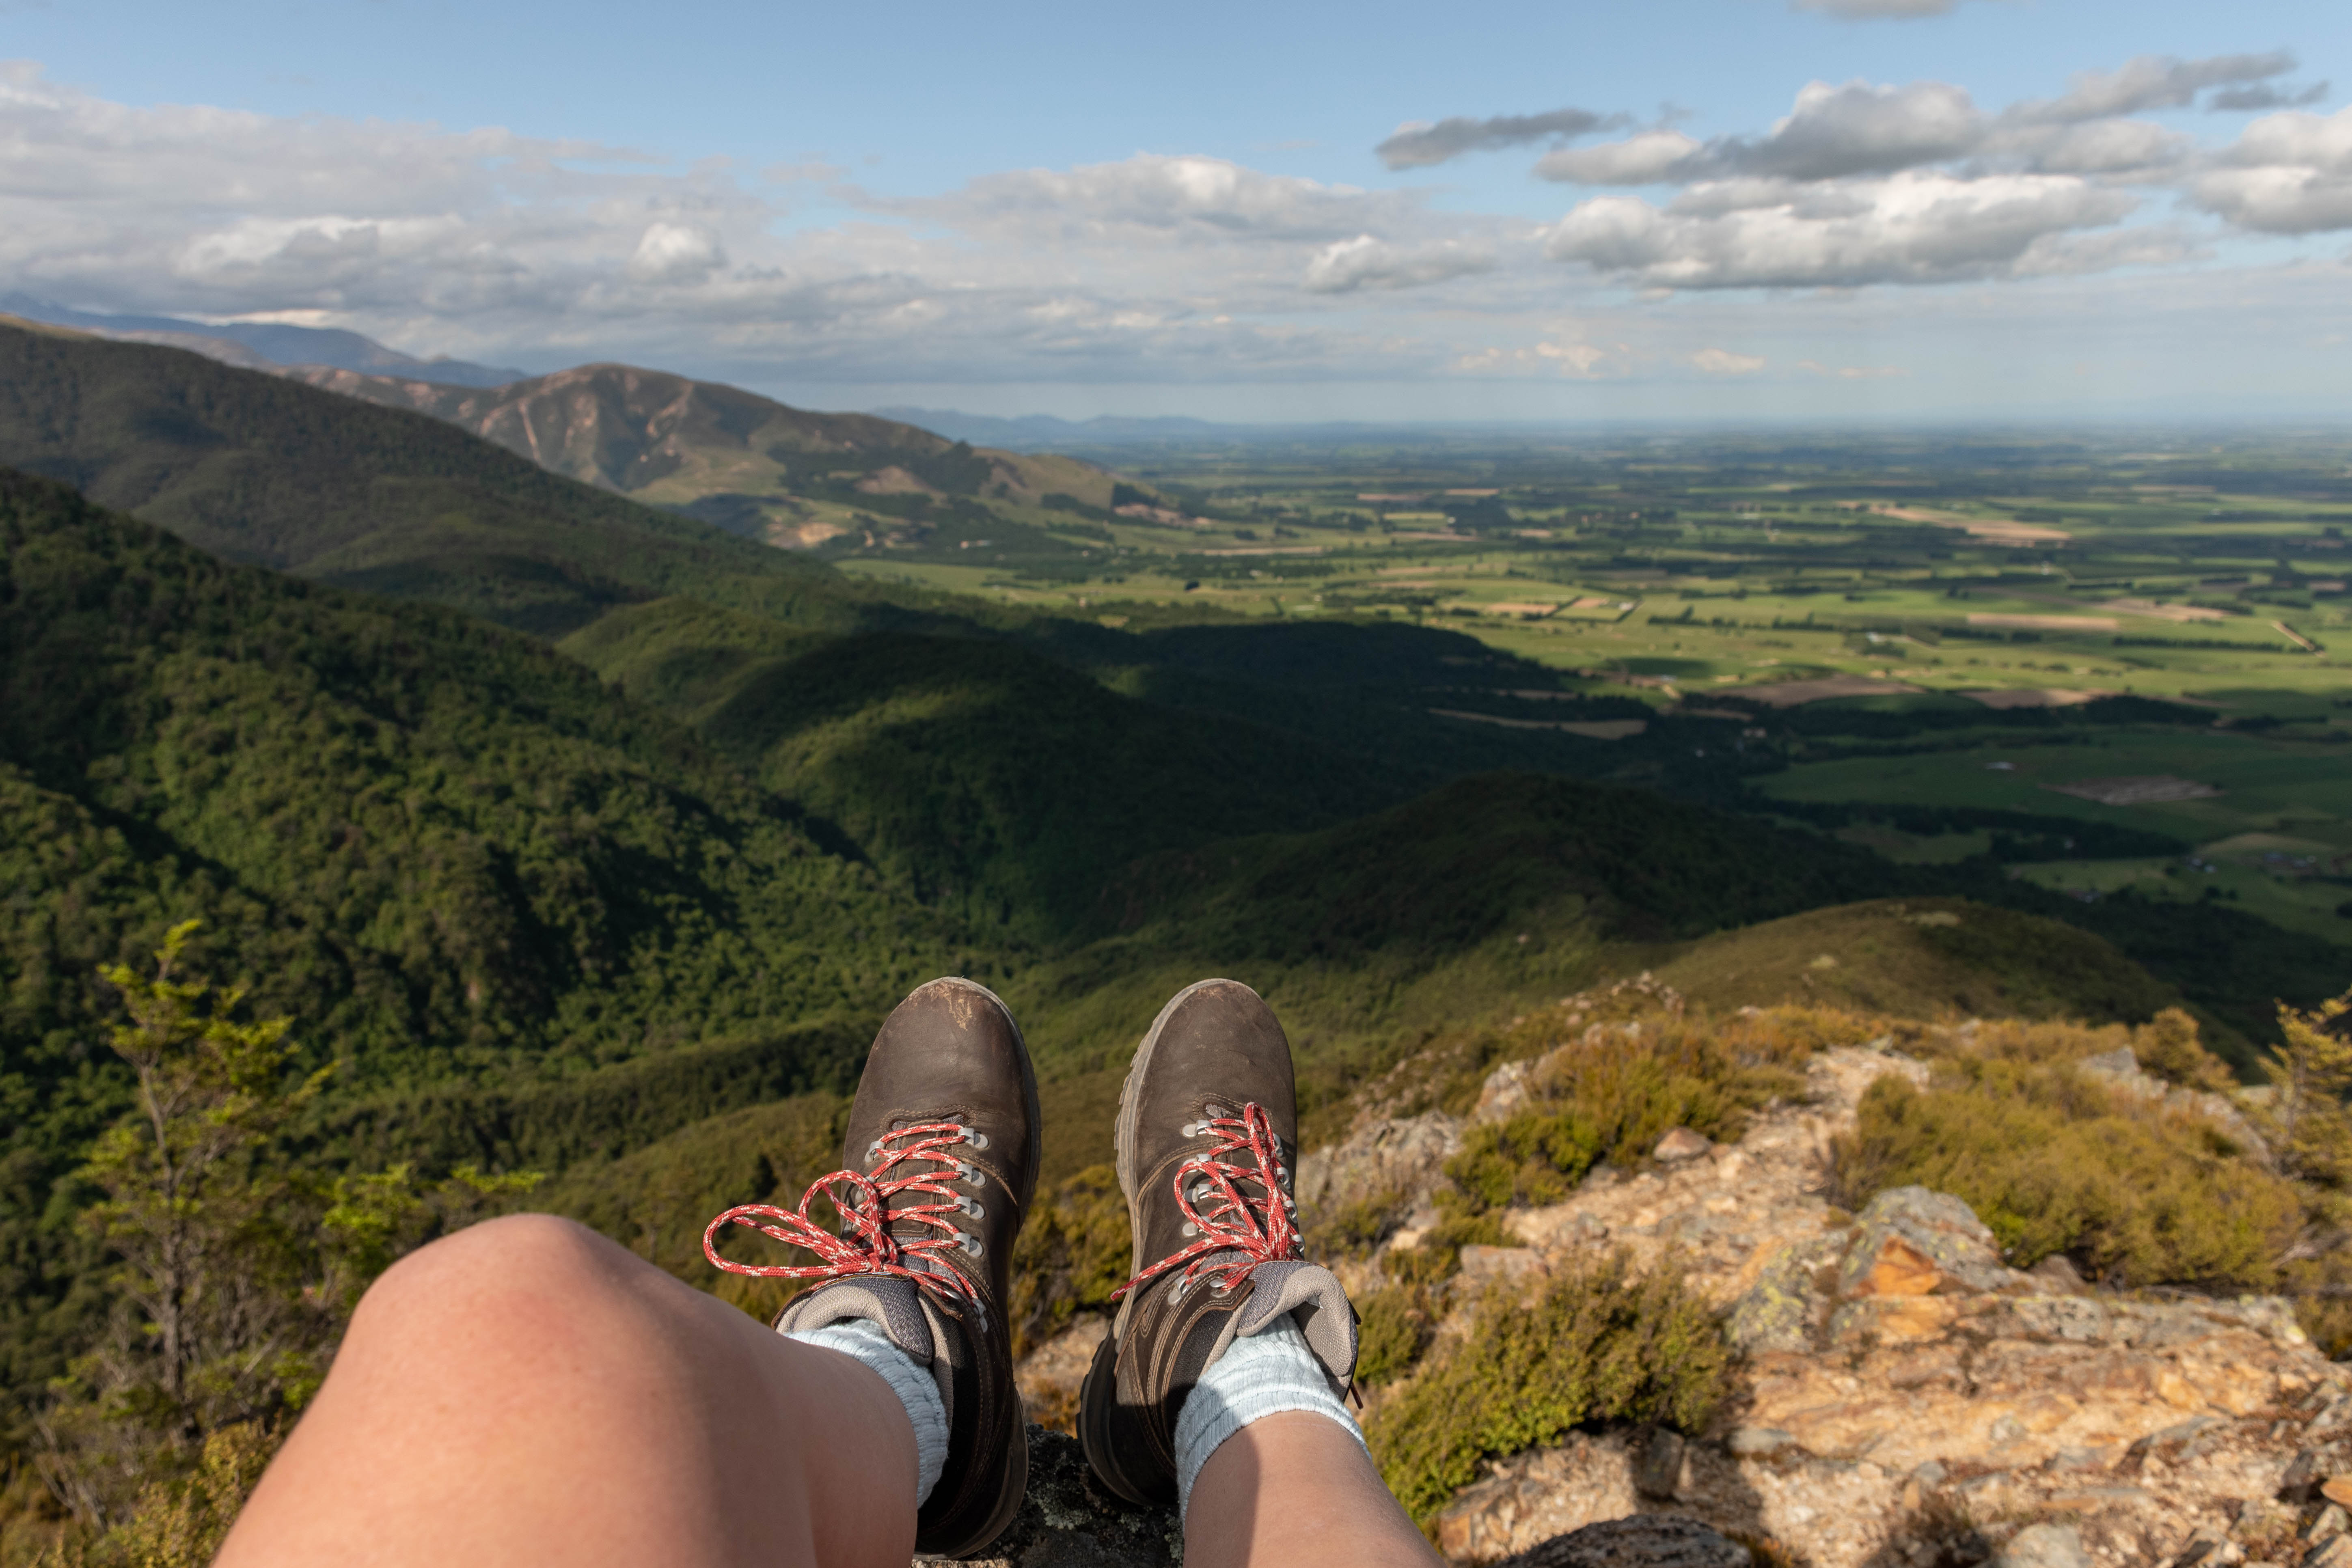
Proper footwear
You will want to get yourself some tramping shoes or boots. Which ones you may ask? It is really up to you. Some things to consider would be the price point, what kind of tracks you’ll be doing and how often you’ll be getting out there. There really isn’t much point buying a heavy-duty alpine boot if you’re mostly walking well groomed day tracks. It’s very possible you’ll upgrade from your first pair of boots in time as you take on more challenging tracks and terrain, so don’t stress out too much.
Starting out, I personally wore tramping shoes. The tracks I was doing were well laid out for beginners and not many obstacles, so I had the right amount of traction and it fit well into my budget. Now, because my tramps are longer, steeper and have more variable terrain I’ve opted for a boot. Scroll through Alice’s tramping gear article for some pointers on purchasing the right footwear.
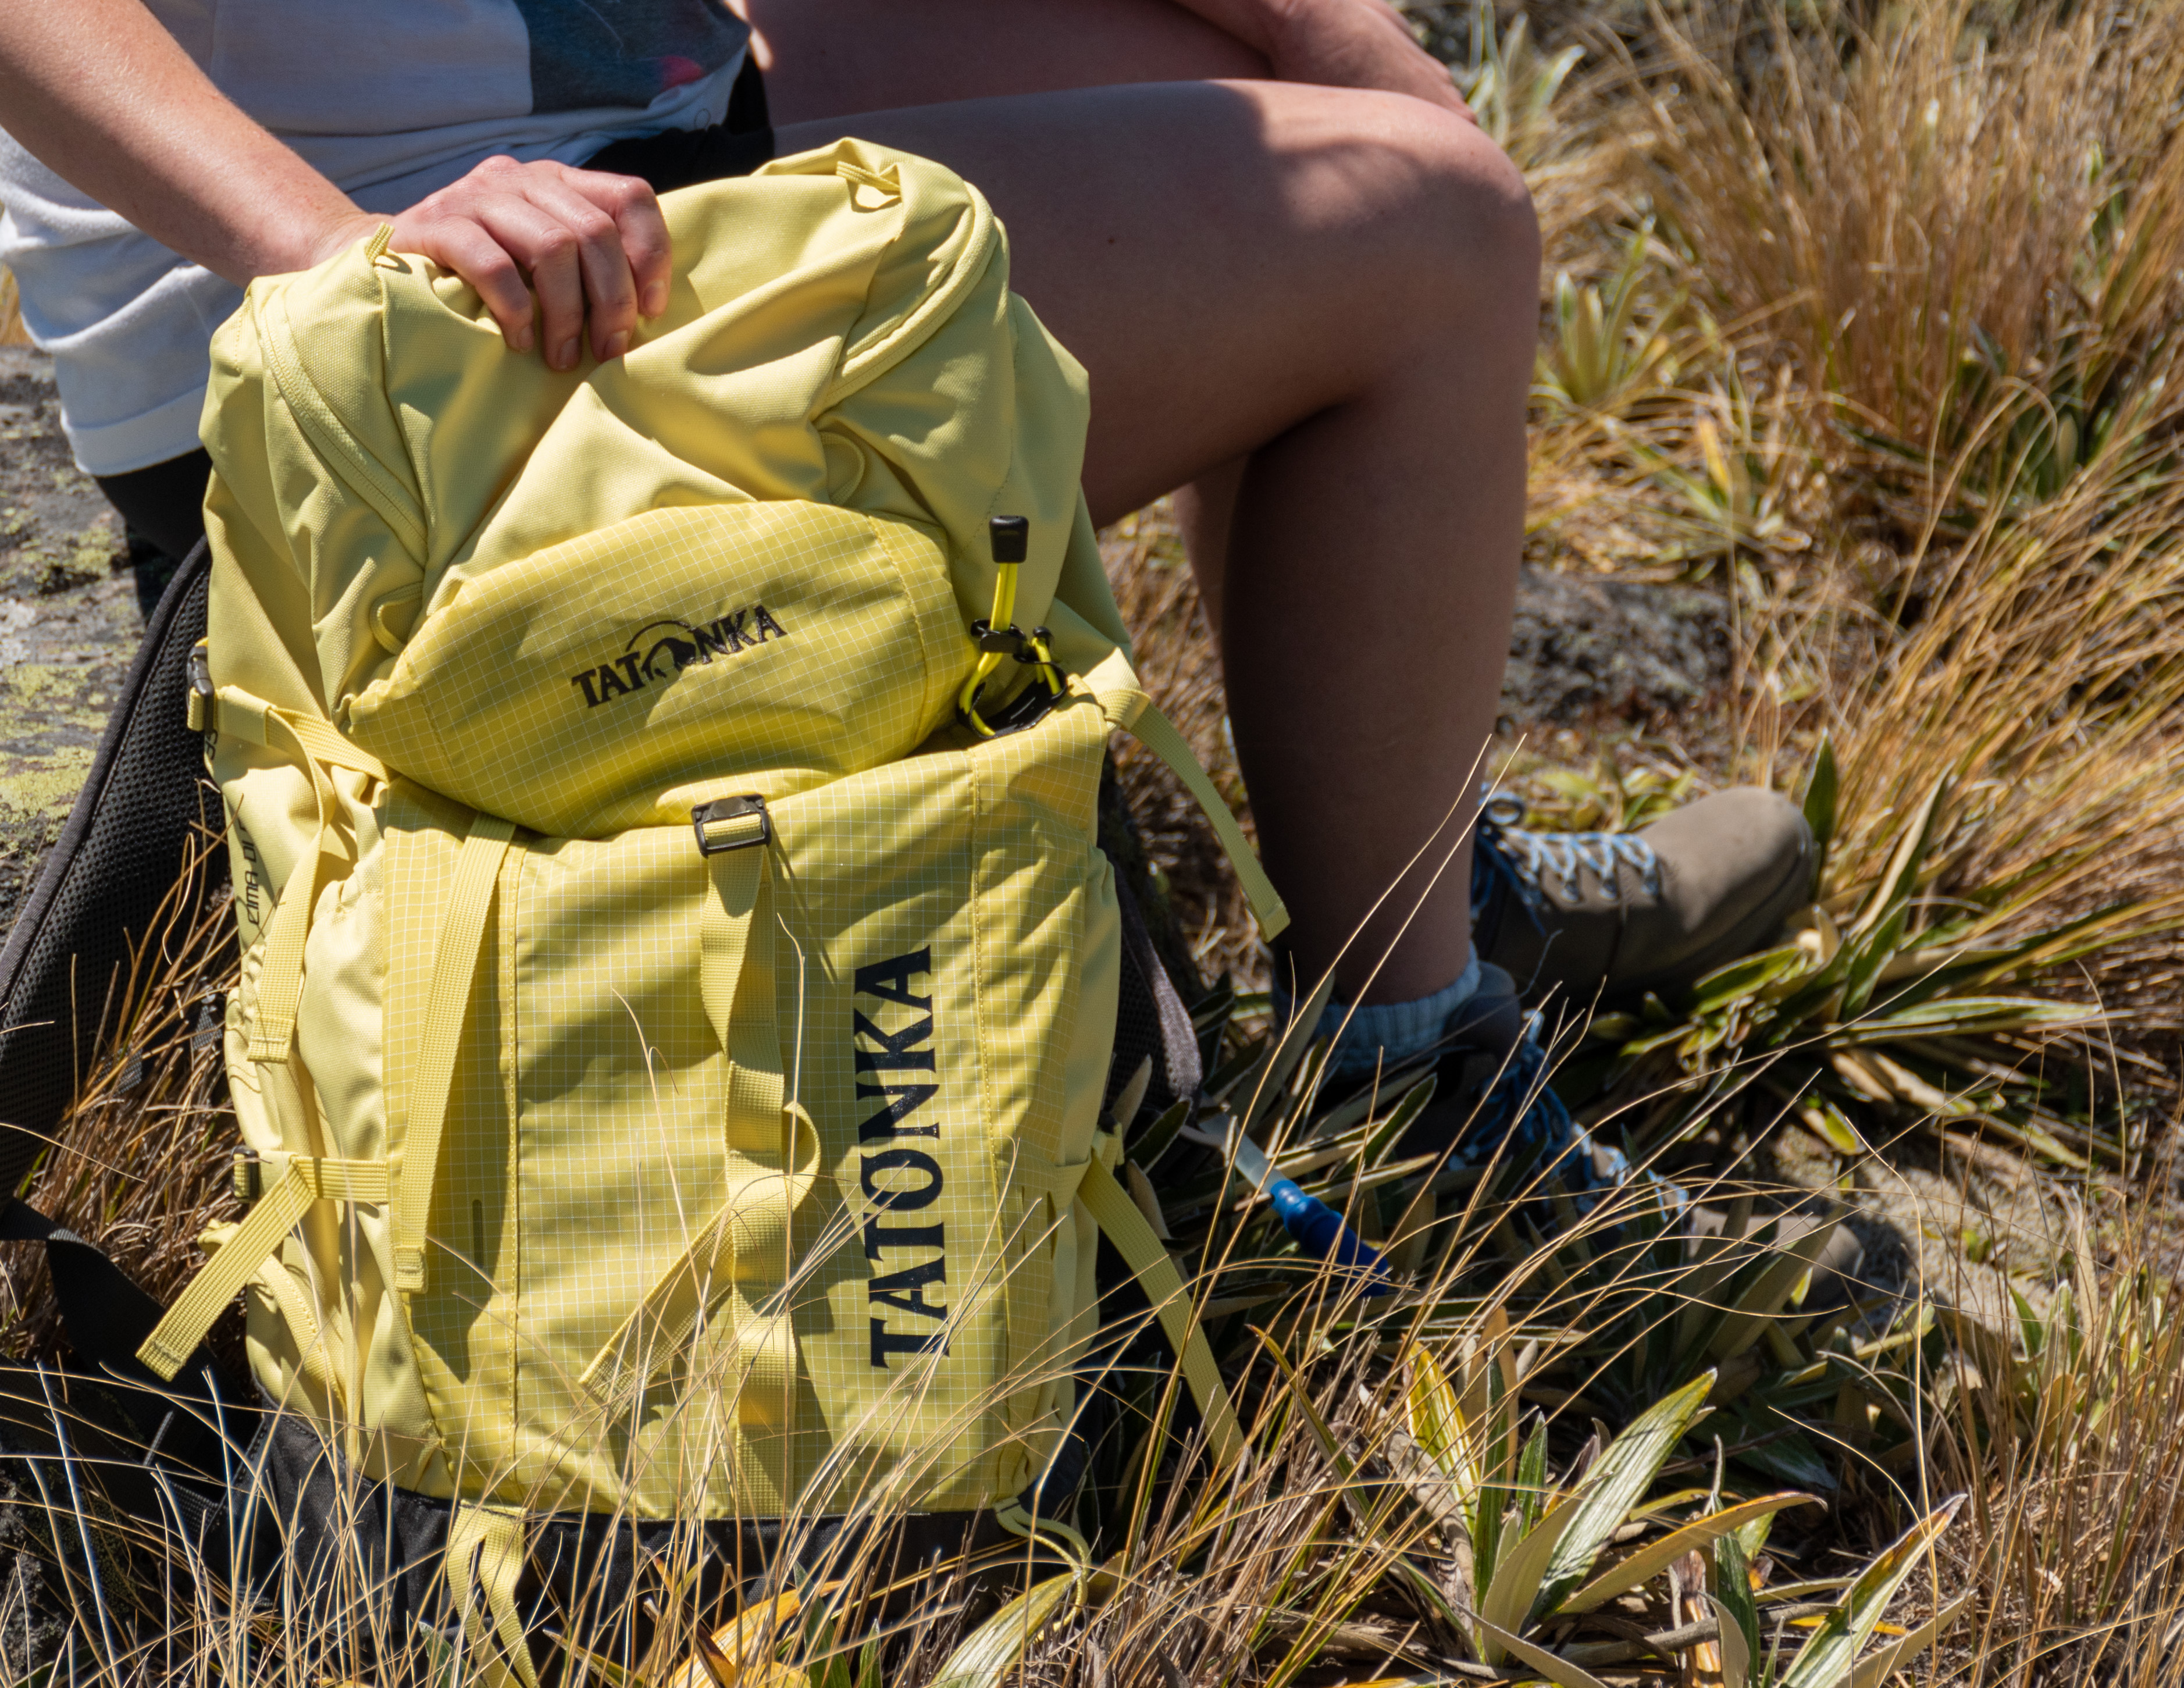
Backpack
Next, you’ll need a pack of some kind. Even if you’re only heading out for a couple of hours there are few essential gear items you’ll need to carry, including water, communication, first aid and snacks.
I started with an old school backpack. This did the job, but it was heavy and I found I needed to carry multiple water bottles to quench my thirst, which added to the weight. It wasn’t long before I bought something lighter and more suited to tramping like this Torpedo 7 bag. It comes with a water bladder and there’s still room to put gear in the bag. All outdoor retailers have a variety of packs to choose from. I highly rate this one when you’re first starting out.
As you increase your track duration and elevation to more of a day walk (3 – 4+ hours) you will want to consider something bigger like a 22L+ pack. This will allow you room to take an extra article of clothing or two and, if you’re like me, photography gear.
As to which pack you should choose, it’s really is up to you. Think about your budget, what you need it for, how it sits on your body, and what needs to fit in it when you go out.
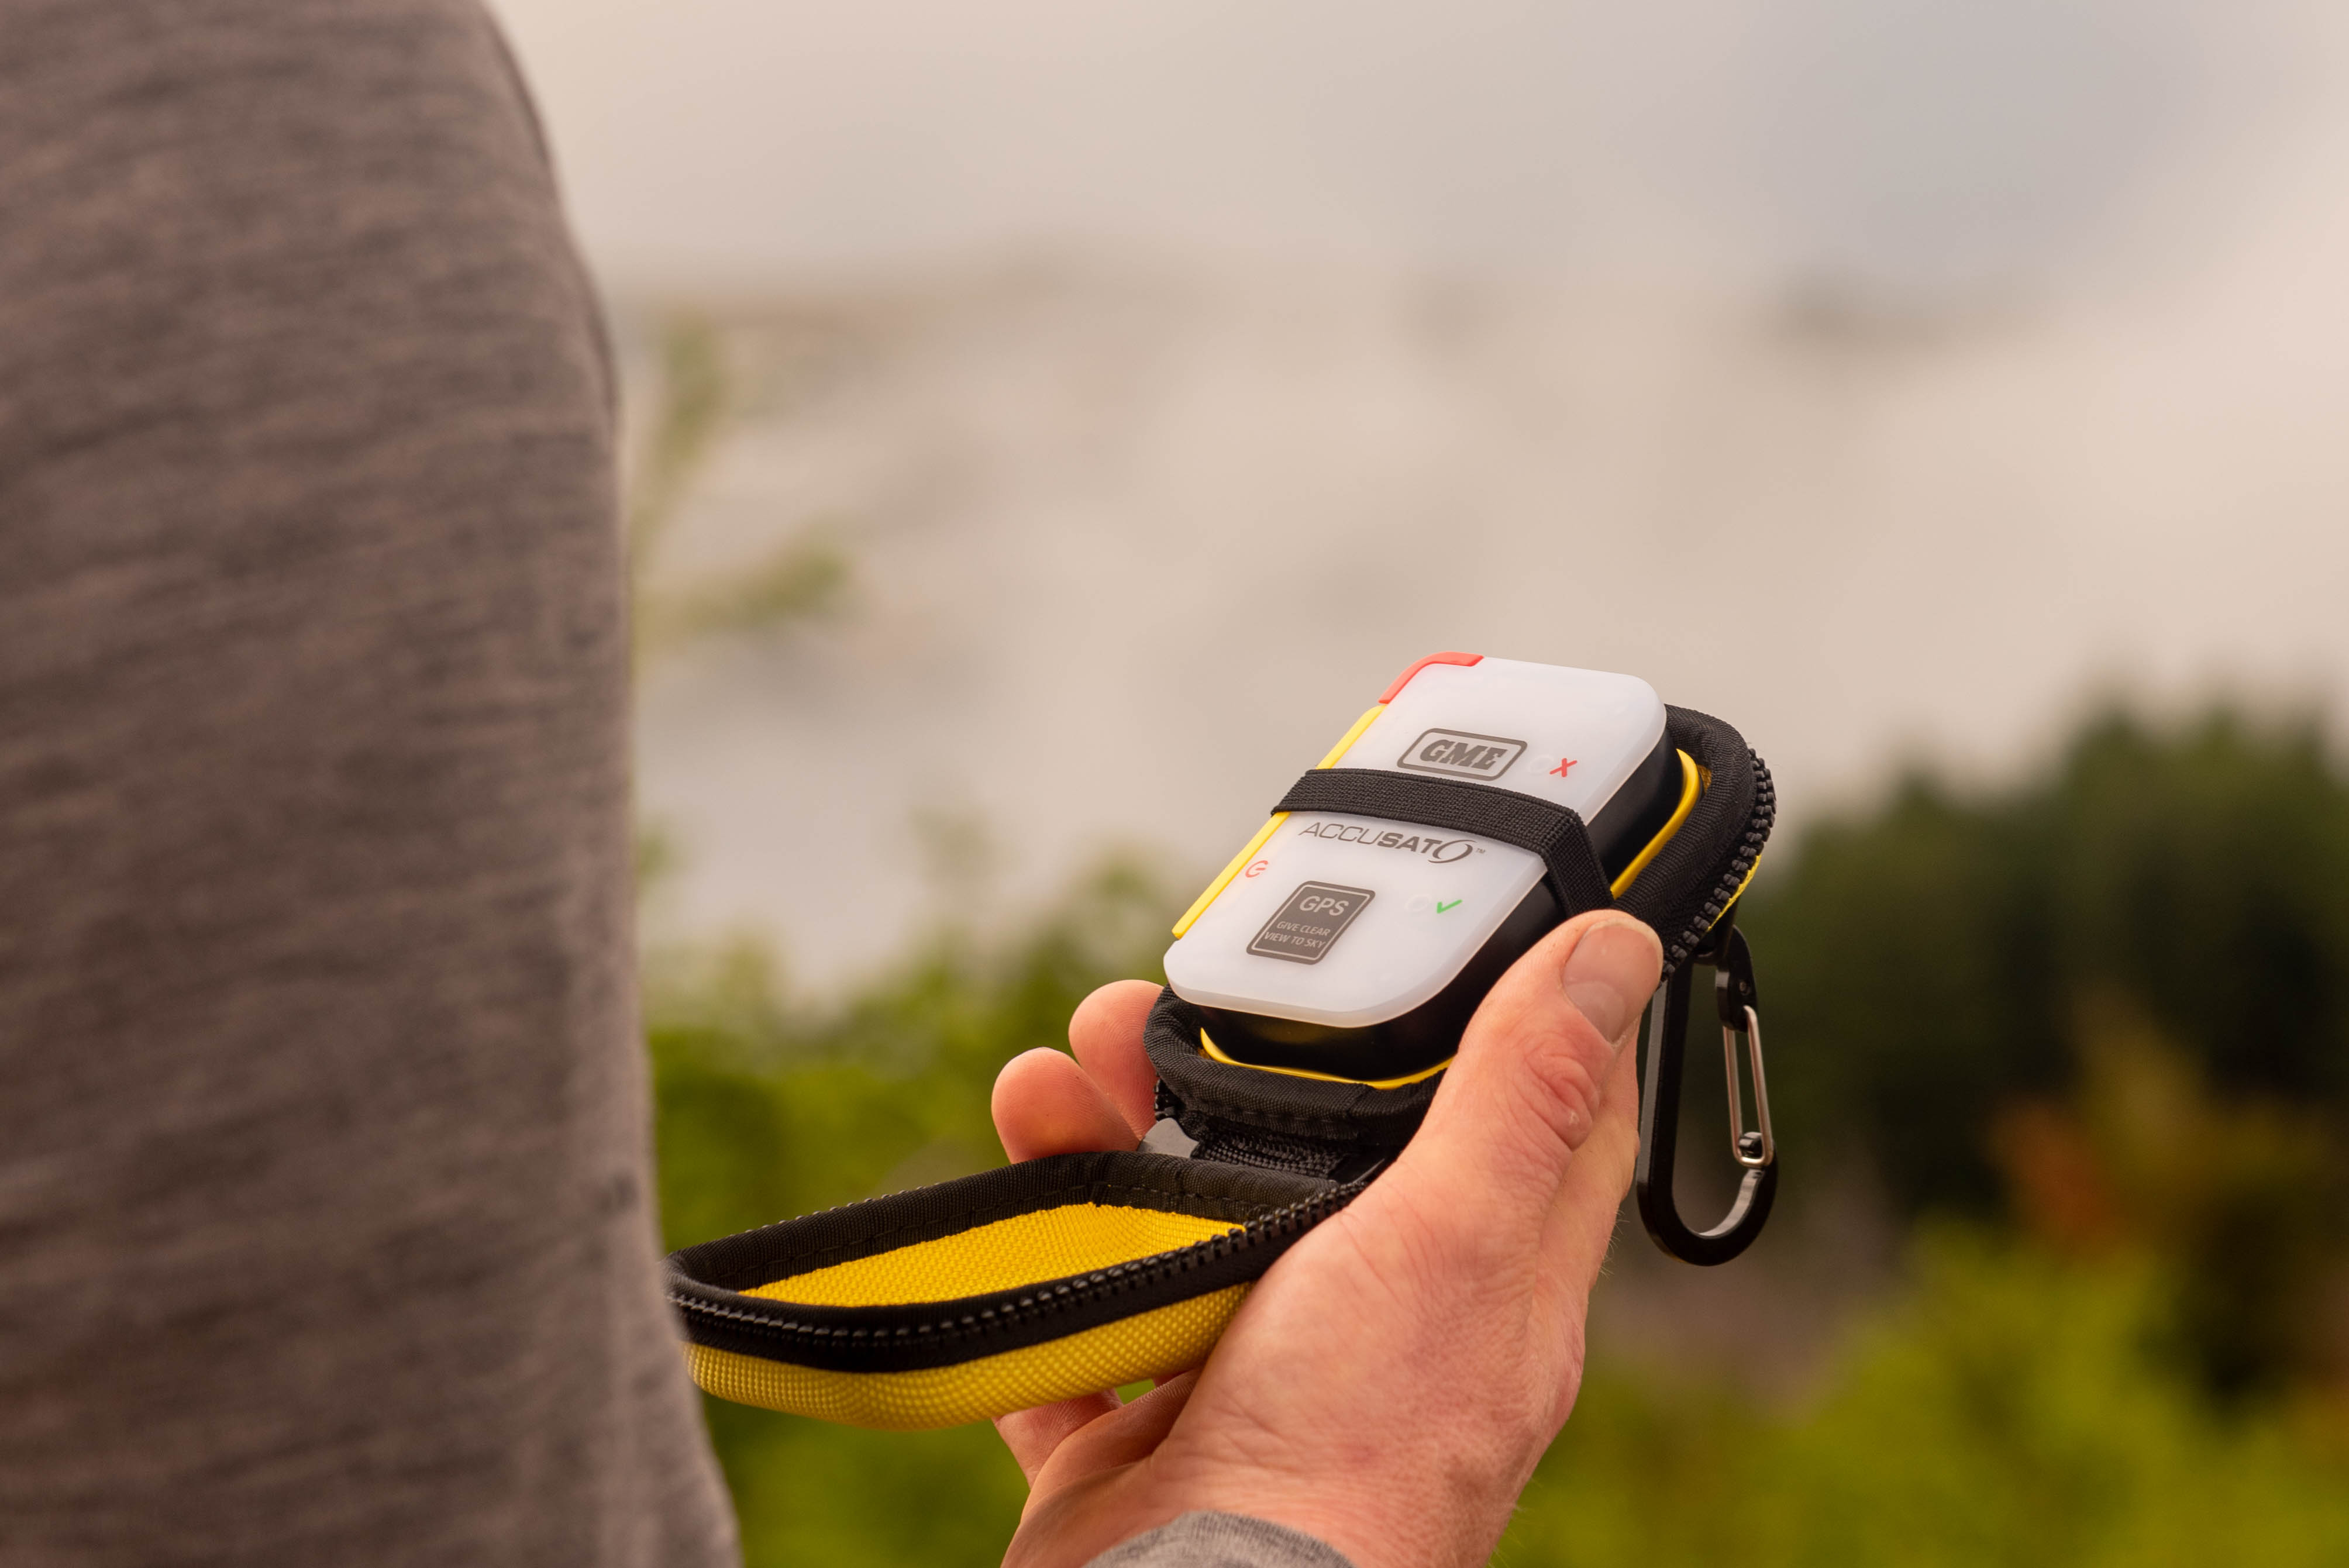
Communication/PLB
When you first start tramping you’re likely to be on well known and highly trafficked tracks. However you still need to have a way of asking for help if you need it. A fully charged phone, a PLB (Personal Locator Beacon) and a whistle are all key communication tools for different situations. You never know what could happen, even on ‘easy’ routes. And New Zealand is notorious for not having cell reception, especially where you think there should be!
At the very least if you only taking your phone, I would suggest downloading topomaps and familiarising yourself with the trail (as well as how to read a map). That way you have an idea of where you’re headed and you’ll be more likely to quickly realise if you’ve gone off track. A whistle is a good option for shorter distances. You can use it to attract attention if you find yourself in trouble and close to someone else.
But in all honesty, a PLB is the only reliable way of communicating when out tramping in New Zealand. They’re not cheap, but as the saying goes: you can’t put a price on a life. You might not be prepared to purchase one straight away (understandable), but in that case you should hire one for your trips – here is a handy list of places that hire them out. If tramping does eventually become a passion hobby (and I hope it does!), you will need to invest in a PLB, so be aware of that cost for the future.
Note that PLBs are for absolute emergencies only. Wilderlife have a great article about how and when to use a PLB that you can read here.
First aid
Even if you have a just small first aid kit, I’d suggest taking one with you – for those just-in-case times! There are plenty of pre-made kits you can buy, but one with antiseptic wipes, band aids, wound dressings, tape, pain relief, and now a mask (thanks covid!) will help for any slips and unexpected non-emergent injuries. I’ve made a small one up myself and it lives in my tramping pack.
4. Snacks and hydration
Two hours of tramping, do you bring snacks and water? Alice and I would say absolutely yes! One, because who doesn’t love snacks? But also because it’s important to keep your body and mind fuelled properly. You may only need a muesli bar or an apple, but it’s better to have something rather than nothing, especially if your trip takes longer than planned.
Some snack ideas include an apple, dried fruit, nuts, muesli bar, bliss balls, or scroggin (trail mix). [Alice: OR CHOCOLATE]. You want high energy or high calorie food to keep you going on the trail.
Keeping hydrated is also very important no matter how long you’re walking for. (And especially if you’re out on a hot day). Even on a cold day, you can lose more moisture that you’d expect through sweat. Although it generally takes more than a few hours to become dehydrated, feeling thirsty or hungry while you’re out enjoying nature just isn’t fun. Don’t underestimate the mental boost a nice piece of chocolate can have.
5. Practice tramping!
Did I just tell you to practice tramping? Yup I did. It really is all about getting out there! I have to admit, I enjoyed the views when I first began to start tramping. But the workout getting there? Not so much. Over time though as I went up more trails and my fitness improved, I started to enjoy the entire journey more. This led to me trying more challenging tracks, staying out longer, becoming a lot more confident over different terrain, and pretty much becoming low key obsessed with tramping.
In a way I’m always practicing as I plan for harder hikes. I’ve paired that with learning ways to get stronger off the mountain as well. Alice has a great post about getting and staying fit for tramping that you can read here.

I think it goes without saying that the most important part about starting your tramping journey is to have fun! Tramping is a hobby. Something we do to help clear our minds and fill our souls. We want to be doing it with a smile on our face, and the eagerness to go out and do it again.
If you have any questions about tracks, gear or tramping in general don’t be afraid to send us a message. We are more than happy to help and send you in the right direction!
Happy trails! – Lauren
You might like to read these next …

LET ME KNOW WHAT YOU THINK! LEAVE ME A COMMENT OR MESSAGE ME OVER ON MY INSTAGRAM.
What are your top tips for beginner trampers? Let me know! I love hearing from readers.