Having the right gear is crucial for your safety and enjoyment when out hiking. However walking into a sports store for the first time can be quite intimidating; not really knowing what to buy, and having to choose between lots of different (and sometimes pricey) options.
Like I’ve said on many of these posts – I’m not an expert when it comes to tramping and even if I was, so much comes down to personal preference that what one person stuffs into their pack (and even which pack they use) will look very different compared to someone else.
That being said, there are some universal basics you should always consider taking, regardless of the hike. I’ve listed them below. I’ve tried to keep this brief just so I’m not overloading anyone, but if you’ve got any questions or suggestions then please drop me a line by either leaving a comment or messaging me on Instagram! Always much appreciated.
Please note that this article contains affiliate links, which means that any sales from these links will reward me with a small commission – at no extra cost to you! So if you like my content, trust my recommendations, and want to purchase any of the below items, then please use the links to do so to help me and this hobby blog out!
What gear do you need?
Pack
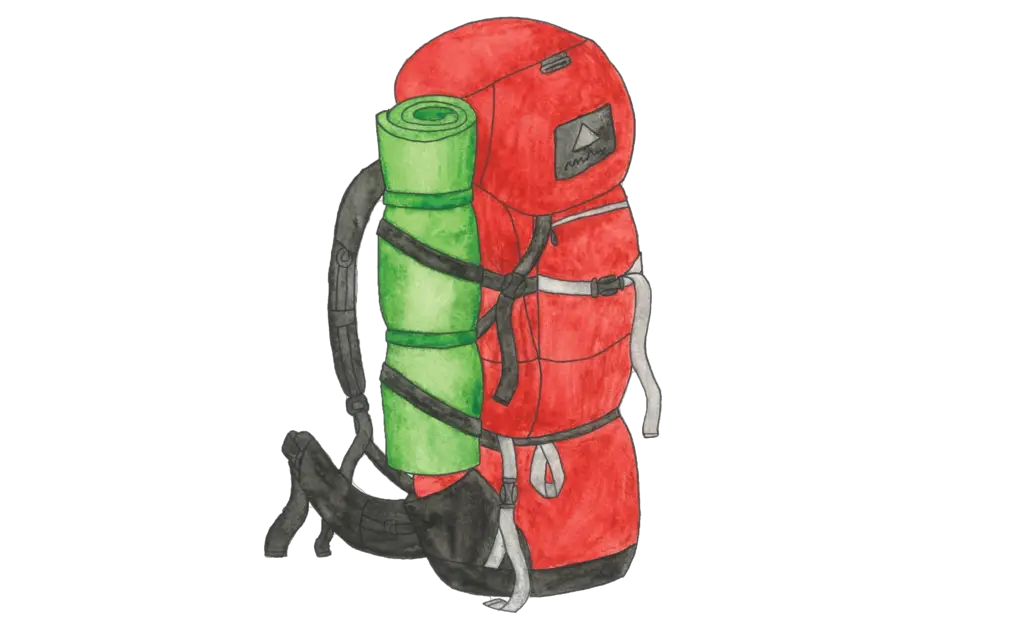
First things first – you need a good pack to carry everything! Gear stores often have what seems like a zillion packs on display, but the easiest variable to concentrate on is the size of the pack. How big you go will depend on 1) how long your hikes normally are, 2) whether you tent or stay in huts, and 3) what season you tramp in (i.e. how much extra gear you’ll need to fit in).
Pack sizes are normally measured in litres. As a general rule 15 – 35L is a good day-hike pack, 30 – 50L is good for a quick overnight jaunt, and 50L+ for multi-day hikes, although everyone is obviously different with their preferences. If you’re hiking in winter and have additional gear (snow shoes, crampons, denser clothes, etc.) then you’ll likely need extra room (likewise if you’re tenting rather than staying in a hut). If you’re trying to go lighter, then you’ll want a smaller pack and to be mindful of the material it’s made from.
Personally, I have a 22L for day walks, a 36L for longer day walks as well as summer overnight trips (although I find it’s a bit of a squish overnight), and an old and reliable 65L for bigger tramps. My newer day pack is much, much lighter and has an amazing airy back harness (no more sweaty back, yay!). But I’ve had my big pack since a teenager and it’s seen me through a lot of interesting trips with no issues or damage. Its canvas exterior is super durable.
It pays to always get your pack properly fitted before buying as this can make a massive difference to comfort and usability. If you’re female – try both female and male models to see which you prefer rather than only going with the female options (I prefer some male models still to be honest).
Lastly having a pack liner (a waterproof bag that sits in your pack to protect the contents) or a rain cover (which goes overtop of the pack itself) comes in very, very handy in New Zealand’s temperamental weather. I often pop my gear into dry bags (or plastic bags) in my pack as extra insurance and a way to easily organise my gear. The pack liner can also double as a makeshift shelter in emergency situations, as I explain below. But how to pack your pack is a whole other kettle of freeze dried meals, one I’ll leave for another blog post.
Bonus tip: choose a pack with hip pockets. For easy to access chocolate. You’re welcome.
Boots
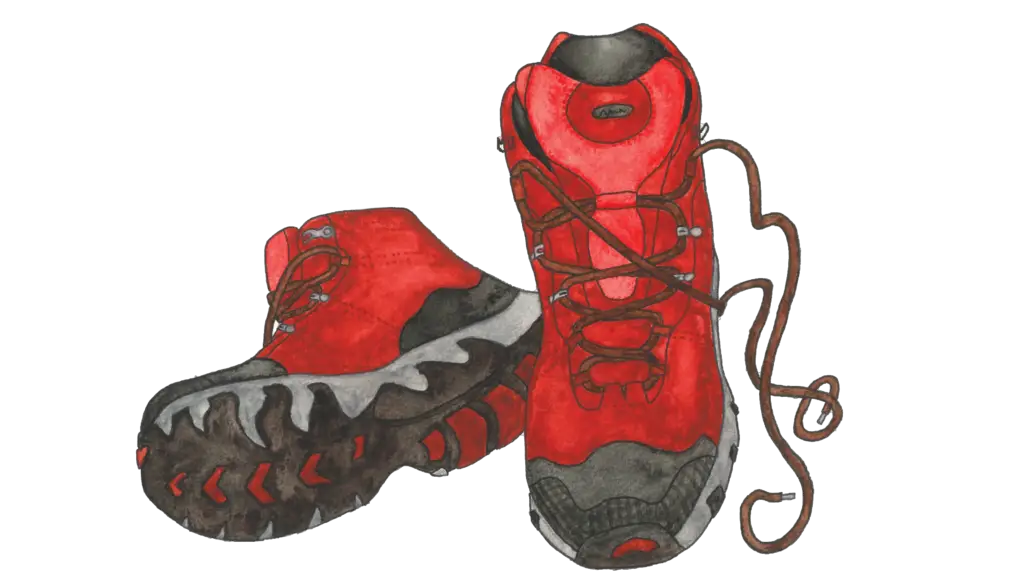
Footwear is another big personal preference (I could honestly put that caveat under every single heading on this post!). I’ve always worn tramping boots with ankle support, however more and more people nowadays are choosing lighter hiking shoes rather than boots. Some argue that hiking shoes promote healthy, strong ankles, and are breathable and dry out quicker on bigger hikes (better for your skin). While others argue that hiking boots give you well-need ankle support, durability, grip, and waterproofing.
Whichever your preference, make sure you try on your boots / shoes well and truely in the store, wearing socks that you would wear hiking (normally thicker than your average pairs – I would recommend shelling out to buy merino socks or similar if you can, your feet with thank you for it). Try to go boot shopping later in the day, as feet normally swell throughout the day. Walk around, up and down stairs and ramps (if the store has them) – there shouldn’t be anything rubbing or feeling warm anywhere, and although the boots should be a nice snug fit, they shouldn’t be too tight and you should definitely be able to move your toes.
If your heel or foot is moving around too much in the boot as you walk, or if you can feel the front of your boot with your toes, then you’re not likely to have a good time out on the tracks. Always ask for advice when trying on boots, but know that not all advice is equal – some salespeople are just that; there to make a sale, while others actually know their stuff.
Bonus tip: Are you really a Kiwi if you’re not tramping in shorts and gaiters?
Sleeping bag
The large majority of New Zealand’s backcountry huts provide visitors with a bunk and a mattress, but no bedding. If you’re tenting you’ll have even less; just what you bring in on your back. So a key part of your tramping gear is a sleeping bag. There are lots to choose from and having the right sleeping bag is essential for your safety, comfort, and mental wellbeing (as well as energy levels for the next day’s walking).
Sleeping bags can be sorted by their temperature rating, shape and filling – all of which determine their weight. The temperature rating gives you an idea of what conditions the sleeping bag is designed for, and is influenced by a myriad of factors. They can come based on seasons (e.g. summer, 3-season or winter) or more commonly now using the EN13537 rating system (comfort: temperature at which a standard women wearing one layer of thermals will sleep comfortably, transition: temperature the standard male wearing thermals will sleep curled up, and extreme: minimum temperature for use without developing hypothermia; i.e. not a very comfortable sleep). So select a bag that is within the range you’re likely to be using it in.
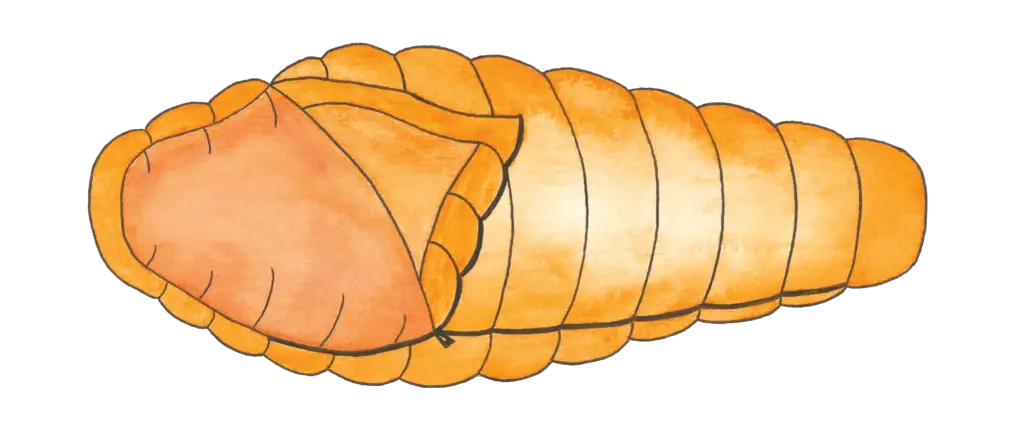
The shape of the sleeping bag also impacts its warmth, comfort and weight. The more traditional rectangle-shaped sleeping bags have lots of leg room and can double easily as a blanket with zips on two sides. These however have mostly been surpassed by “mummy” shaped sleeping bags, which are lighter (less material) and warmer (less air to heat up in the bag, zip only partway down on one side). Rectangle shaped bags are great for camping out of a vehicle, or in summer, whereas mummy bags are preferred for tramping – although they are tighter and can feel claustrophobic for some people.
The last variable is the filling of the bag itself – what insulates you and keeps you warm. There are two main fillings for sleeping bags – down and synthetic. Down bags are the preferred choice by most trampers as they are lighter for the same amount of warmth, they compress right down so you have plenty of space in your pack, and they’re more durable. However down is also more expensive, isn’t as insulating if it gets wet, dries slower, and requires special cleaning.
Synthetic bags are less expensive, insulate well when damp, and dry out a lot faster than down, but aren’t as light, small or durable. If this is your first sleeping bag, you may well choose to go synthetic because it’s cheaper, and then upgrade later if you need to. I used a synthetic sleeping bag for a long time before I upgraded to a down bag that I’m absolutely in love with – it’s a third of the size of my old bag and half the weight (and much higher loft). Which means more room for chocolate.
Bonus tip: carry a sleeping bag liner (you can go fancy and buy an expensive silk one, or you can just make your own from light sheets) which will not only keep you warmer, but it also prolongs the life of your sleeping bag by protecting it from dirt and sweat – sleeping bag liners are easily washed, sleeping bags … not so much).
Extra bonus tip: most people stuff clothes into their sleeping bag bag (the bag you stuff your sleeping bag into) to act as a pillow. However as much as I wish I wasn’t, I’m a bit of a pillow snob and I never could manage to make this comfortable. So after many years I eventually shelled out for an inflatable tramping pillow (which I drape my fleece hut pants over top). It’s ridiculously luxurious and I have received several rolled eyes when I blow it up in the hut, but man is it worth it. Full night’s sleep here I come.
Extra additional bonus tip: Also EAR PLUGS. If you’re sleeping in a hut, for the love of god, bring ear plugs.
Tent
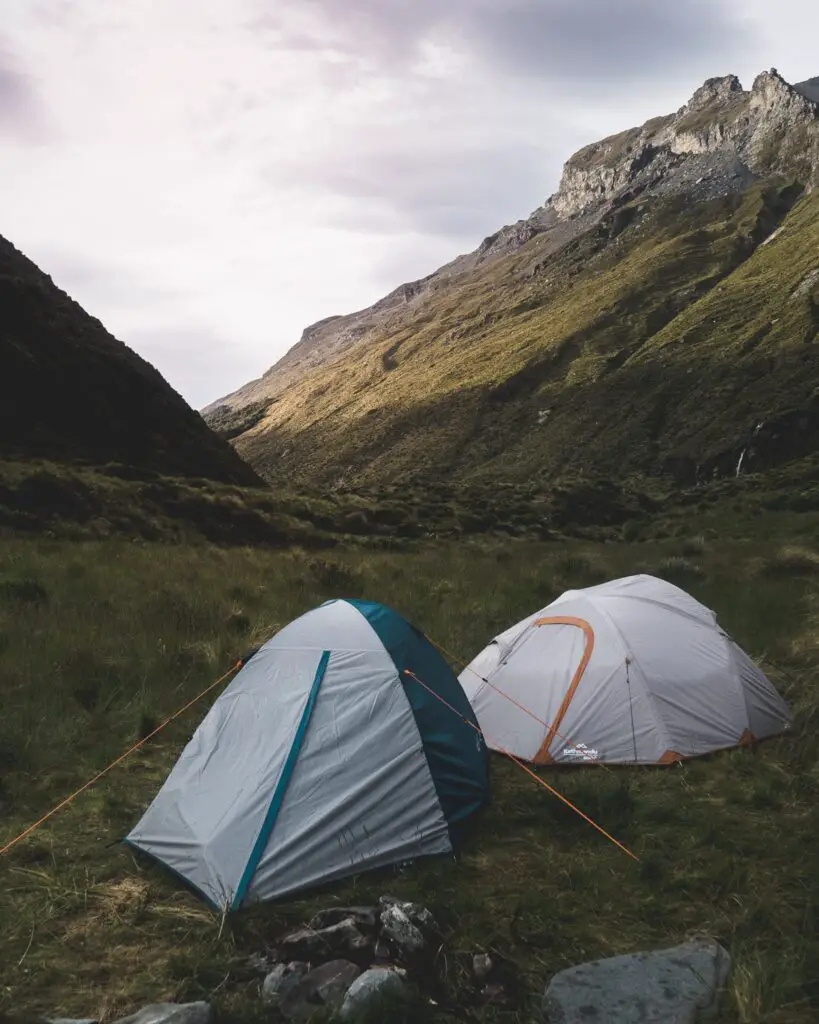
I’m going to be honest and say that I personally prefer staying in huts rather than tents when I can, especially with New Zealand’s extensive network of backcountry huts. For me, huts are more comfortable and social, and are less affected by adverse weather – I love the sound of rain on a tin roof, not so much on the fly of a tent I’ve just gotten into. That being said, tenting can allow you to travel to remote places that you couldn’t otherwise access.
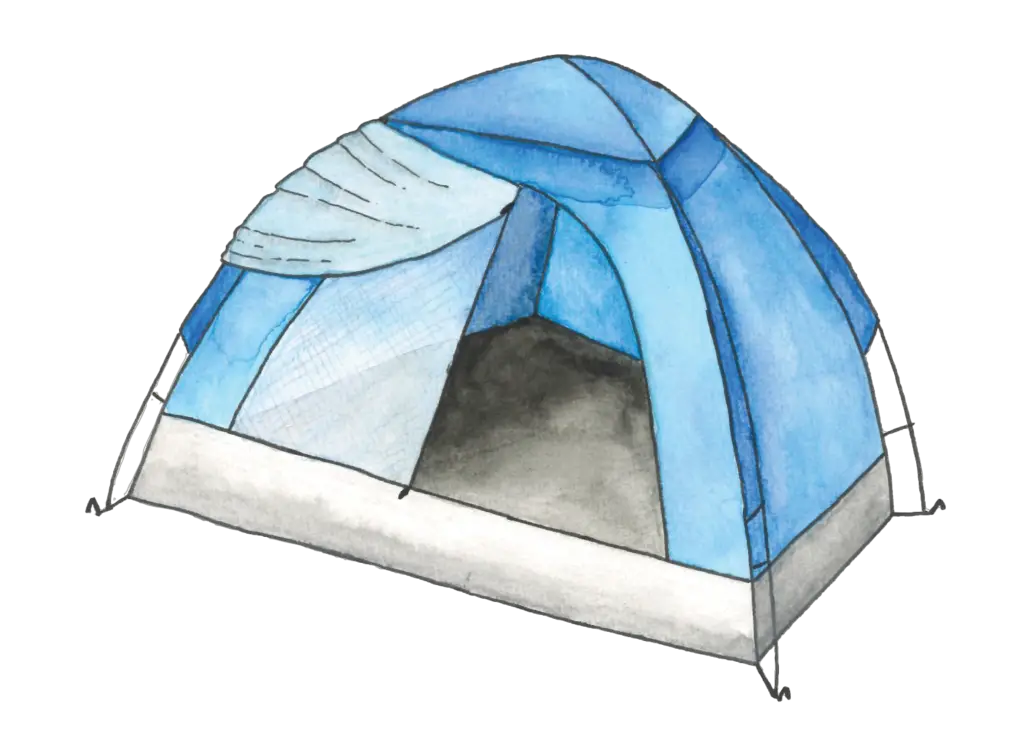
Tents are differentiated by size (based on how many people they sleep) and season (the type of weather conditions the tent can withstand & the material it’s made out of). It’s best to be realistic about how you’ll be using your tent – if you’re going to be camping close to the carpark then size and weight matter much less than if you’ll be lugging the tent for days up a mountain. If you are hiking distances with a tent, then weight will be the most important factor in your decision-making.
Weight is determined by the material (lighter usually equals more $$) and the size. I normally go for tents that are one person bigger than I need (e.g. my partner and I use a 3-man tent so we have room to move around and store our gear inside), although this does make them slightly heavier. Pay attention to the material the tent is made out of and what seasons it is built for – if you’re going to be tenting in downpours or snowy conditions then shop accordingly. If you’re only going to be camping in fine summer days then you’ve got more leeway. I would also recommend setting the tent up (if possible) in the store before you buy it, so you get a real feel for the floor space and height, as well as how easy / complicated it is to pitch, and to pack back into its bag.
If you’re just starting out tramping, then staying in huts rather than taking a tent is probably your best bet – you’ll get some experience, skills and confidence (as well as make sure you really enjoy this hobby) before having to fork out money for another piece of gear that will let you go to more remote places. A tent also isn’t the be-all, end-all – there are lots of people who sleep wild, using a bivvy bag, a tent fly, a hammock, etc., rather than a tent.
Cooking gear
Most of New Zealand’s backcountry huts don’t have electricity or cookware – you’ll either need to bring food that doesn’t need cooking (trust me, you’ll really want a hot meal at the end of a long day of walking), or more likely you’ll be carrying in your own cooking gear. Cooking on open fires isn’t environmentally friendly, and in New Zealand it often isn’t an option – either you won’t find any dry wood, or there’s a fire ban in place. So what can you bring instead?
Heating: although some huts in NZ have gas stoves in season (Great Walk huts, Mt Aspiring, etc.), most of the time you’ll need to pack this in. There are two main forms of cooking stoves depending on the energy source – canister stoves or liquid fuel stoves.
Canister stoves are best for beginners as they’re light-weight, cheaper and easier to use than their liquid fuel counterparts. They use a cooker unit that screws onto a pressurised gas canister (normally propane & butane) for fuel. You should always make sure you use these stoves in a well-ventilated environment (i.e. open the window in the hut – you don’t want carbon monoxide poisoning, never use inside a tent) and on level ground with nothing flammable around.
If you’re heading somewhere where temperatures are going to be very low / in snow, or the stove is going to be used somewhere very exposed and windy, then canister stoves won’t perform as well and a liquid fuel stove could be better. Jon Moake has a comprehensive post about this subject here with much more detail than I’ve gone into, including alternative stoves like alcohol stoves and how to recycle your empty gas canisters safely.
Bonus tip: it can be hard to tell how much gas you’ve got left in the canister, and you don’t want it to run out part way through your tramp. The gross weight (GW) is the weight of the gas and the canister combined, the net weight (NW) is the weight of just the gas alone – which is what you want to work out. So if the canister has a GW listed on the side, that’s great – if it doesn’t, weigh the canister on a digital scale before you use it and write this on the side. Now you can calculate how much gas you’ve got left: weigh the canister again – and take this number away from the original GW. The difference is how much gas you’ve used (since the weight of the canister itself won’t have changed, just the gas inside). For example, I bought a gas canister that had 230g NW – the weight of just the gas. On my digital scales it weighed 360g before use – the weight of the gas and the canister. I took it on a few trips and it was feeling a bit light, so I weighed it again – 245g. I subtract the original GW (360g) from the new weight (245g) = 115g. This is how much gas I’ve used. When I look back at the original NW (230g), I see I’ve used half the total gas.
Wow that sounds way more complicated than it is! Really you just want to know the weight of the gas (not the canister) and keep a measure of this so you know how much you have left and how fast you’re going through it (e.g. per person, per day). The Outdoor Gearlab does a great job explaining how to do this too in case what you’ve just read has your brain cogs smoking.
Cookware & cleaning: you’ll also need a billy (an all-purpose pot to boil water and cook your food) and/or plates, mugs and cutlery, as well as a way to light the stove (waterproof matches are ideal). I normally take one bowl, one mug (which has measurements so I know how much water to pour into my freeze-dried meals) and one piece of cutlery, normally a spoon or a spork, all made from light-weight material. For cleaning, I take in a quarter of a sponge that I’ve cut up and a small lightweight towel that is designated as a tea-towel. Some people take in small amounts of bio-soap, but I haven’t had any issues with just rinsing and drying thoroughly.
Fluids: you’ll also need a water bottle and / or bladder for hydration. I haven’t yet invested in a bladder, but I have so much envy when I see other people on the trail casually sucking away on their tube without having to take their pack off to reach their water, or alternatively go into weird yoga poses to reach the side pockets while still wearing the pack. How much water you need will depend on the hike, and I’ll go into that under the Food post that’s coming soon. But again, think of weight and usability (and reusability!!).
I’ll be writing up a separate blog about what food and fluids I take with me on hikes. I wanted to include it in this one, but it was going to be far too long!!
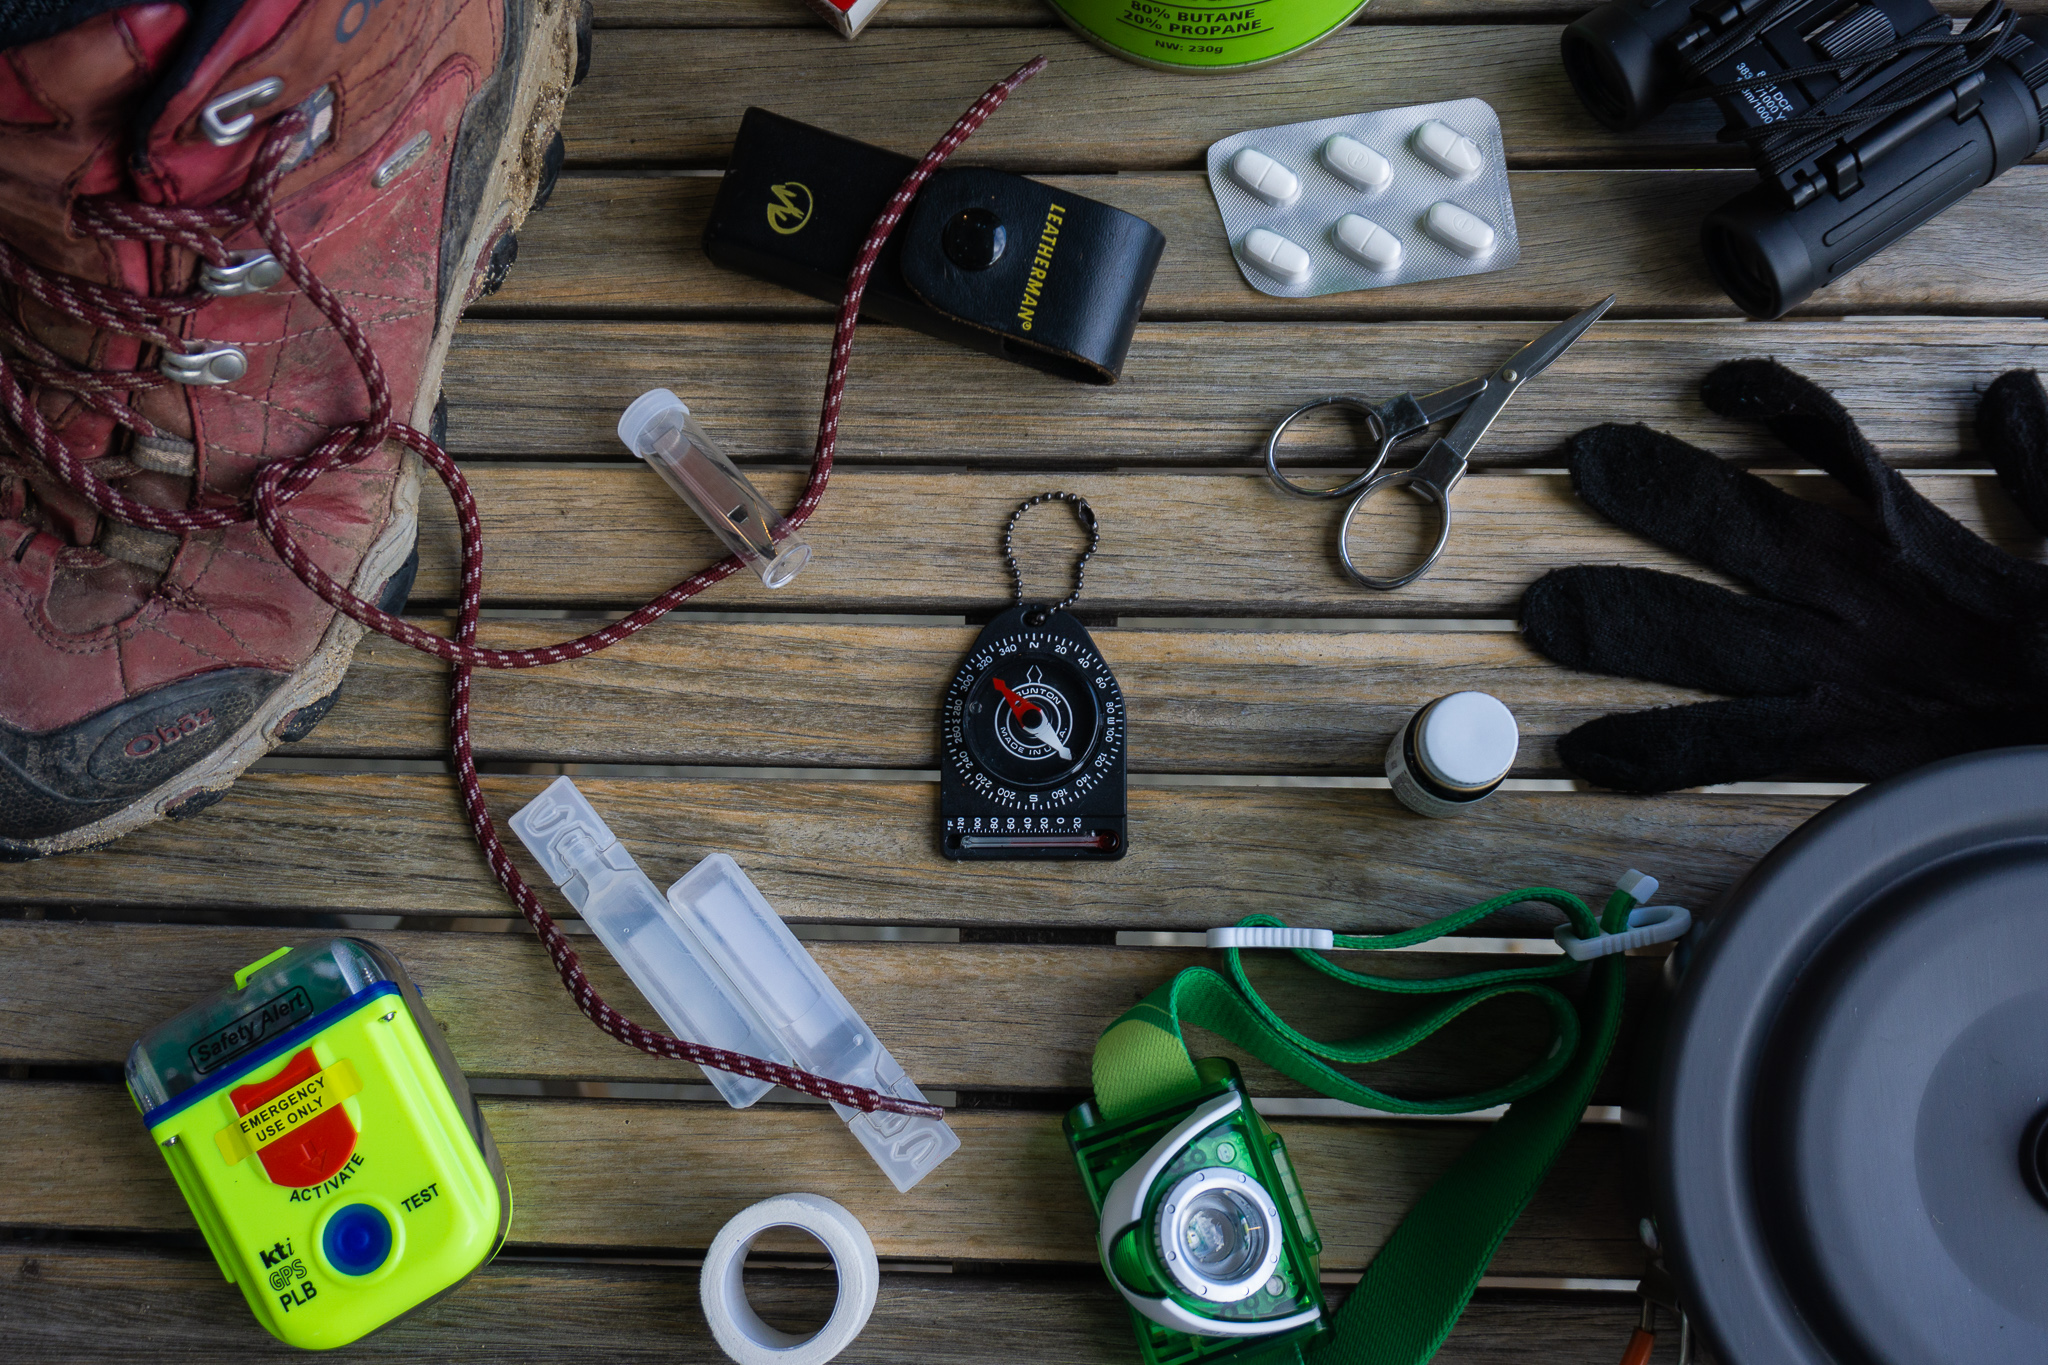
Safety gear

Last but certainly not least! Safety gear is the most important gear to take with you, and is often forgotten about or left at home. I’ve written a How to Stay Safe in the Outdoors post already which has some great tips, since having “all the gear but no idea” isn’t necessarily any safer than not taking any safety gear at all, no matter what those hashtags will have you believe. So have a read of that before you head out! Otherwise, below is some safety gear you should consider taking on your trips, no matter how small they are planned to be – you never plan on spraining your ankle, or losing the track and having to spend a night outdoors.
First aid kit: you’ll need a variety of bandages, bandaids, blister wool, crepe bandages, medications (including pain relief, anti-inflammatory meds, antihistamines), scissors, tweezers, antiseptic, etc. in your first aid kit. You can buy tramping first aid kits in most outdoor shops, but the best way (if you have the time and inclination) is to pack your own – it can be slightly cheaper and you choose what you put in it so you know exactly where and what everything is (although if you buy a pre-made one, you should familiarise yourself with it too). I put my emergency blanket in my first aid kit too, as well as paper and waterproof pencil. Mountain Safety Council have created a video that details what you should include in your first aid kit, and REI have a comprehensive list here.
Bonus tip: sunscreen and insect repellant are crucial for most trips in New Zealand. Our sun is fierce; you can burn in only 12 minutes, and our sandflies are loathsome creatures that have driven me insane on numerous occasions.
Communication device: it’s essential that you have a way to communicate if things go wrong, especially if you can’t wait for your trusted person to contact search and rescue when you’re late out. While I take my phone with me for photos, videos and navigation apps, I never rely on having service – cell phone service is patchy in our wilderness to say the least – it’s called the wilderness for a reason after all! For communication I take an emergency beacon, which you can buy (expensive but potentially worth it) or rent – there are some lists of rental providers here and here. It’s not an understatement to say that personal locator beacons (PLBs) save lives. It’s also a good idea to take a whistle for shorter distance communication with search parties, or if you get separated from your tramping party.
Way-finding equipment: you should always pack gear to help find your way. This can be super helpful if you get lost, obviously, but also useful for keeping you on the right track / route in the first place. If I can, I take a physical topomap of the area I’m tramping in, or I load up a virtual topomap on my phone (keeping it on airplane mode to prolong the battery life). (I”m envisaging writing up an orienteering / map-reading post at some point, in case you have no idea what a topomap is). It’s also a good idea to take a compass, and to know how this can help you if you get lost (i.e. not just for telling you which way north is). There are amazing GPS devices our there nowadays too, but they’re often pricey, and not something I’ve chosen to invest in.
Lighting: I’ve heard of people attempting Cave Stream with only a cellphone for light – not only did it mean they only had one hand to climb up underground waterfalls, their cellphone died before they reached the end of the cave and they had to complete the last section in utter darkness. Cell phones can’t be relied upon for light any more than they can be relied upon for communication in the great outdoors. For lighting, a head torch is the best choice – it’s hands free and can come in a variety of lumens (higher number = brighter). I also pack a solar powered lantern from Solight – super lightweight, but a perfect eco-friendly light source for huts and tents.
Clothes & food: I’ll be writing up a separate post about what clothes and food you should look at taking on trips, but regardless of length or season you should always take extra warm layers (including a hat, cloves and a rain jacket) in case the weather turns or you get caught out for an unexpected night outside. Likewise, taking more food and water than you think you’ll need is always good idea – I normally take some OSM bars, scroggin and Back Country Cuisine freeze-dried meals. And lots of chocolate. Goes without saying.
Shelter: lastly, you should always have some form of emergency shelter in case things go south. This may be a tent or fly if you’re not staying in huts, but more likely it will be your pack liner that can double as a discount bivvy bag.

Extras
There are lots of different extras you may want to include depending on the type of trip you’re planning (e.g. bikini and towel for soaking in the hot pools at Welcome Flat Hut, binoculars for bird watching, etc.). I’ve listed a few more things below, and may keep adding to this as more suggestions come in – so leave a comment and let me know what you think!
Toiletries: keep it light-weight team! Taking deodorant is definitely not frowned upon, especially on multi-day hikes. As a Speech Language Therapist who treats swallowing issues (dysphagia), please take a toothbrush and toothpaste so you can keep up your amazing oral hygiene routine! I always take sunscreen, and often insect repellent (depending on the location of the hike and how infested I think it’s going to be). I also take chapstick with a high SPF rating to protect my lips and keep them hydrated too (especially when my face is going to get a bit of wind-burn).
Girls, unless you get horrible cramps, you shouldn’t let your period stop you from hiking – you’ll just have to pack out all your waste in a separate bag, so factor that into your packing. Overall though with toiletries you want to be keeping the weight down, so don’t being the whole tube of moisturiser, sunscreen, etc. – transfer it into a smaller bottle so that you’ve only got the amount you think you’ll need. Also if you get really greasy hair and that’s something that bothers you – dry shampoo works miracles and isn’t very heavy.
Hut tickets: don’t forget your DOC hut tickets!! I remember one frosty morning, 20 minutes along the track towards Mueller Hut, realising as the sun just started to touch frozen tussocks, that I had left the hut tickets in the car (sorry Grace). Don’t be like me – remember your hut tickets.
Photography: this was a piece of gear that kept coming up when I asked for suggestions about this blog (thanks everyone who provided feedback!). I’m still a relative beginner in my photography journey and as such I haven’t tried a lot of different kits. I don’t take a tripod (although I know there a lots of light-weight ones out there that would be perfect). Normally I rely on there being a conveniently placed rock, which has so far worked out for me.
I also don’t take my husband’s drone – as permits are needed from DOC to fly in most of the places I go tramping. I do however take my camera – a lightweight mirrorless DSLR with a small kit lens, in it’s own bag that I often wear underneath my pack (and across my front for easy access). Just be conscious of weight when considering whether to bring your camera or not, and what camera to bring (if you’re that lucky and have choices). I also bring my phone for videos and some photos.
And that’s my thoughts on the gear you should take tramping! I hope this list helps new comers – there’s a lot to consider, so hopefully this has been useful. I’ll be writing up blogs about clothing and food / fluids soon, most important – so keep an eye out for it!
Thanks for everyone who contributed ideas (there were so many!), and thank YOU for reading! Leave me a comment or message if you’ve got any thoughts; hearing from readers makes my day.
I love your little artworks! I’m just a beginner and still don’t even have a good day pack, ha! I will be looking at pack liners and how to use a compass now, thanks to your article. Thank you 🙂
Hey Kimberley! Glad this was helpful for you! Let me know if you’ve got any questions, just reach out. I’m planning on writing a way-finding post as well, keep an eye out!
Very thorough list of necessary hiking gear! Just know it’s not just for novices, but even somewhat expetienced hikers like me.🤗 You’ll be glad to know ihad my pen & paper out taking notes, not only for my upcoming Mueller Hut overnighter, but especially for mz month long tramp on the Te Araroa in February. Great job, Alice! 💯👍
Thanks Mike! Best of luck for Mueller, it’s amazing! It was one of my first blog posts actually haha. And awesome for the Te Araroa! Which section(s) are you planning on doing?
Most welcome, Alice! Planning to do the Nelson-Marlborough section and hopefully, part of the Cantebury section … as much as I can do comfortably in 30 days or so. Only a month away, I’m sure I’ll be contacting you on more tramping advice 😉
The weather is starting to improve for you! I look forward to seeing your pics 🙂
Great article Alice. Weighing the gas canister, brilliant. I don’t hike much but always just bought a new canister as I never knew how much was left from my last trip. So many great tips here. Trying on boots later in the day when looking to buy is another gem of a tip. Thanks for typing this article up 🙂
Thanks for reading (and for commenting!) Nick! Glad you got some helpful tips 🙂