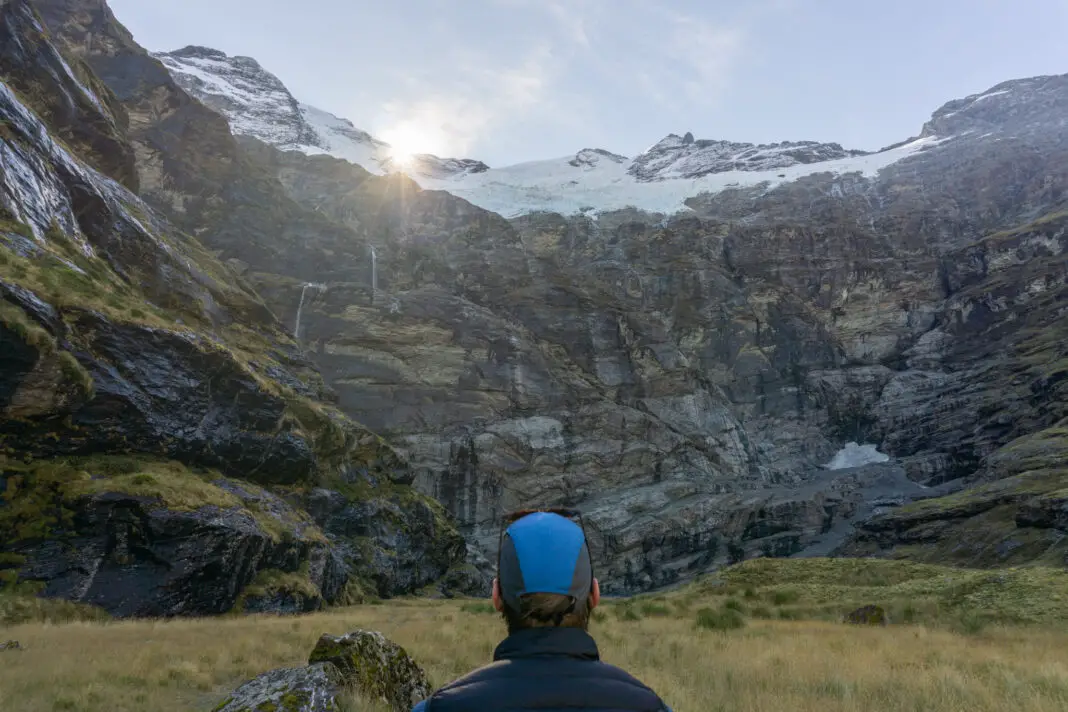
To go tramping is to go on an adventure, but adventure doesn’t come without risk. According to Mountain Safety Council, on average each year in New Zealand:
- 1 in every 279 trampers suffers injury,
- 1 in every 3,109 requires Search and Rescue,
- 1 in every 219,876 doesn’t make it home (average of ~6 fatalities per year).
Although some accidents are tragically unavoidable, many things can be done before and during trips to minimise or eliminate these risks. After analysing 10 years’ worth of data, Mountain Safety Council found that competence was the biggest causal factor for tramping fatalities (their report “A Walk in the Park” is a really interesting and easy read with lots of awesome infographics – you can find it here).
Competence = skills, experience, ability, and decisions
Simply put, if you come across something in the outdoors that is outside of your skills, experience or abilities, you’re more likely to make the wrong decision and put yourself at risk. If you’re less experienced, it’s also more likely that you’ll have made poor decisions in the first place to put yourself in this dangerous situation. If you’re new to tramping, this is scary as it means you’re more at risk. Here’s what you can do to help keep yourself safe.
The Land Safety Code
Following the steps of this code will help to minimise the chances of an accident. If something does goes wrong, this code will also maximise the chances of you and your party coming back home safely.
1. Choose the right trip for you
Do some research and choose your trip wisely, keeping in mind you and your group’s fitness and experience levels. If you’re not sure, ask someone who’s done the trip before, talk to your local tramping club, or visit/call your local visitor centre. Remember that these people aren’t going to be familiar with your personal level of experience level. It’s best to ask objective questions, rather than “how hard is this hike?” Tramping can be very subjective and what’s hard for one person can be easy-peasy for another.
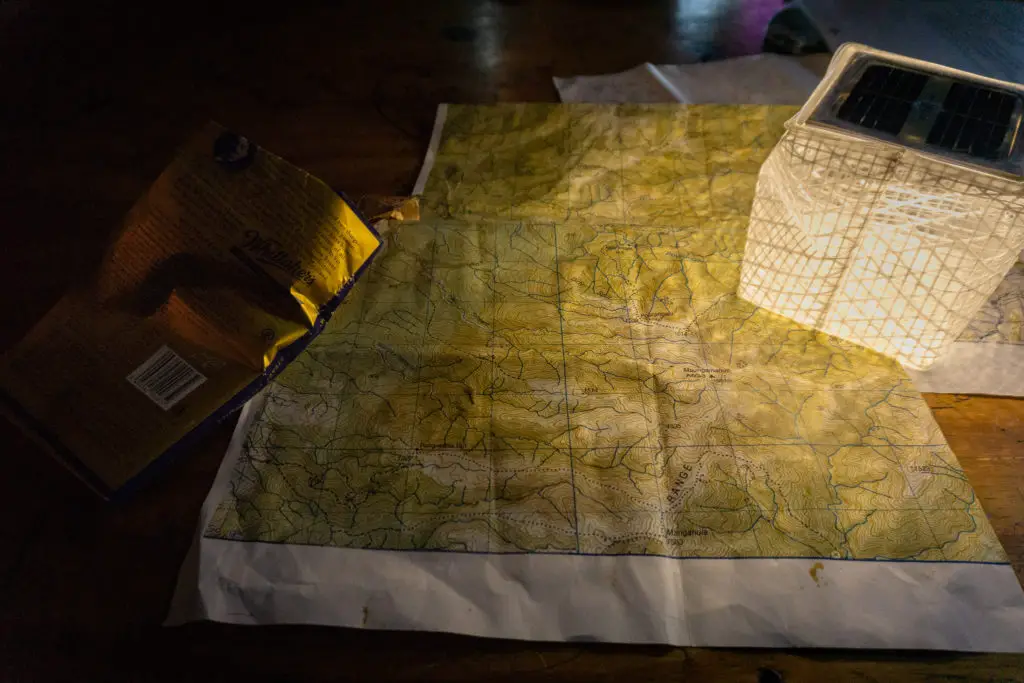
Check our your intended route on Topomaps (if you’re not too sure how to read all those squiggly lines, I’ll be writing a post about this soon!). Things to look out for include: distance, elevation and elevation change, notable features, how exposed vs. sheltered the route is, river crossings, huts/shelters and alternative/escape routes. It’s always good to have an idea of where you can go if things do go wrong (e.g. weather turns bad and you need to get off a ridge and find shelter).
It can be hard for beginners to know how to select a hike that will be a good match for their skill levels and experience. You don’t know what you don’t know! So here are some points to consider when choosing which tramps are best suited to you:
Seasons and weather
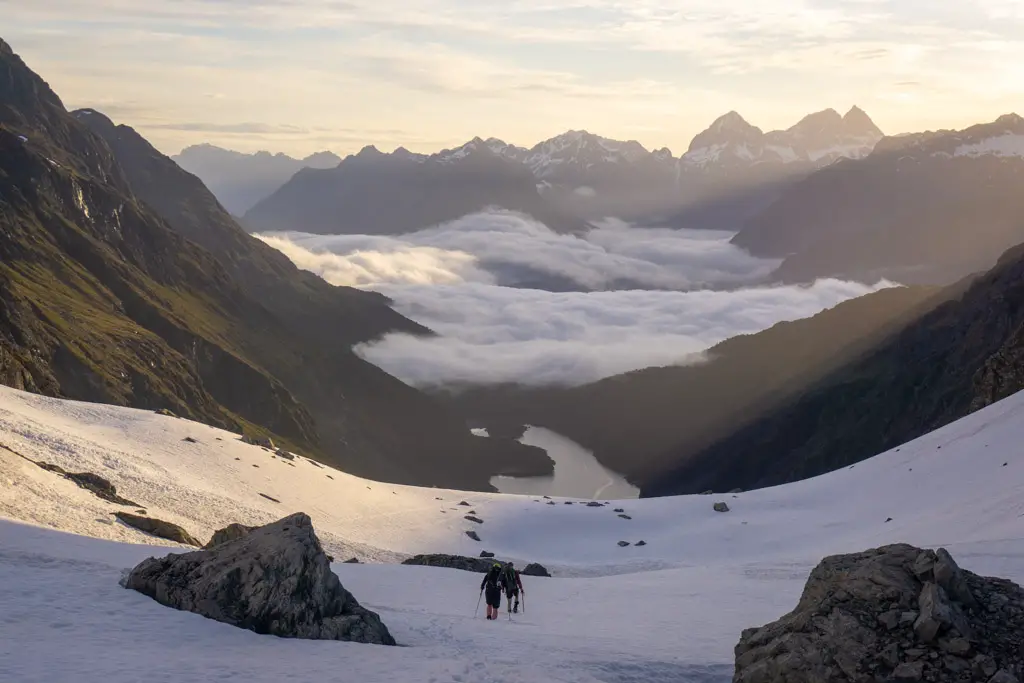
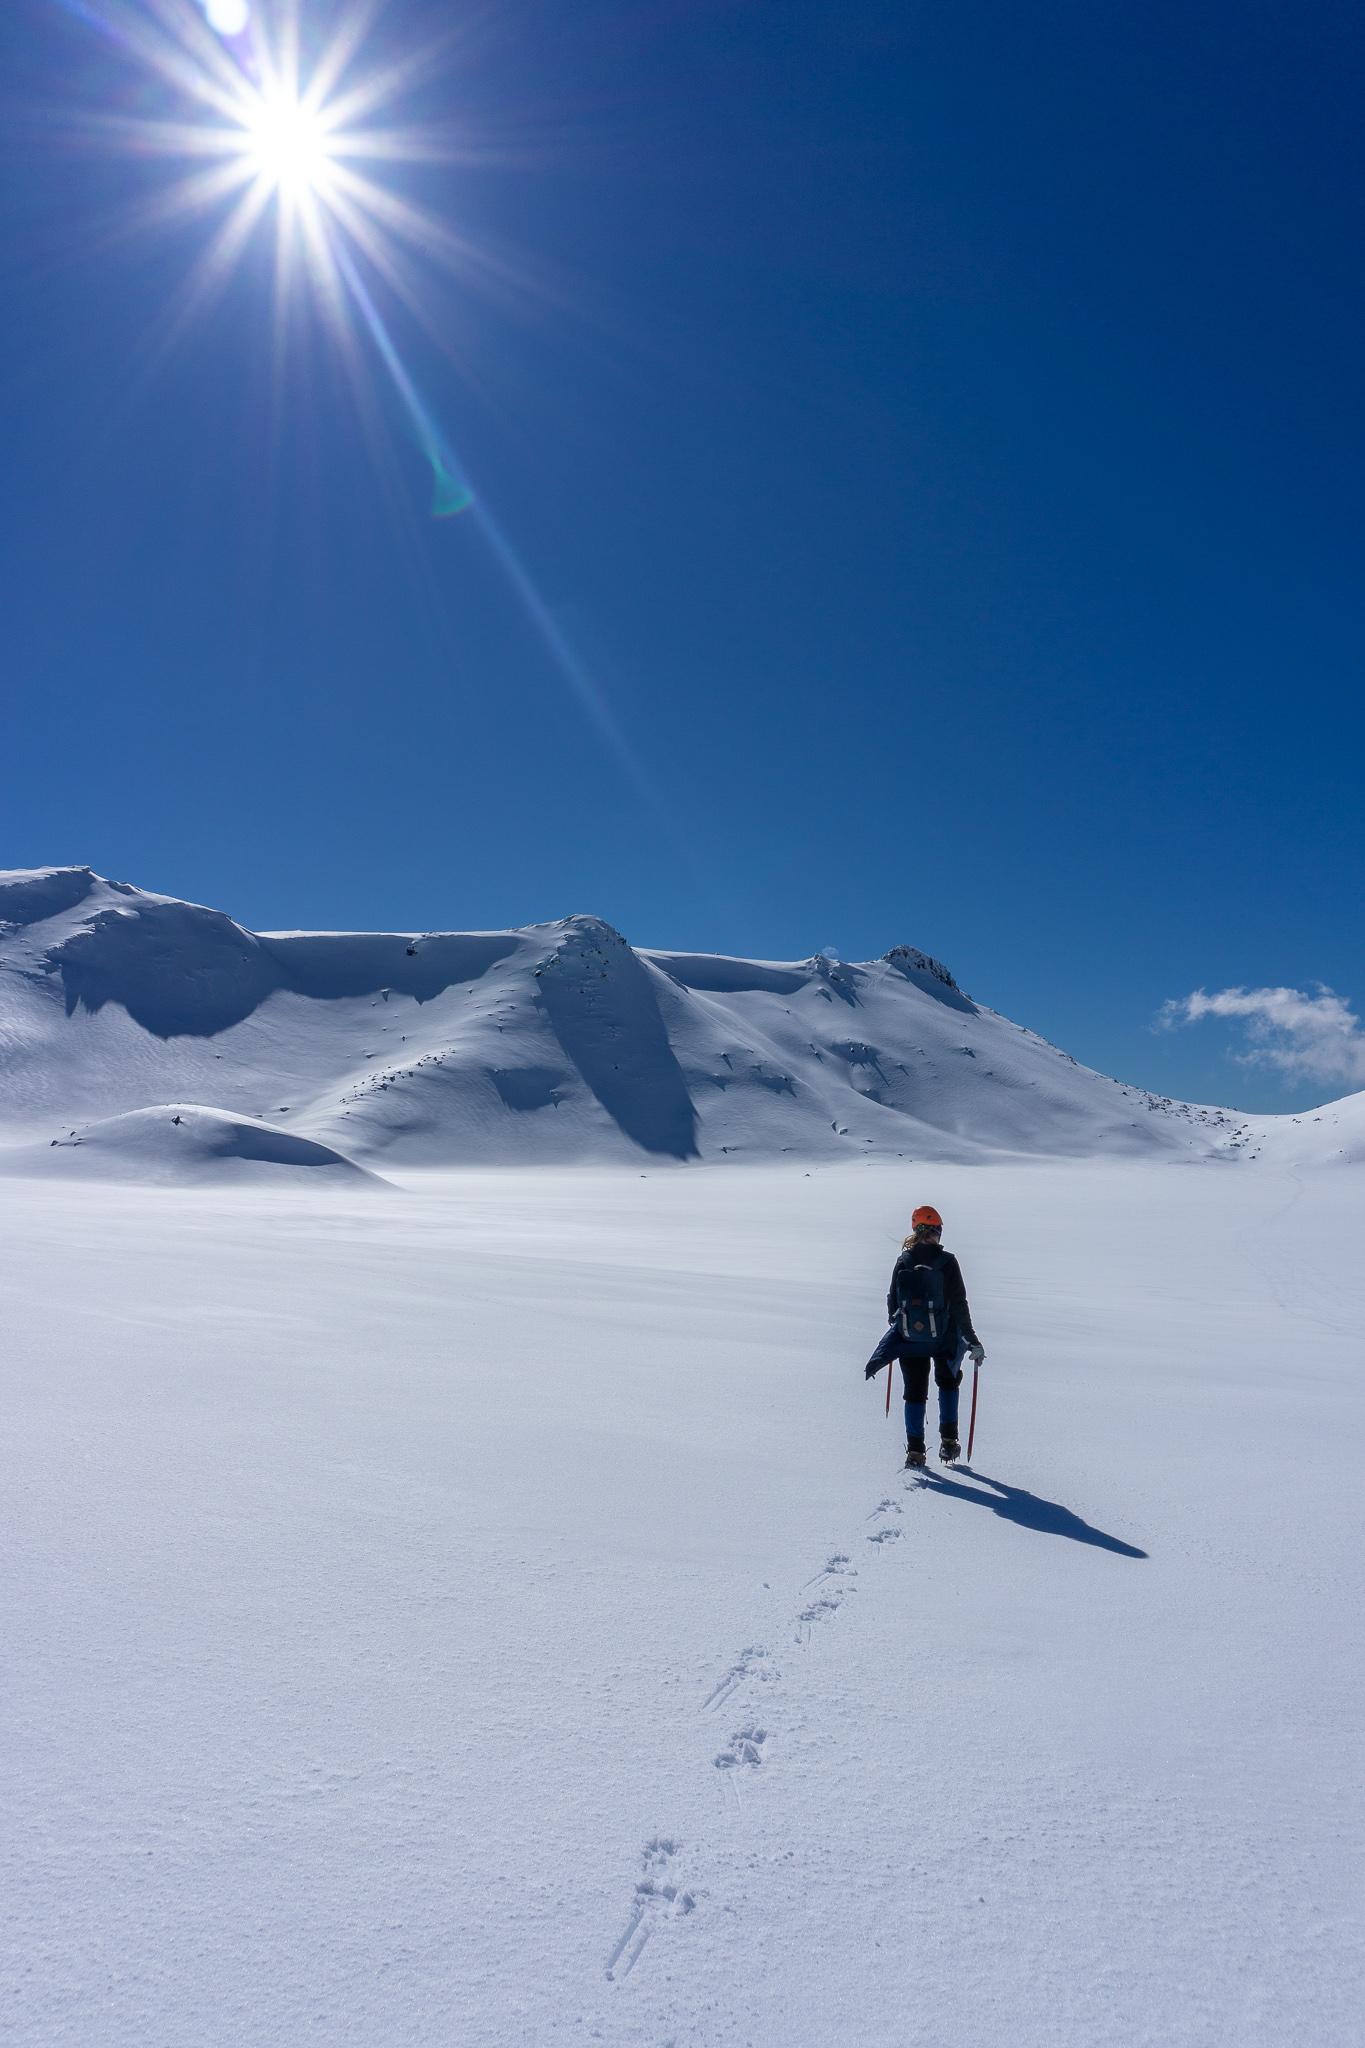
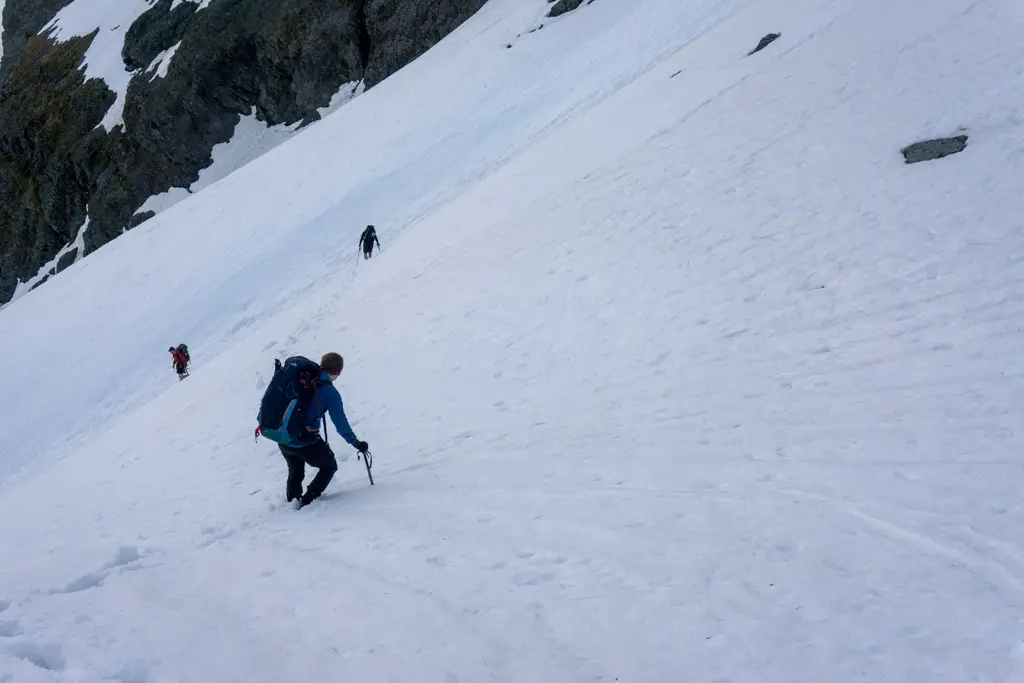
It’s important to also keep in mind that the time of the year that you’re wanting to attempt the trip, as well as the elevation of the track, can drastically change difficulty levels. Some tracks/routes that are easy in summer become extremely difficult/impassable in winter due to ice, snow, and avalanche risk. The summer months also have many more daylight hours, which gives you more leeway for longer trips.
The easiest track can be made very difficult by adverse weather (and vice versa). And it’s not just the weather during your tramp that affects you. If it’s rained or stormed before you head out, then the rivers may be in flood and the ground may be saturated and muddy, or there may be higher avalanche risk.
Keeping an eye on the weather, not just for the time period of your trip, but also in the lead up to it, is a good idea. Our rivers can rise extremely quickly and leave you stranded if you’re not careful. Different seasons are also more likely to have specific conditions – although with New Zealand’s weather, you have to expect any and all weather conditions no matter the season.
Length & elevation
Looking at average times for tracks is much better than only paying attention to the distance. 4km flat walking on a footpath vs. 4km of continuous steep climbing up near vertical ridges will be very different in time, but the same in ‘distance’. Overnight or multi-day hikes are harder than day hikes, not only for the length but also the extra gear required and the fact they are more likely to cover challenging terrain.
That being said, while a 10hr hike is obviously going to be more challenging than a 2hr walk, the elevation change is also an important factor to consider (elevation profiles on DOC brochures and Topomaps are a great way of ascertaining this). The more elevation change, the harder the track and the fitter you’ll need to be. While you’re at it, checking out the general elevation of the hike should also give you a good idea of what types of conditions you might expect to encounter (e.g. sheltered bush walking in valleys vs. up on exposed ridges).
Type of track
There are many different types of tracks in New Zealand. Paved wheelchair-access walkways to routes with no markings, and absolutely everything in between. DOC uses a grading system for walks. The below symbols denote the different difficulty levels. In general if you’re a beginner, you should stick to Intermediate tracks and easier (unless you’re with someone more experienced) until you get your increase your abilities and confidence. Intermediate tracks are denoted by the symbol of two people walking with packs as shown below. The popularity of the track is also important since a popular track should be well worn and easy to follow, better maintained, and is likely to have more people from whom you can ask for help.

Type of accomodation
If you are planning on spending one or more nights out in the bush, then knowing what to expect from your accommodation (or lack thereof) is also important. A hut in season on a Great Walk (with cooking gas, running water, bunks, fire, flush toilets, and a hut warden) is very different from a basic bivvy or a campsite (you get a long drop toilet and maybe a water tank if you’re lucky).
The booking system, cost and payment method varies for the different types of huts too. Some huts and campsites are bookable while others operate on a “first come, first served” basis. Bookable huts with a good amount of amenities are the best bet for beginners, since it lessens the amount of gear you have to take, and you don’t have to rush to ensure you have a bed. They just make life easier in general. You can learn more about the different categories of huts here.
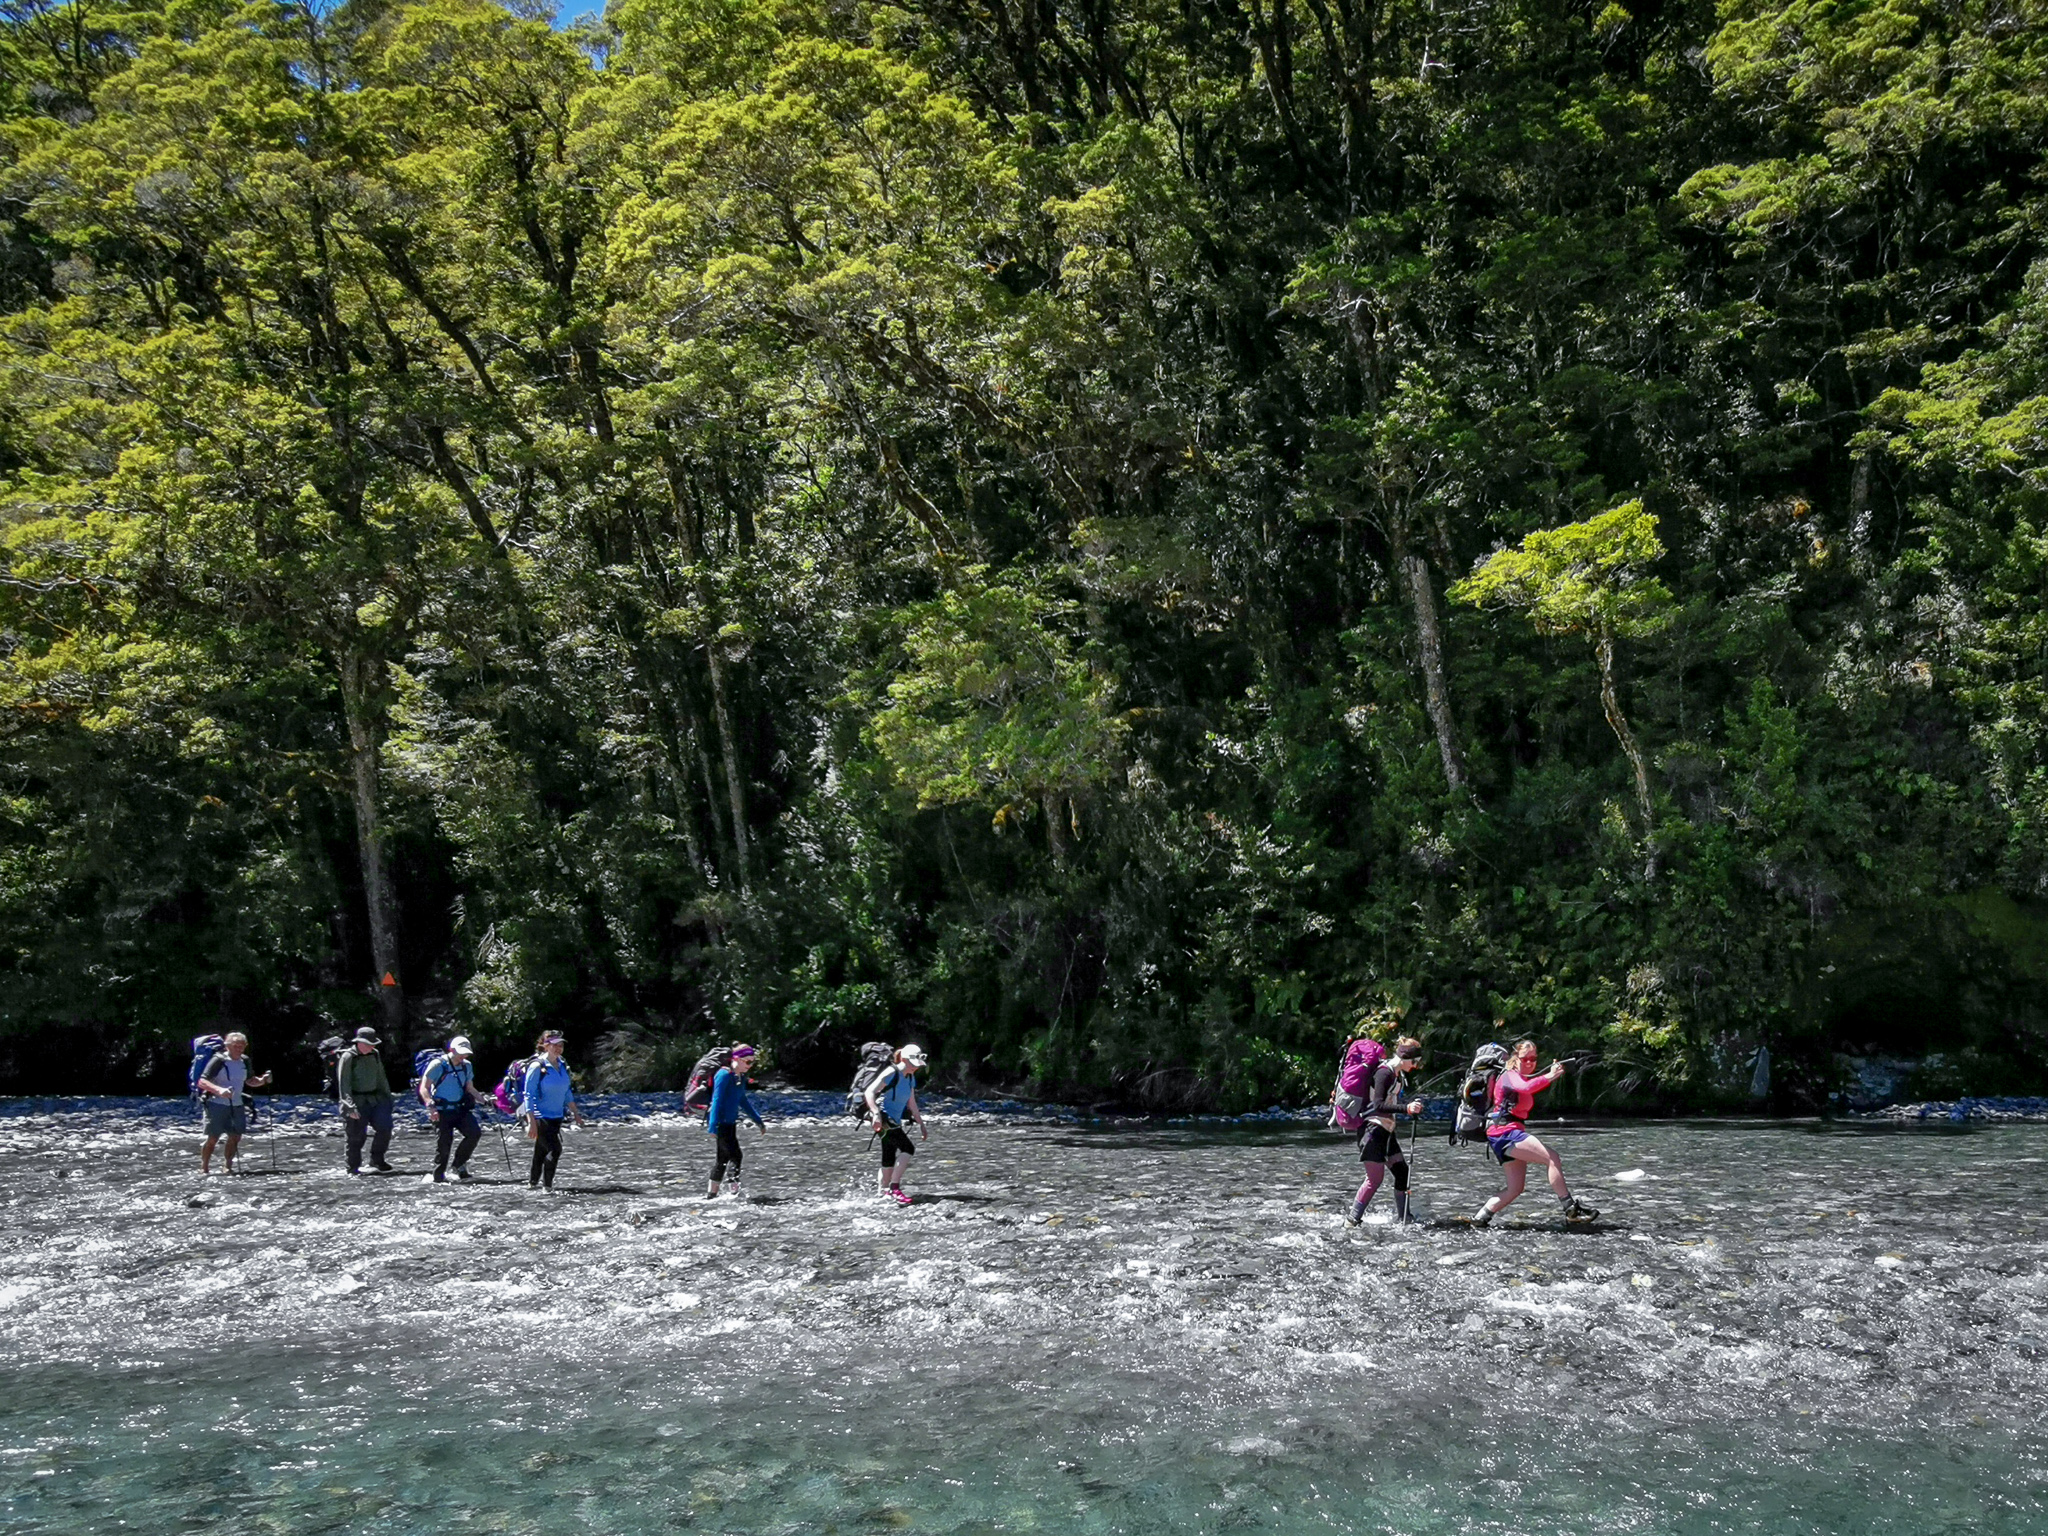
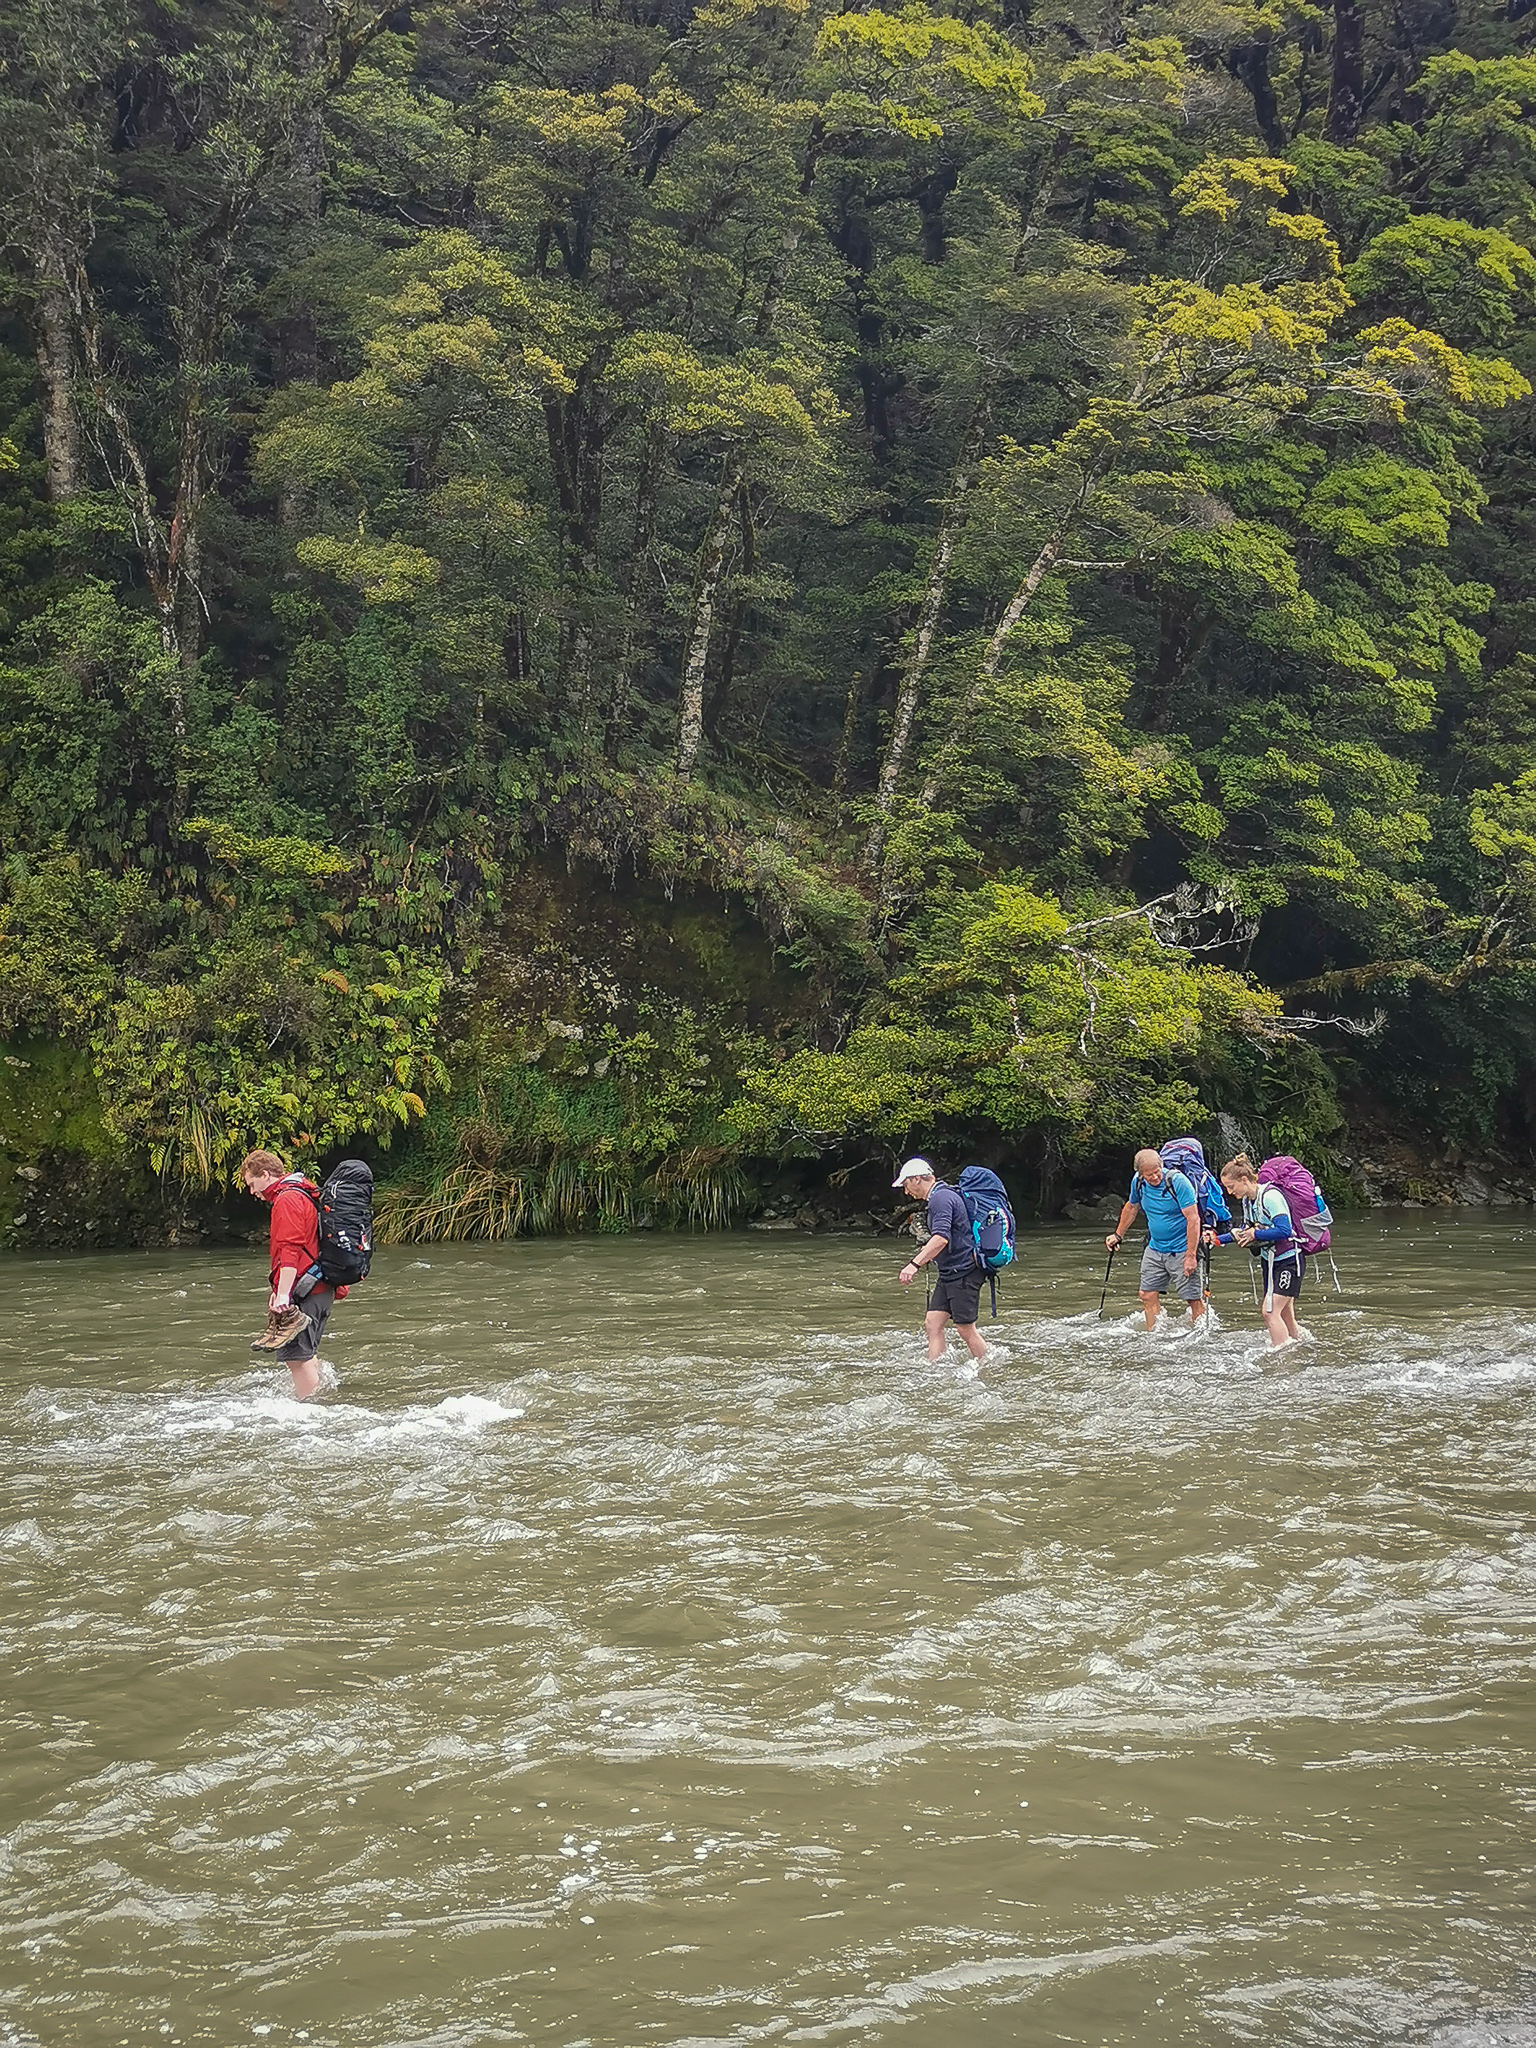
River crossings
Rivers can be a dangerous hazard when out hiking – 21% of New Zealand’s tramping fatalities are from drowning in a river according to Mountain Safety Council. Tramps that are classified by DOC as “intermediate” or easier should have bridges over all major rivers (although some are removed in winter due to possible damage from avalanches, e.g. Milford Track). This is part of the reason I recommend sticking to these if you’re only just starting out.
Advanced tracks may have river crossings. If you’re not experienced in river crossings, avoid them and tracks that have them until you’ve built up your skills. There are specific courses that teach safe methods for crossing rivers – you can find more about this topic here.
Number of people
Heading out solo as a beginner places you at more risk – it’s safer to go with three or more people (if someone is injured, one person can help the injured tramper, while the other goes for help). It’s important to choose your tramping buddies carefully (fitness, health, attitude, amount of chocolate they’ll contribute / consume) to make sure you’re all safe, doing the right track for your skills and experience, and will all enjoy yourselves.
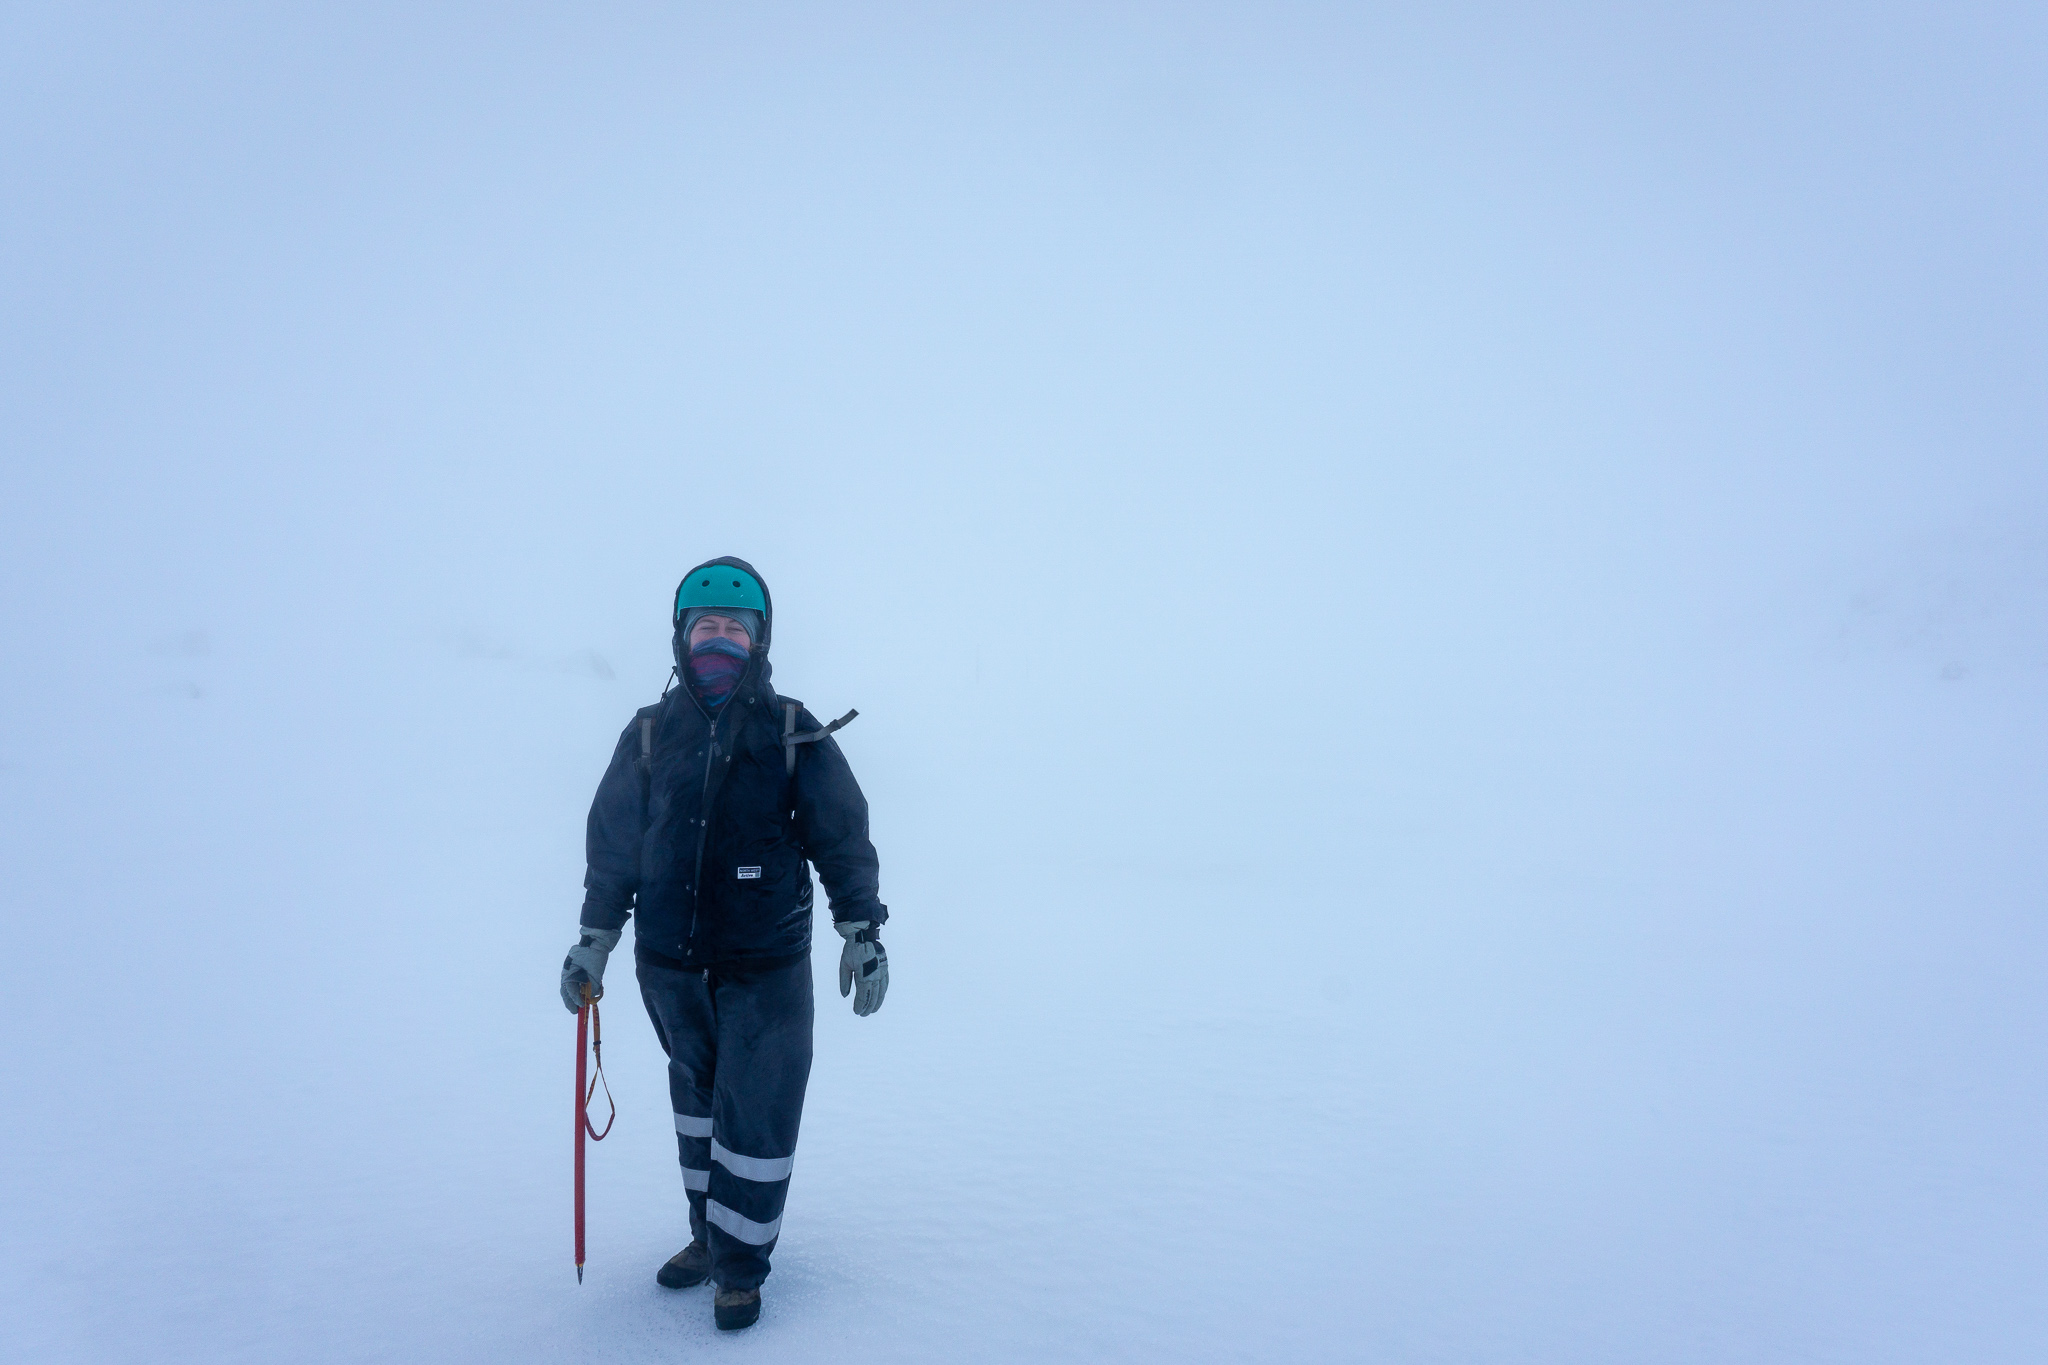
2. Understand the weather
As Kiwis, we’re lucky: our country isn’t trying to kill us with dangerous animals or plants (#notAustralia), but one of the worst hazards when it comes to tramping in New Zealand is our highly changeable weather, which can leave people in really dangerous situations.
Knowing when to change or cancel your trip, or whether to stay an extra night in the hut because of the weather comes with experience. My advice is to always be cautious and never underestimate the effects of wind, rain/snow, and cold temperatures. The mountains will always be there for another day, but you might not be if you get caught out.
I check the MetService forecast often in the days leading up to a tramping trip. Not only the general forecast, but also the mountain forecast (click on “Mountains and Parks” in the top horizontal banner). As well as the 3-day rain forecast, which also shows predicted wind speed (little box to the left on the home page).
Chatting with locals or experienced trampers who know the area is invaluable. I’ll be writing more about this topic soon, as it’s such an important one when it comes to tramping in New Zealand, and is a contributing factor to so many potentially avoidable injuries and fatalities each year.
3. Pack warm clothes and extra food
It can be really hard to know what to take on trips when you’re first starting out. Everything from gear to food, even down to transport to the trailhead. It can all feel a bit overwhelming. I’ve written a whole blog post about what gear to take. But if you don’t have the time then bookmark that link for later and keep reading. Here are some quick tips to keep in mind.
Clothing
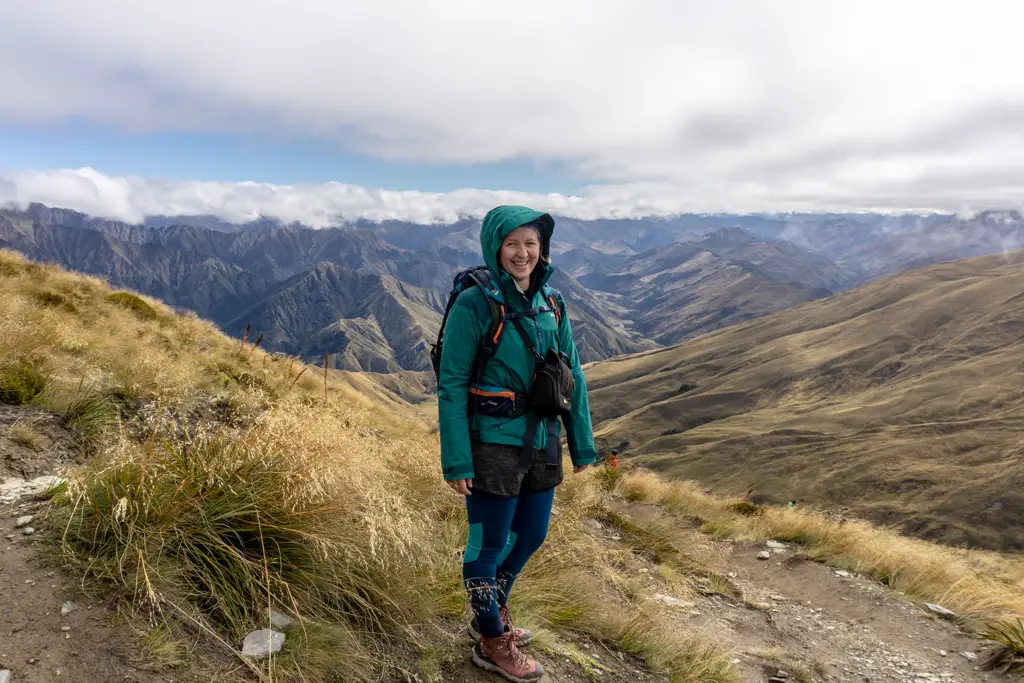
In New Zealand you should always take a windproof and waterproof jacket. Even on relatively short walks and even if the day is looking sunny. Clouds may come in bringing rain. Or the wind might get up and chill your bones. Parkas are usually pretty lightweight and compact, so popping them into your pack isn’t a big deal.
The rest of your clothing is up to personal preference. I would recommend wearing layers so you can easily regulate your body temperature. Avoid cotton or denim. These fabrics don’t keep you warm if they get wet (fleece and thermals / merino are much better layers).

Food and fluids
I always take more food and water than I think I’ll need, in case I have to spend more time than expected outside for any reason. Or for if I come across someone who needs help (like a guy who was about to fill up his drink bottle with brackish tarn water on the Harris Saddle). For a full day’s walk I’ll take between 2-4 litres of water. The exact amount depends on how steep the track is and how hot the day is (i.e. how much water I’m going to loose through sweating).
Everyone is different with their hydration requirements. I tend to be on the thirsty side. You should be sipping on fluids regularly throughout the day rather than drinking a lot all at once. As weird as it sounds, water intoxication is a serious health condition caused by drinking too much water too quickly.
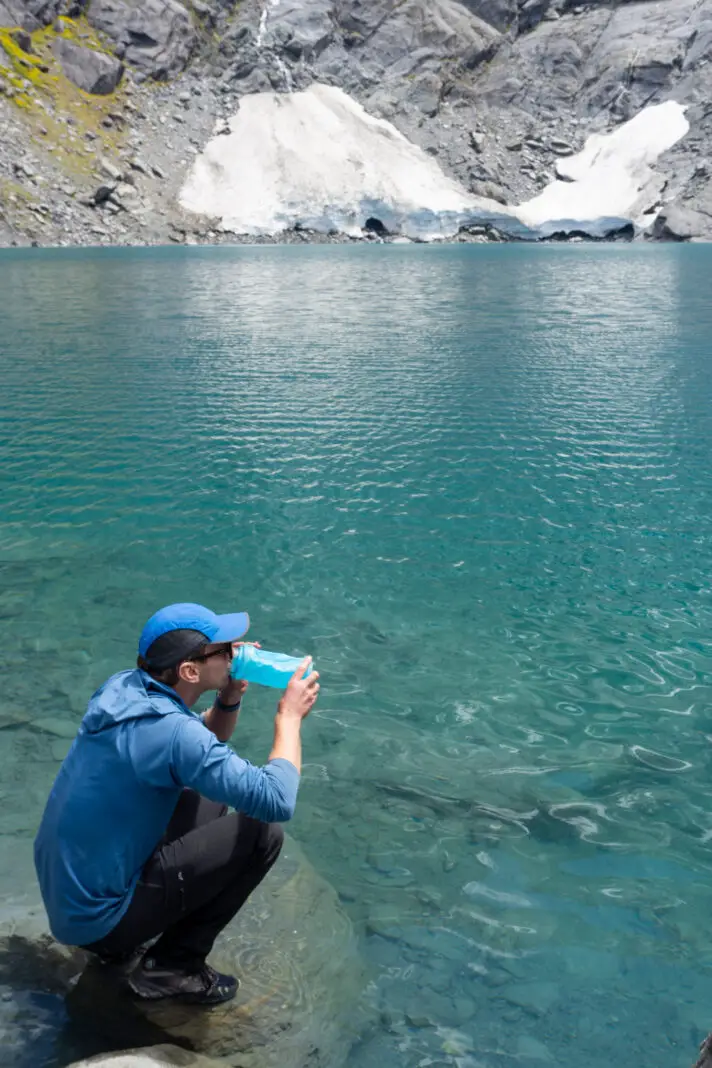
A good way to check if you’re well hydrated is by checking the colour of your pee (if you’re able to). It should be pale yellow. If it’s dark that’s a sign that you need to drink more. Or you can pinch the loose skin on the top of your hand. If you’re dehydrated it will stay pinched for a few seconds rather than immediately returning to normal.
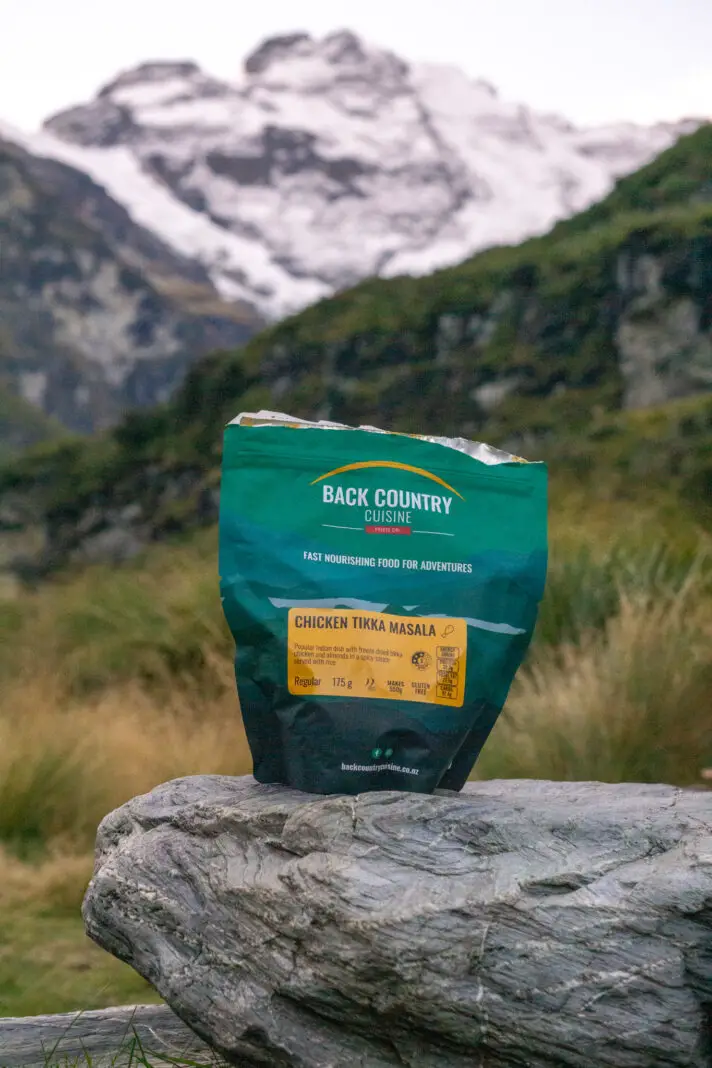
For food, you want lightweight snacks and meals that have good bang for their buck in terms of energy and protein. Everyone has their own preference when it comes to food, but for dinners I generally prefer dehydrated meals since they’re really light but also really hearty. For lunches I take crackers with tinned salmon and a soft cheese. Plus all of the chocolate and “scroggin” – trail mix.
Gear
Again, a lot of gear comes down to personal preference. You should have a comfortable backpack / pack that is fitted specifically for you. (If you’re not sure how to fit it – go back to the store you bought it from, they’ll be able to help you out). The size of your pack depends on the length and type of trip you’re going on, but REI has a good write-up here.
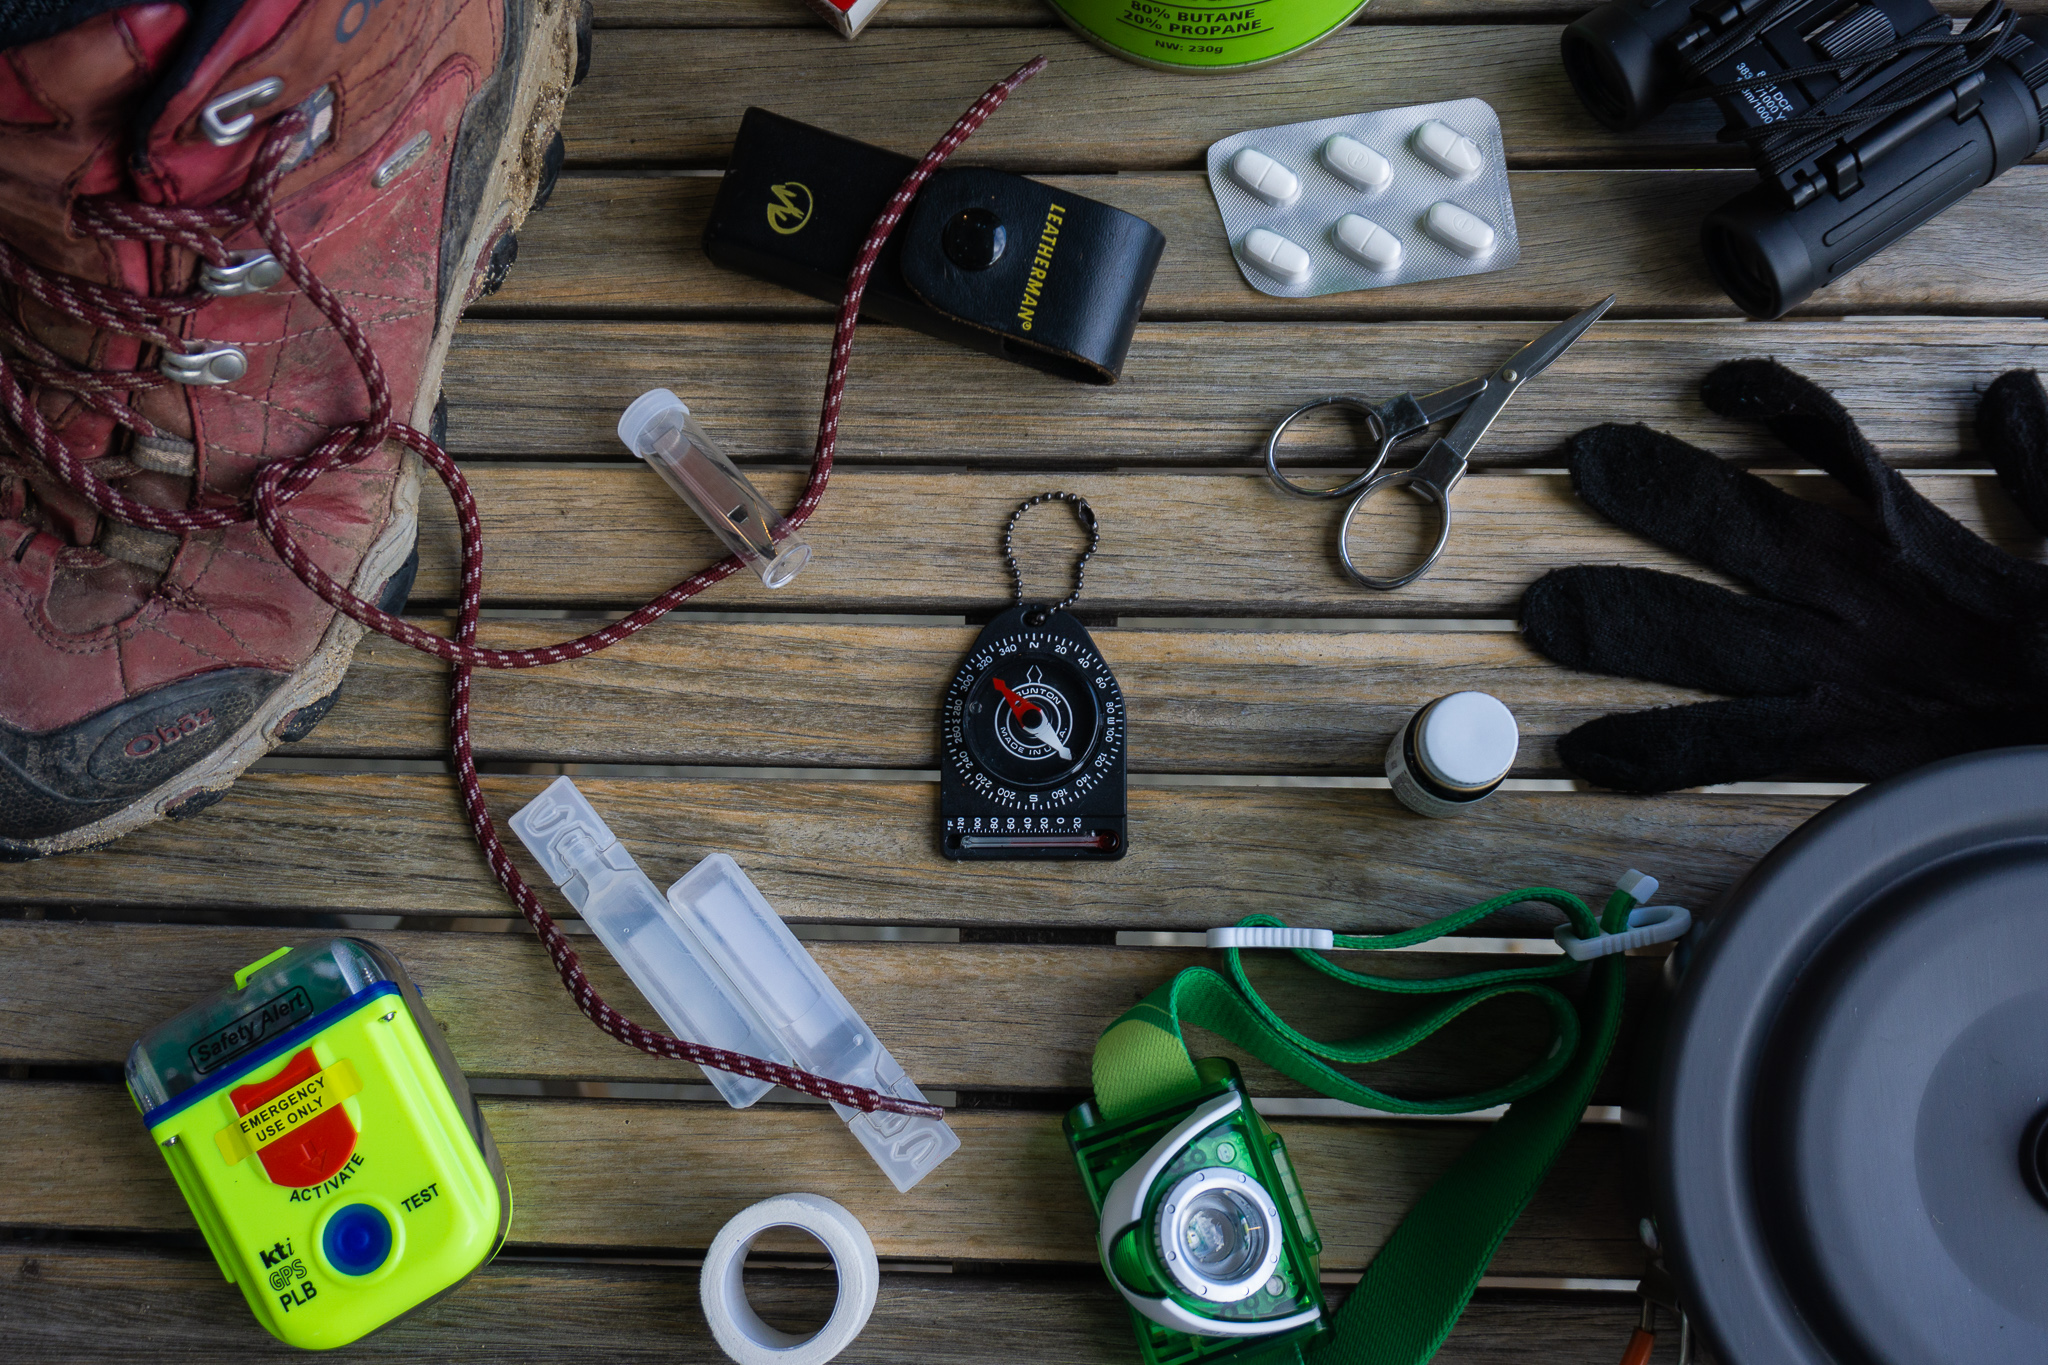
Lots of people have extremely strong opinions about how to pack your pack and how heavy this should be for any given walk. However to keep it simple: keep the heavy gear low and close to your back, with the stuff you’ll need easy access to at the top. In your pack, you should carry food, water, extra layers including rain jacket, hat and gloves, headtorch, emergency blanket, pack liner (doubles as an emergency shelter), basic first aid kit, map/compass/GPS, and a communication device (e.g. Personal Locator Beacon or PLB).
On top of this if you’re overnighting you will likely need cooking gear (gas, burner, & billy), as well as a sleeping bag, sleeping matt, and tent. Test out your equipment before you head out. There’s nothing worse than realising the batteries in your head torch aren’t working when you’re an hour from the hut and darkness is closing in …
If you’re still curious or unsure, I’ve written a blog post about what gear I take with me on various hikes which will hopefully clarify things a bit. I’m still learning. I’m definitely not an expert, but I know that this can be a stressful obstacle when you’re starting out and some advice to go on is helpful!
4. Share your plans and take ways to get help
This is such a simple thing, but I’m amazed and saddened at how many people neglect to leave their intentions with a friend or family member. This can save your life. Always tell someone where you’re going, what day & time you should be expected back, and when to alert the authorities if you don’t return as expected, no matter how small your trip. Ensure this person is someone you trust to raise the alarm if required.
This intentions form is an amazing resource that has all the information you need to leave. Fill it out and give it to your trusted contact. You should also always write your plans in the Visitor Books/Intention Books at DOC Visitor Centres and huts along your trip. Rescuers may look at these to help narrow down your location.
Personal Locator Beacons
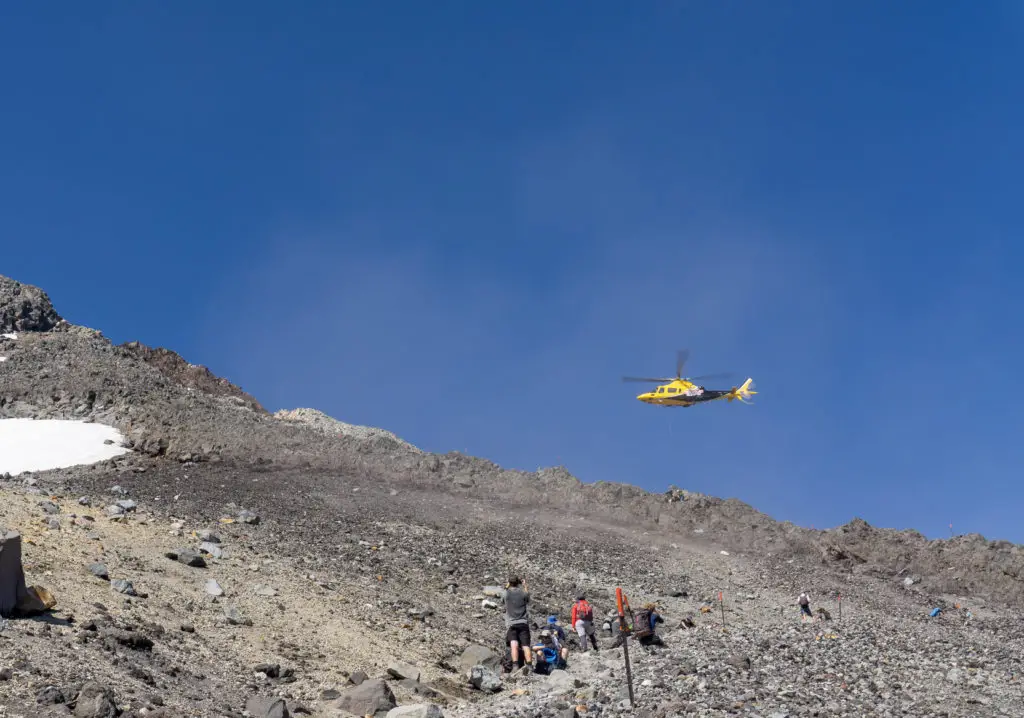
Most New Zealand tracks don’t have cell service, so you should always take a PLB (Personal Locator Beacons) with you. They are expensive but worth the investment. Especially if you’re going to be doing a lot of tramping (can you really put a price on your life?). But if you’re just starting out, you can hire them from lots of places around the country. Mountain Safety Council have a list here.
On July 26 2016 (New Zealand’s winter), Pavlina Pizova and her partner set off on the beautiful three-day Routeburn Track in Fiordland National Park. They don’t tell anyone their plans and don’t take an emergency beacon. It isn’t until almost a month later, that Pavlina is found by LandSAR at Lake MacKenzie Hut and rescued. Her partner’s body is recovered from steep cliffs above the lake. Always tell someone where you’re going and when to expect you back.

5. Take care of yourself and others
Take regular breaks
Don’t be in a rush to reach your destination. Tramping is all about the journey! Remember to take regular breaks to enjoy the scenery, and to rest and fuel your body. People make poor decisions when they’re hangry and exhausted, so take care of yourself with regular stops to eat chocolate. That’s official advice. (And if you haven’t brought any chocolate, you’re doing it wrong).
Turn back if you need to
Summit fever doesn’t just affect mountaineers climbing Mt Everest. It can also affect trampers who become too focussed on reaching their goal (the hut, a peak, etc.). Their tunnel vision blinds them to the dangers of continuing on. The Mountain Safety Council analysed 53 of the 57 tramping fatalities in New Zealand between 2007 – 2017. They found that “goal focussed/desire to get to destination” was a factor in 20 of those 53 deaths.
If you feel like you’re out of your depth during a hike and might be putting yourself at risk, ask for help or turn back. It’s much better to turn around and tackle the tramp another day when you have the right skills, weather and companions, rather than not returning home at all. Listen to people who have concerns and don’t take these lightly. Make decisions as a group – everyone should agree.
STOP
Following the Land Safety Code above and using common sense should keep you safe in the outdoors. If things do go pear shaped, STOP and stay calm. STOP = Stop, Think, Observe, Plan.
Use your PLB or cellphone (if you have coverage).
Stay put if you’re lost or injured and if it’s safe to do so. Or move to a safer, more sheltered location if it’s not. Use your gear to keep yourself warm, dry, hydrated and fed, while awaiting rescue. Even if you don’t have a functioning communication device, you will have left detailed plans with someone. They will alert the authorities if you don’t return on time.
Make yourself clearly visible to anyone coming from land or air. Stay calm and positive. Your mental attitude is one of the few variables you have complete control over. It’s also one of the most important factors in your survival.
Most trampers don’t run into serious issues, especially if they’ve followed the Land Safety and Code and are well prepared for all eventualities.
Go forth with confidence and common sense. You’ve got this!