Clifden Caves are an awesome underground caving adventure off the beaten path in Southland, plus they’re free and self-guided!
Length: only 300m between the entrance and exit by road, but over 1km of winding caves
Time taken: 1 hour (DOC says 1.5 – 2 hours)
Difficulty: easy – moderate
Facilities: none
Very important note: This cave system is prone to flash flooding. Do not enter if it is raining heavily or if it is forecast to do so.
Why explore the Clifden Caves?
I think most people are in two camps about caving – either it sounds exciting, or it sounds terrifying. So if climbing and squeezing through rock passages underground, getting muddy and soaked, sounds like an exciting adventure? Then the Clifden Caves will be right up your alley! But if you’re claustrophobic, not very fit / flexible, don’t want to be underground when the Alpine fault ruptures, or have recently watched The Descent (all good, solid reasons) – then this adventure probably isn’t for you and you might want to stay in the car.
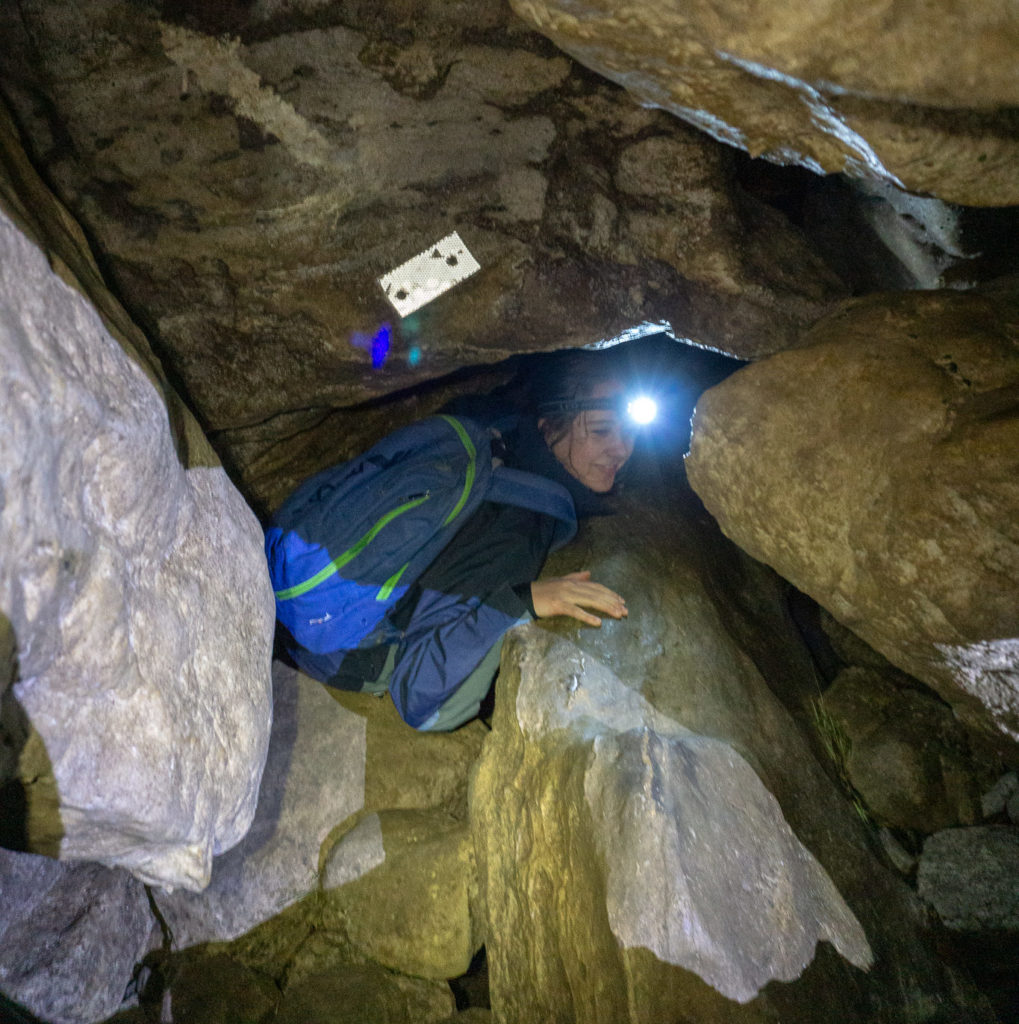
If you’re on the fence: while there are some tight squeezes, they never go on for long, often opening up straight away into bigger chambers. I never had to crawl (just crouch / squat). I could wear my camera around my neck the whole time (other than putting it in a dry bag for the pool sections), without too much worry. And my friend Lauren took our backpack and only had to take it off twice to fit through some squeezes.
How to get to Clifden Caves
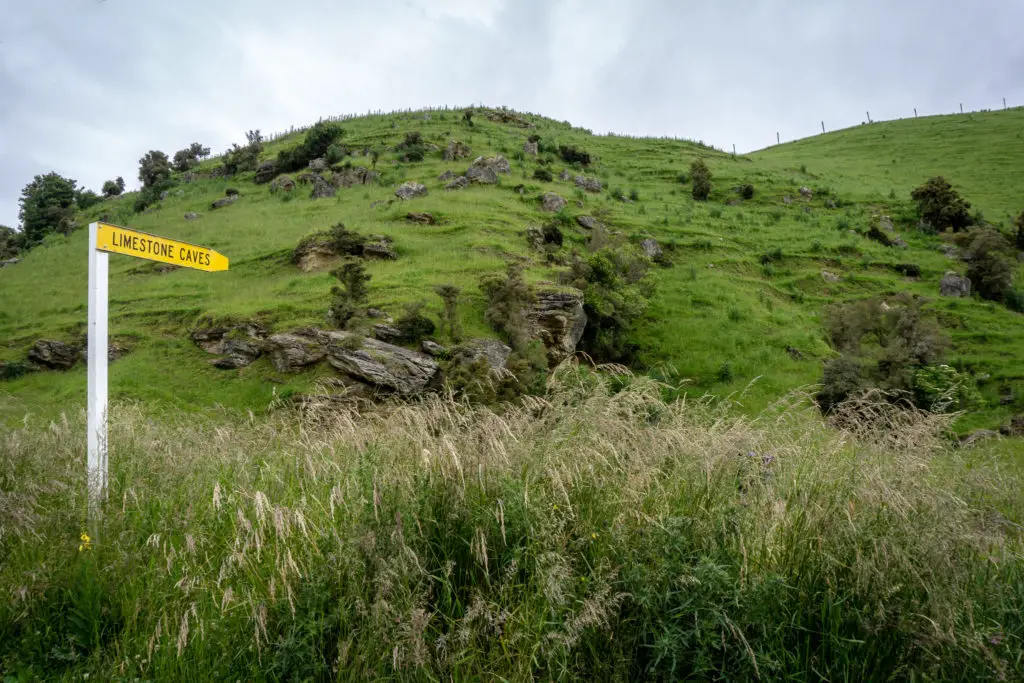
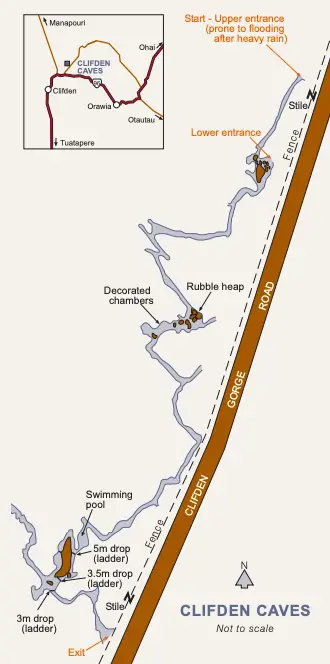
The Clifden Caves are located on private farm land along the Clifden Gorge Road. There is a gravel parking area on the opposite side of road. They take about an hour to drive to from either Te Anau or Invercargill. There’s a small yellow signpost to mark the style over the fence and entrance to the cave. The entrance is about a kilometre along the road from the turnoff from the Ohai-Clifden Highway.
If you’re looking for hikes in Southland, check out these trips:
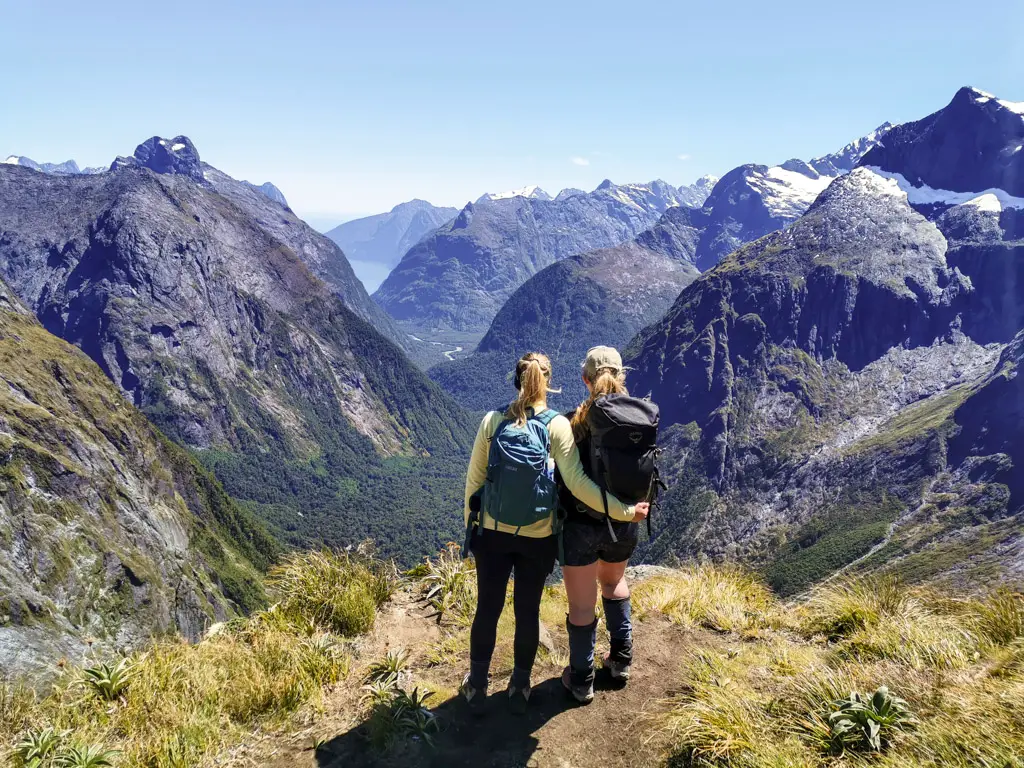
Arguably the best day hike in Southland and Fiordland National Park, Gertrude Saddle rewards you with beautiful views towards Milford Sound and the Tasman Sea.
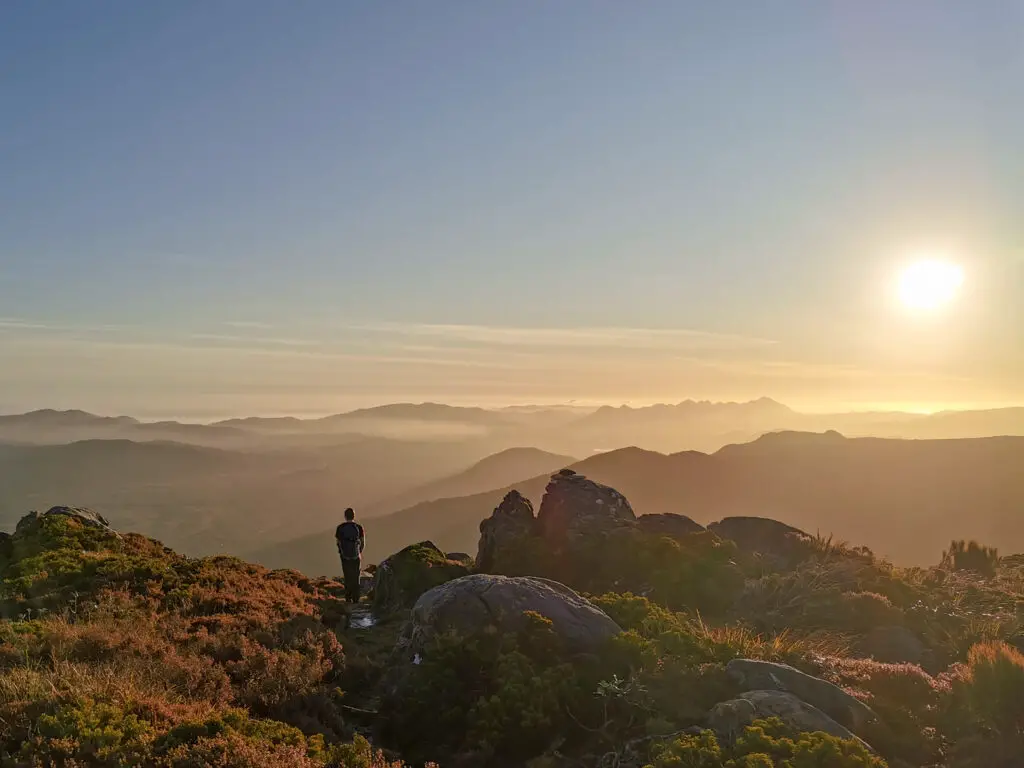
One of the best trips outside of the Great Walk on Rakiura / Stewart Island is to fly into Mason Bay and find wild kiwi.
How to stay safe in the Clifden Caves
Having grown up in the area, I’ve been down in the Clifden Caves numerous times (although haven’t explored further than the marked route). Two of these trips were as a young kid on school camps. We all made it the whole way through, our muddy faces lit by excited and proud smiles. It’s a great trip that most fit and able people should be able to do (DOC recommends people 12 years and older) with little to no caving experience. You don’t need a guide, just follow the reflective markers. However as with all activities there are risks that you should do your best to mitigate.
Weather
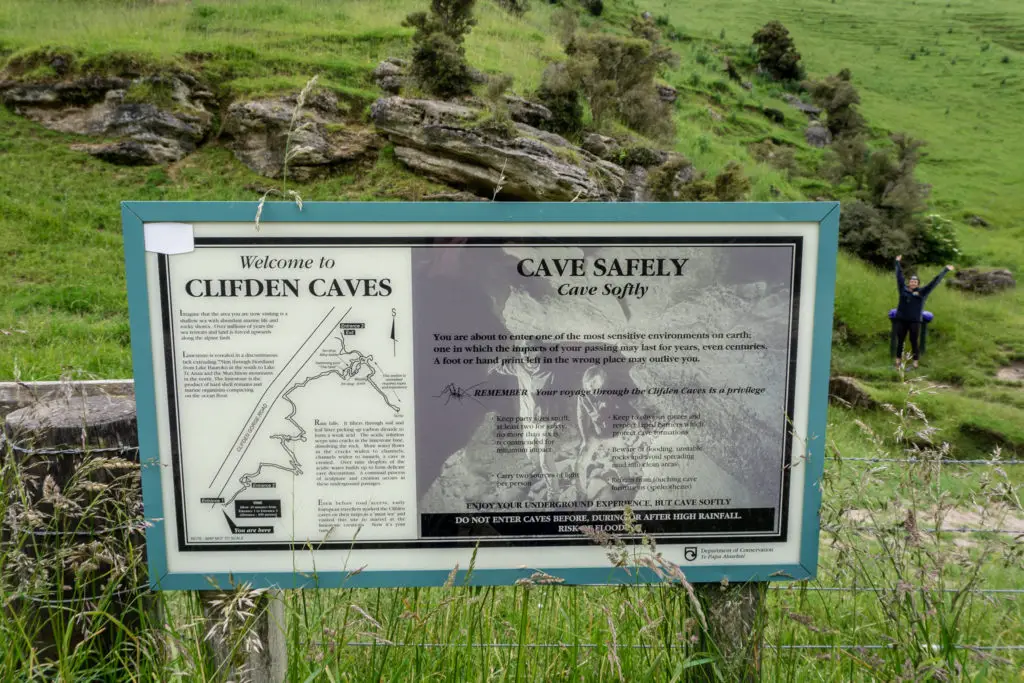
The first being is to be cautious about the weather; I’ve heard of numerous close calls with rising water levels in the caves after / during heavy rain (remembering that you’ll be underground for at least an hour). The area is prone to what my Dad calls “thunder clumps”. (I checked this term with my close friend Google and was blown away by the fact it’s apparently only something my Dad says. I always thought it was actually a valid descriptor of a certain weather phenomena). Anyway these are brief periods of heavy and concentrated downpours that occur around the hills in this area and can fill the cave system very rapidly. When you head down into the cave, you can see grass and debris way up above your head from where the water levels can reach. So go cautiously and check the weather forecast.
Light source
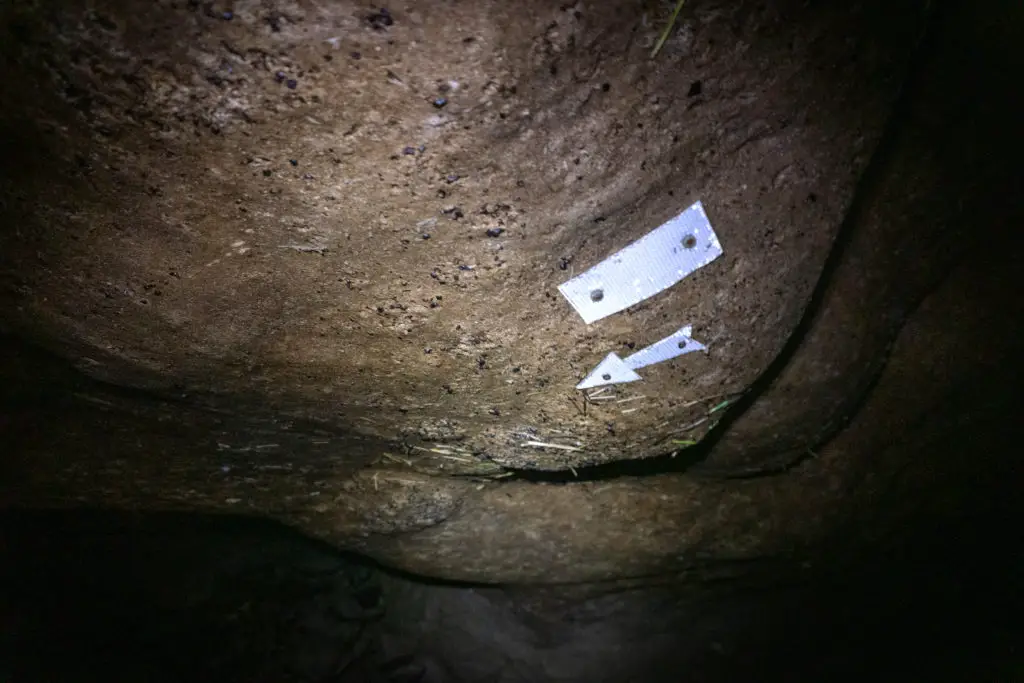
The Clifden Caves would be impossible to navigate in the pitch dark so a reliable light source is essential. You should always take two torches (flashlights for my northern American friends) per person. This is just in case the battery fails, or you drop / knock the torch. This should include at least one head torch (you’ll want your hands free for scrambling). Don’t count your cell phone or camera flash as a light (although they’ll work in a pinch). You can take a backpack (as long as it’s small), but you’ll likely to have to take it off and push it in front of you to get through a few tight sections. We took a few dry bags to put our electronics in, just in case, but didn’t really need them (although none of us slipped into the big pool, which is a distinct possibility).
Clothing & gear
The cave is often wet and muddy, so wear sturdy clothes that you don’t mind getting dirty. Denim or cotton are not good options. They get heavy and cold when they’re wet (and don’t normally dry quickly). The air in the cave is usually much, much colder than the surface temperature. So I recommend wearing at least one – two layers of merino or polypropylene clothing that will keep you warm even when wet and that dries quickly, and a fleece / rain jacket. I chose not to wear my tramping boots going through as I knew they’d get soaked and become quite heavy. Instead I opted for old trainers that I didn’t mind ruining (but this did mean I was compromising on grip).
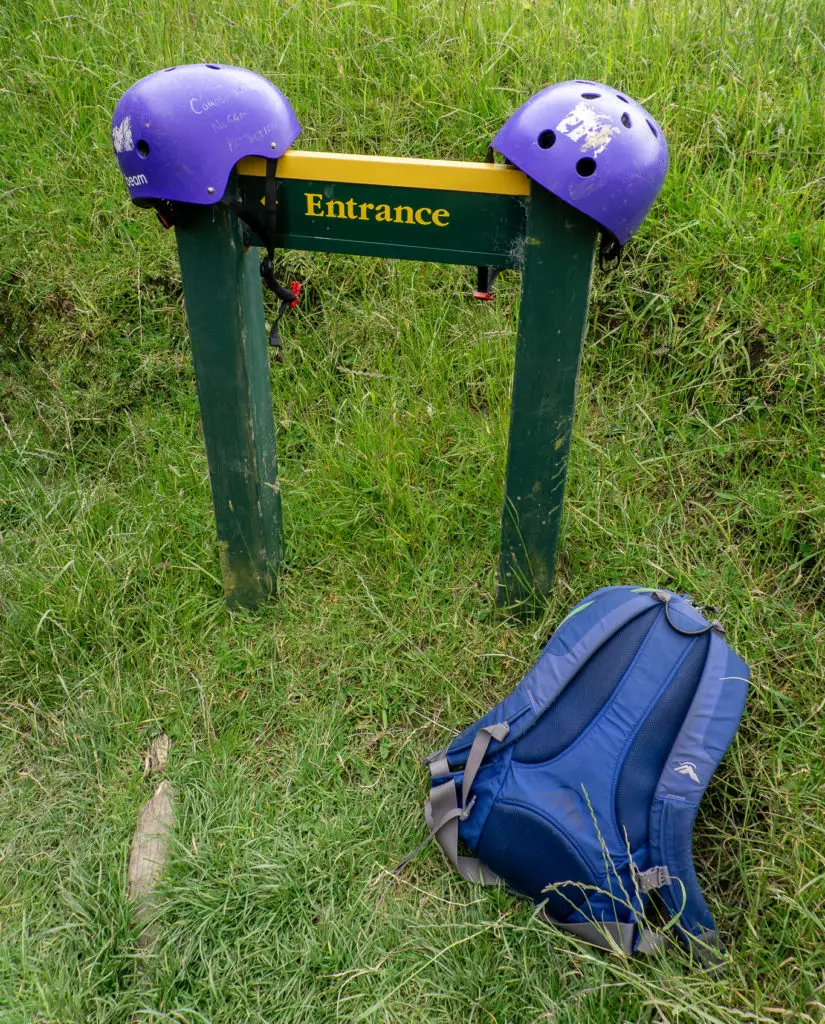
DOC recommends wearing helmets as there are hundreds of places where you could easily knock your head against hard rock. We didn’t wear any on this most recent trip, but I have in the past and they’ve come in handy. There were three complimentary helmets sitting on the entrance sign when we went (in late 2019), which we saved for others who might not have done the trip before or weren’t as comfortable.
Groups
DOC also recommends that group sizes are between 2 – 6 people. You want at least two people for safety reasons (if you’re injured you’ll want someone who can go and get help; worse case scenario being you knock yourself out and fall in a pool of water … going solo is definitely not recommended!). DOC also recommends against more than six people for environmental reasons. The Clifden Caves are incredibly fragile and have taken millions of years to form. Minimising your impact and group size is the best way to protect them and keep them intact for future generations. Noise pollution is also an issue if there are multiple groups of people in the cave system. Keep noise to a minimum and don’t yell or shout, as it echoes for a long time and distance.
Going through the Clifden Caves
The entrance to Clifden Caves
On Boxing Day, Matt and I, and our flatmate / friend Lauren, decided to forego shopping the sales. Instead we went on an underground adventure that we’d been wanting to do for a while (but hadn’t been able to due to what felt like three solid months, or at least weekends, of rain). We’d all been through the Clifden Caves before at least once with school, having all grown up in Southland, but the last time would have been almost a decade ago. So with an hour’s notice, we were off! It was a perfect day to be underground, not sunny, but not raining.
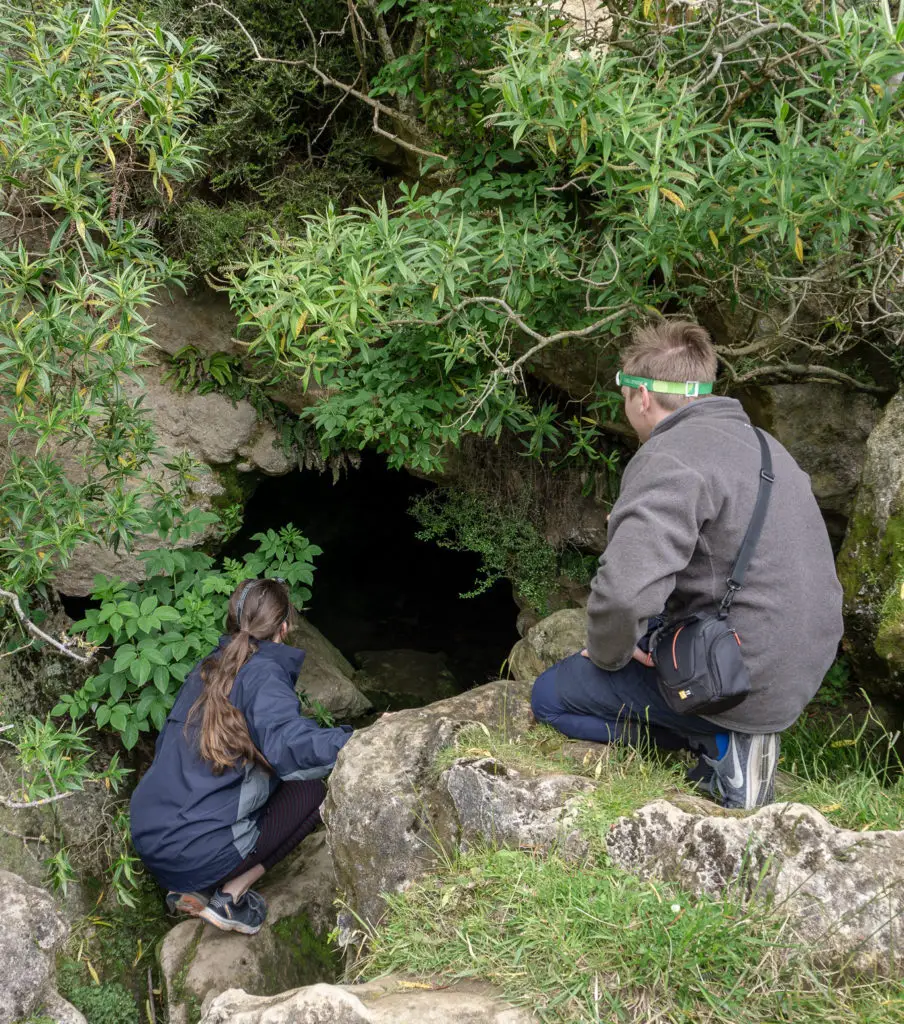
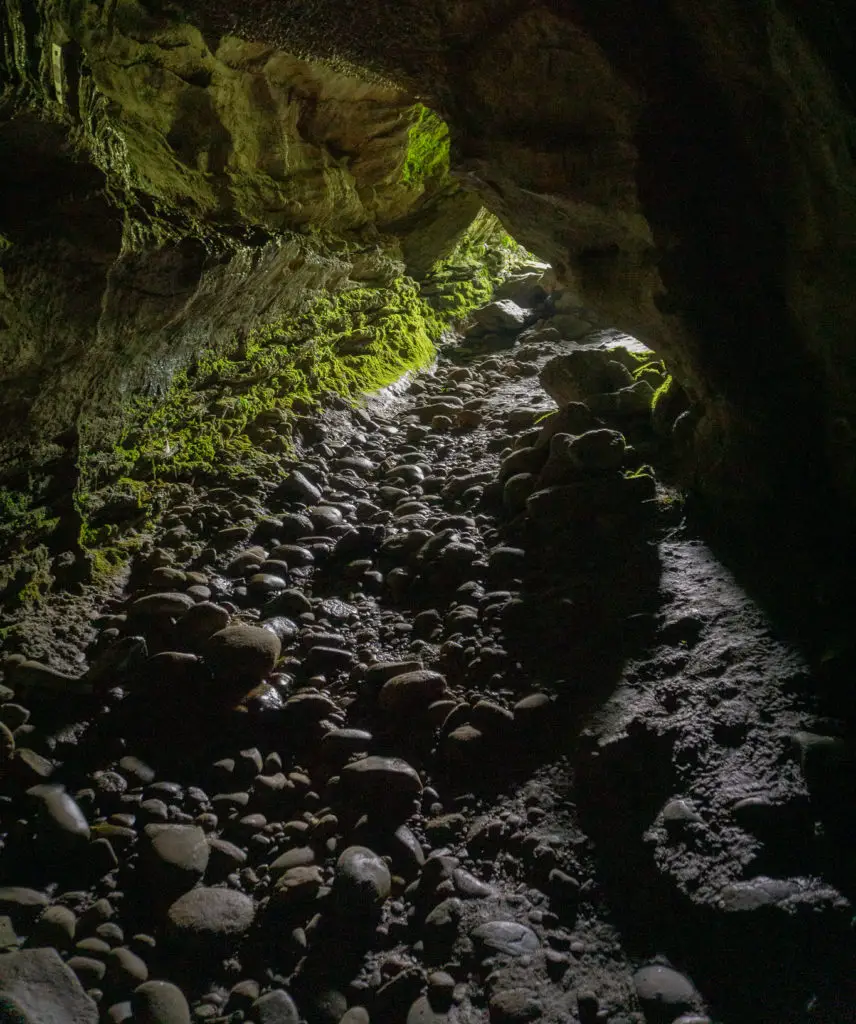
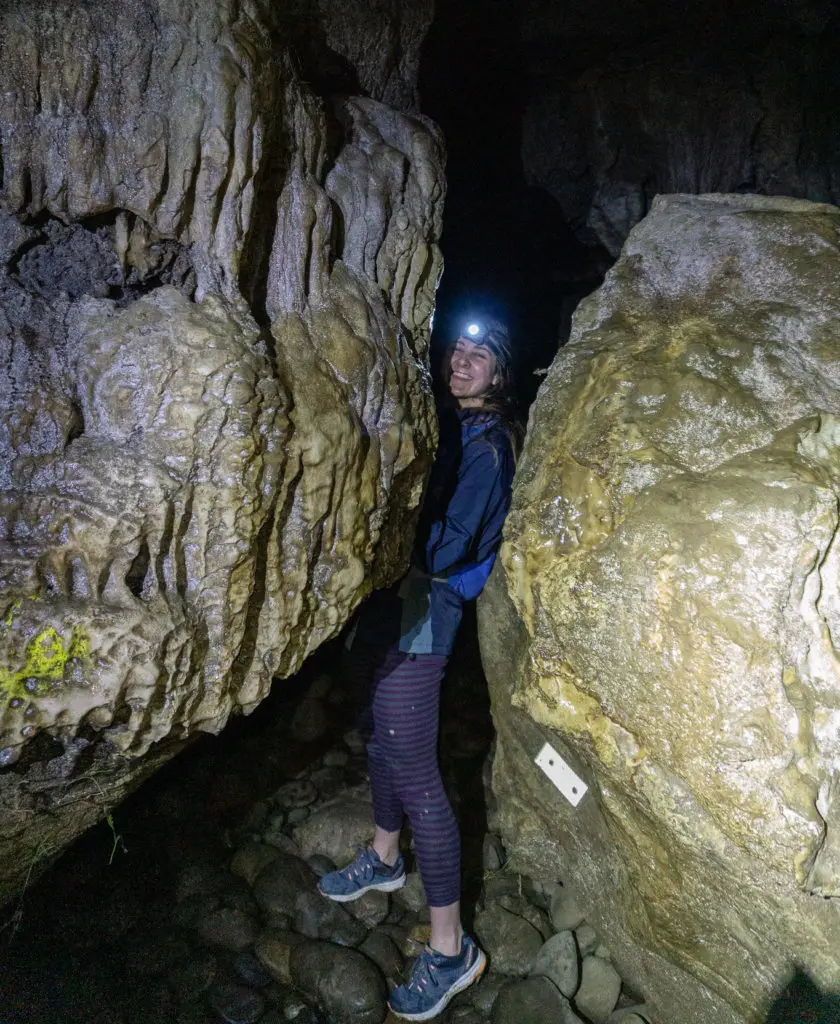
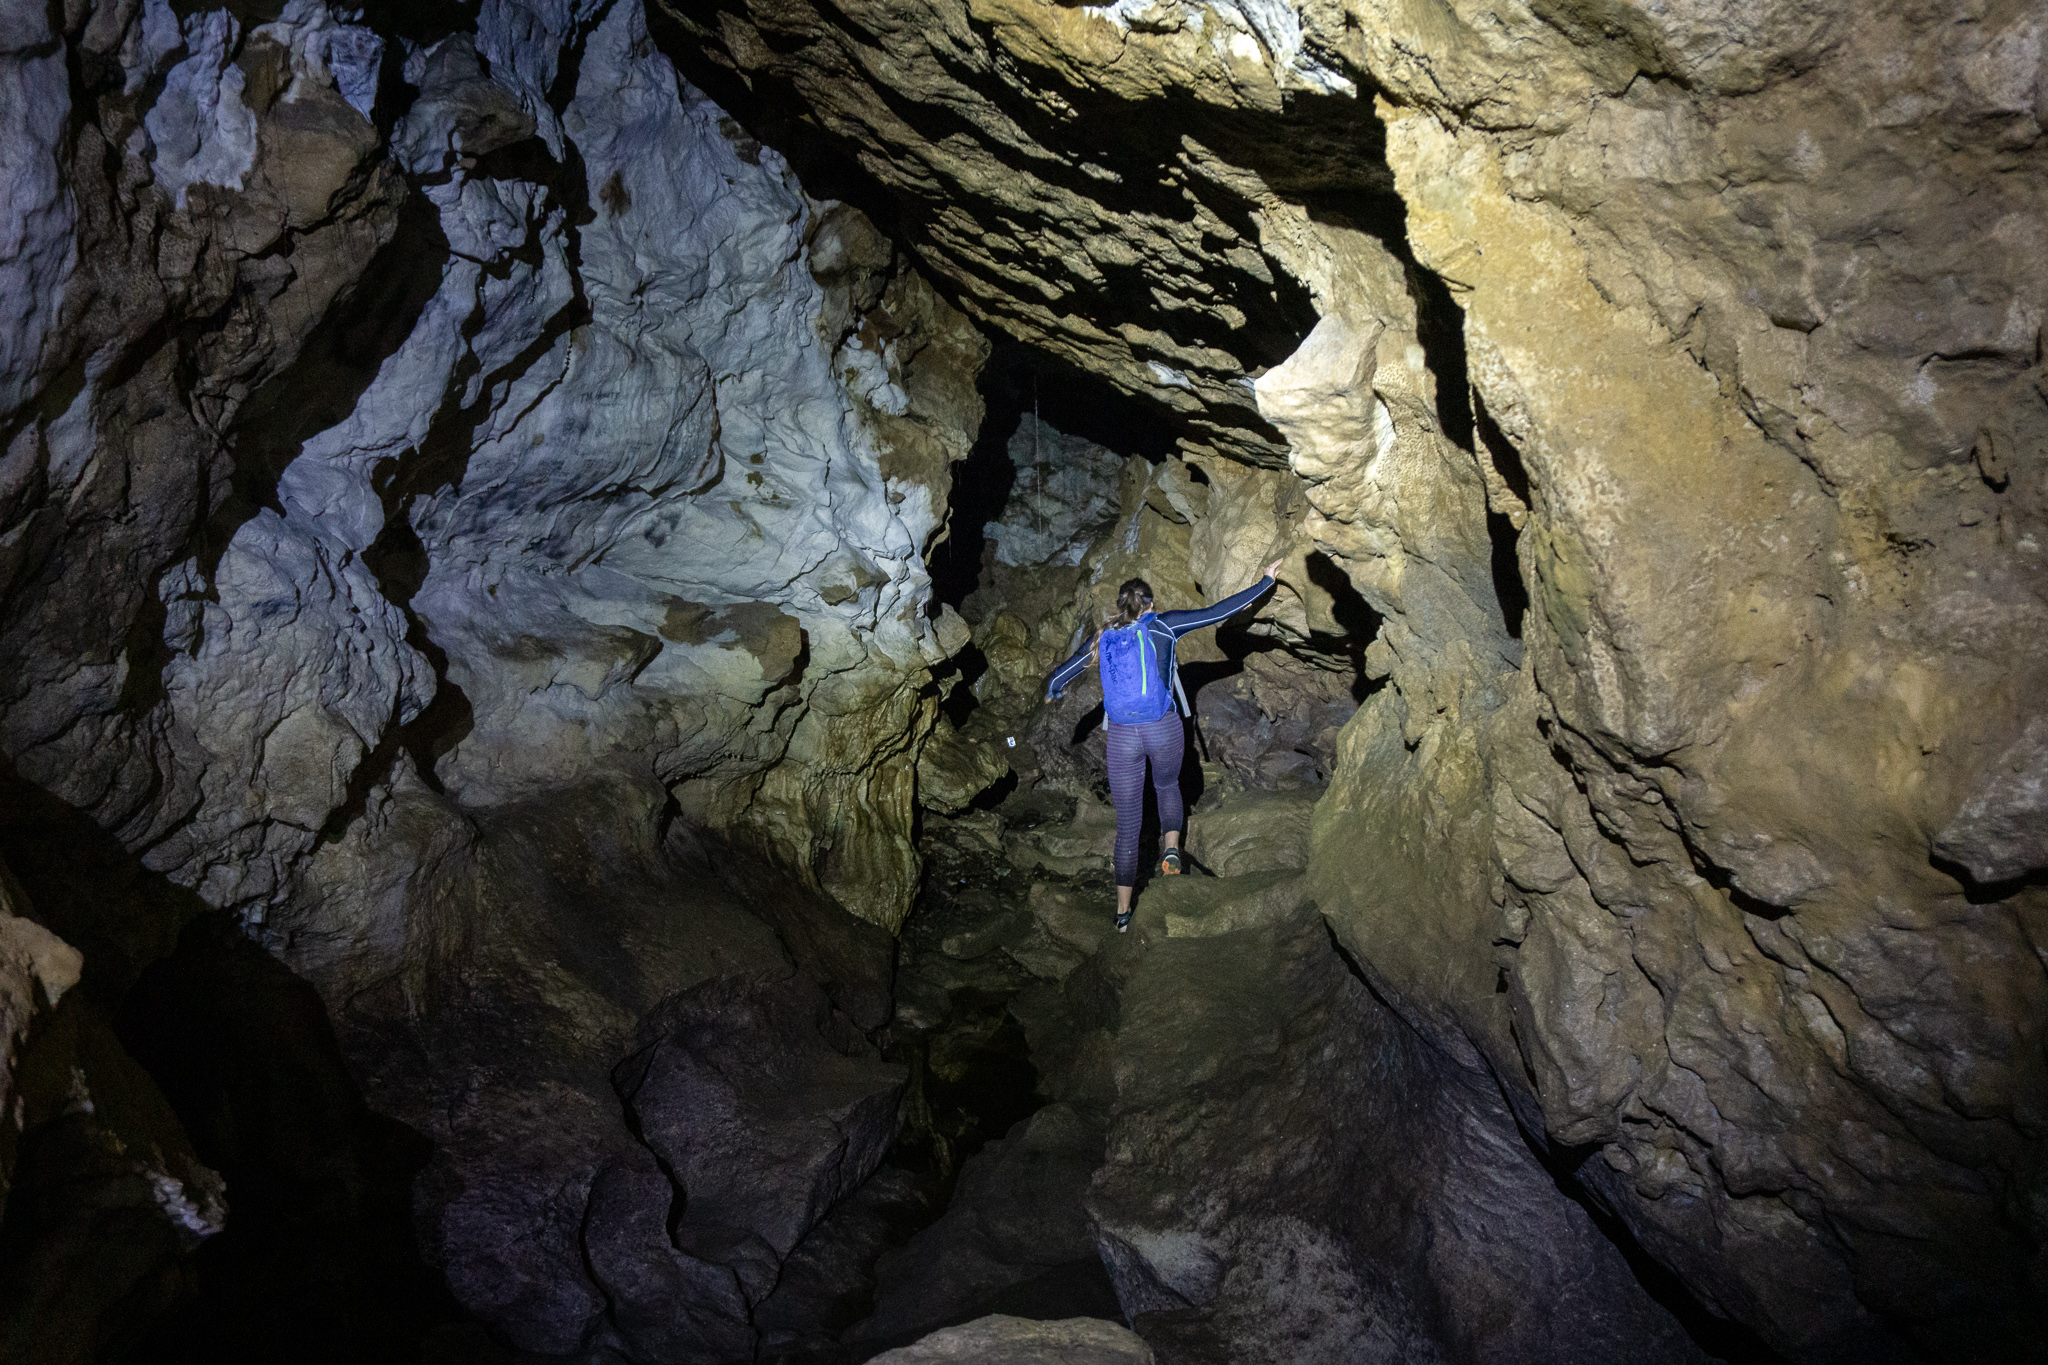
The first few minutes of the cave are a walk in the park, relatively open with high ceilings and plenty of room either side. The footing is rough, with loose rocks and gravel that are slick with moisture, but apart from that it’s fine. We actually ran into some friends once we were out. (Spoiler: we make it all the way through the cave). Our friends were taking their little kiddies in for an explore of the first part, which they apparently enjoyed! But relatively quickly you come to the first squeeze, which is an indicator of things to come. (As well as an indicator of whether you’ll be able to handle the rest of the adventure or not).
Glow worms
Once we were through the first few passages and squeezes I got the others to turn off their lights so we were in complete darkness. Kind of eerie, but as I’d hoped, all around us were pin pricks of beautiful cold blue twinkling lights – glow worms / titiwai! Most tourists pay good money to see these at Te Anau or Waitomo (and to be fair, they’re much, much more impressive there). But here they were for free!

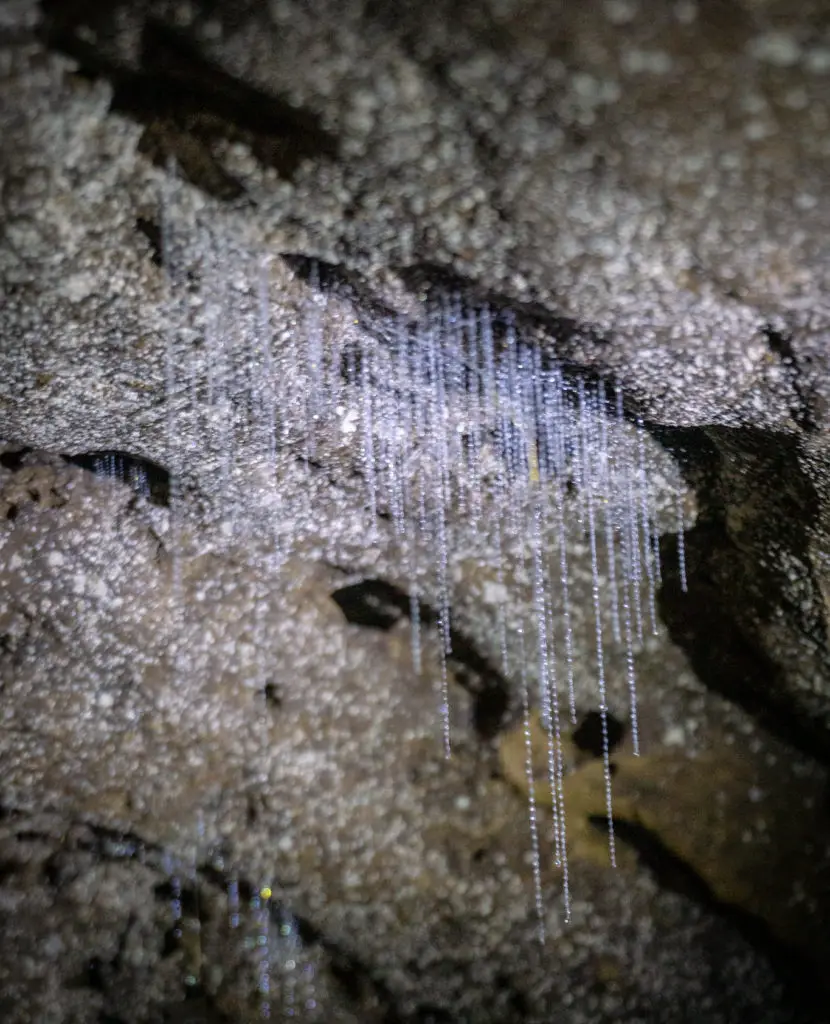
The worms (or more accurately, maggots) need dark, damp areas with still air to thrive – limestone caves are perfect! Their silk threads can grow up to half a metre to catch flying insects attracted to their blue-green glow.
Rock formations
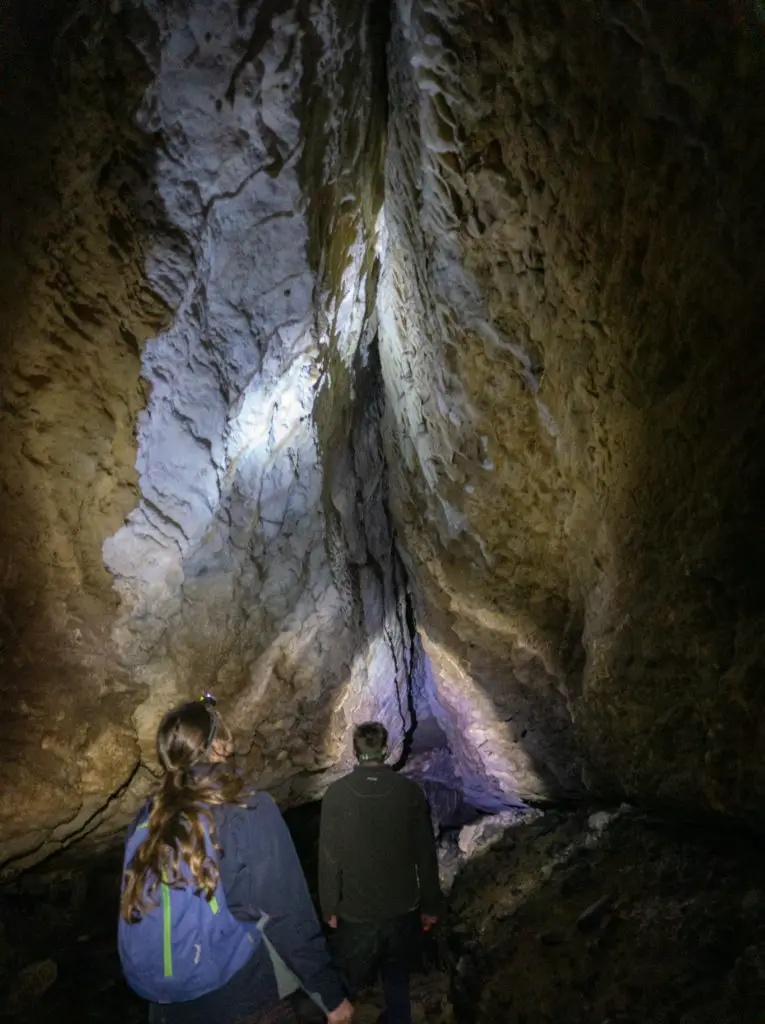
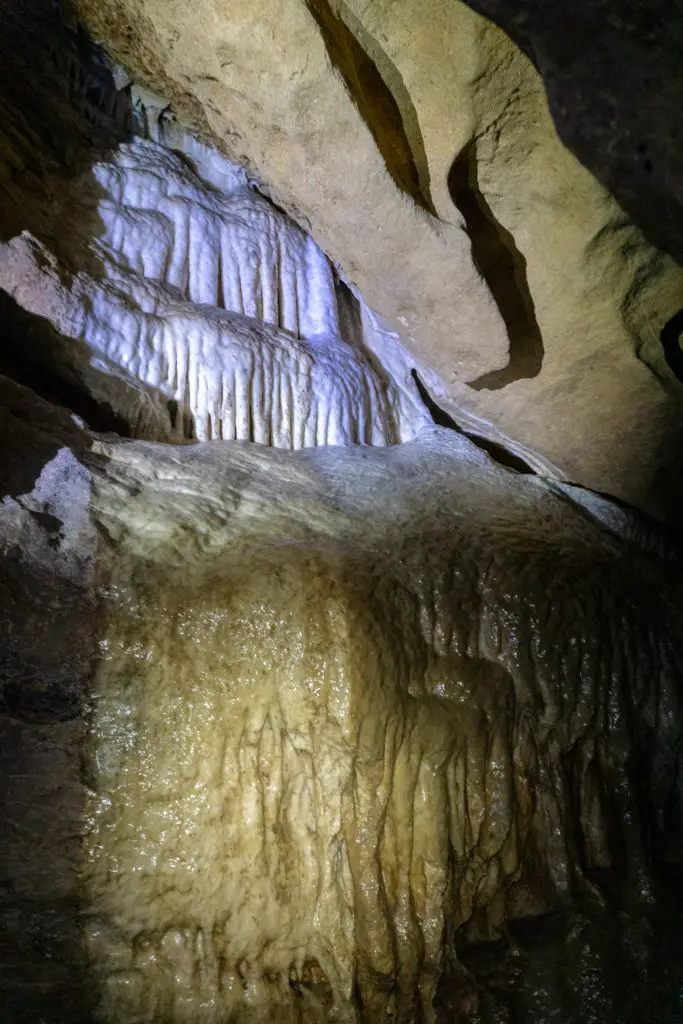
Not so reluctantly we turned our torches back on (it’s creepy in the dark, ok?). We kept on moving through the cave system, following the reflectors on the cave walls. Soon we started seeing some amazing rock formations along the walls. The limestone of the caves was formed over millions of years ago. The acidic rain water seeping down from the surface slowly eroded the limestone (or more accurately, dissolved the calcium carbonate around the limestone). This is what formed the crazy formations, including the small amount of stalagmites and stalactites (from calcium carbonate dripping down from the ceiling over long, long periods of time).
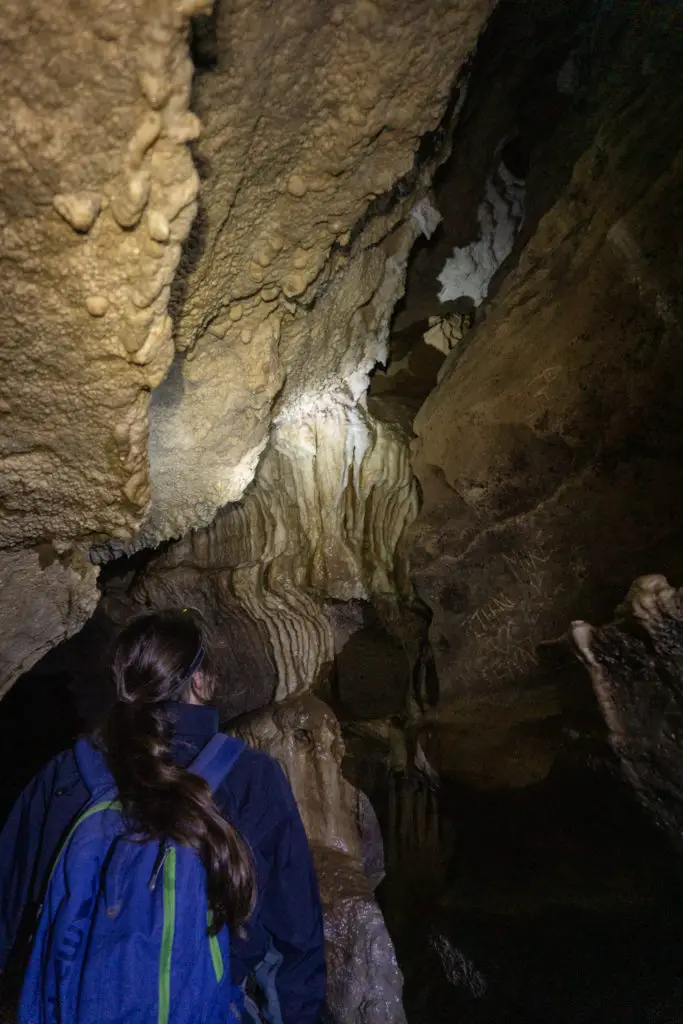
Remember the saying from school: stalactites hold tight to the ceiling, while stalagmites might grow to reach the ceiling.
Regardless, these formations take millions of years to form but can be destroyed very, very easily by human traffic. So tread softly, watch where you put your feet and hands, and don’t touch anything unnecessarily.
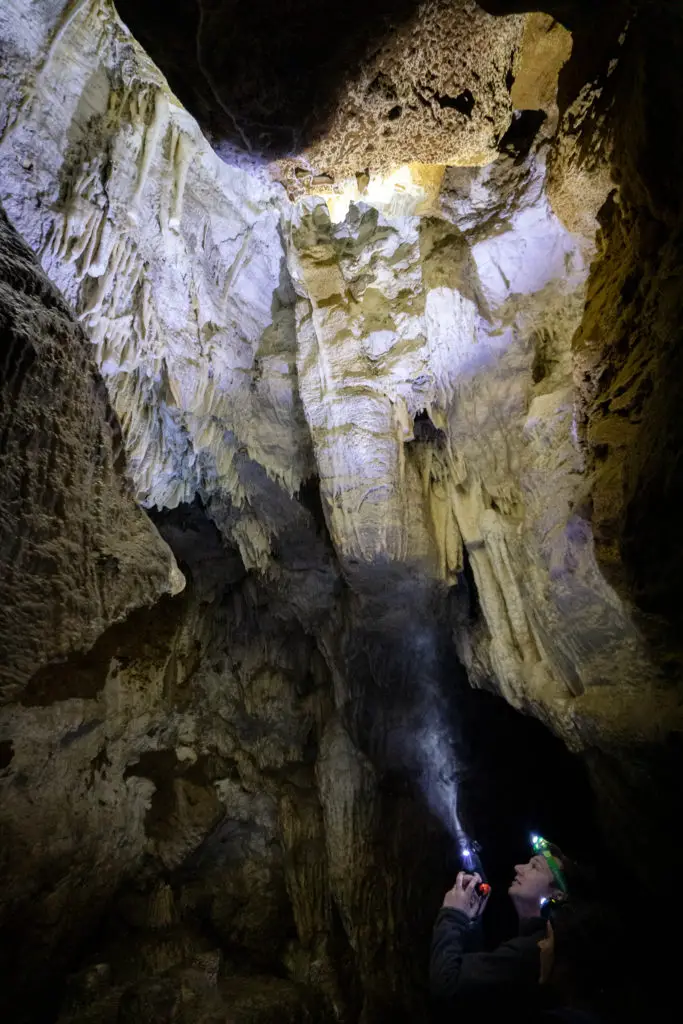
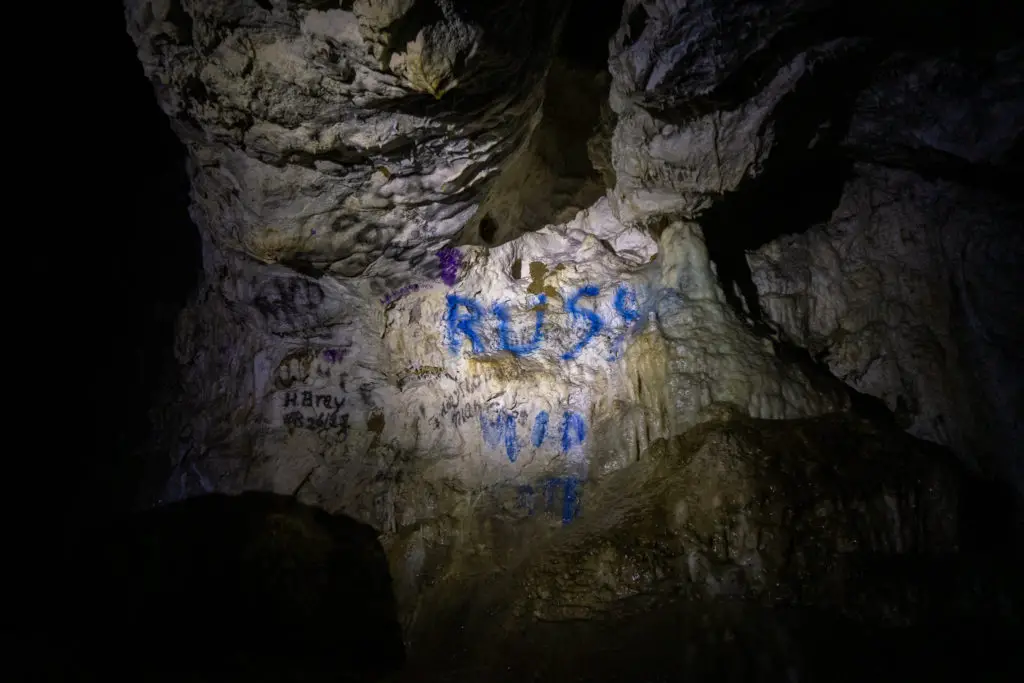
Sadly because this cave system has been open to the public for hundreds of years, there are signs of this visible throughout the cave. Including some new Merry Christmas signs that made me really sad to see. If you’re going down here, do not write or carve your names into the walls or ceiling. It’s just incredibly selfish and pointless.
Not so dry …
Some of the cave was dry. But a lot of the cave, more so than on previous trips because of the constant rain from the last few months, was wet and covered in cold, brown water.
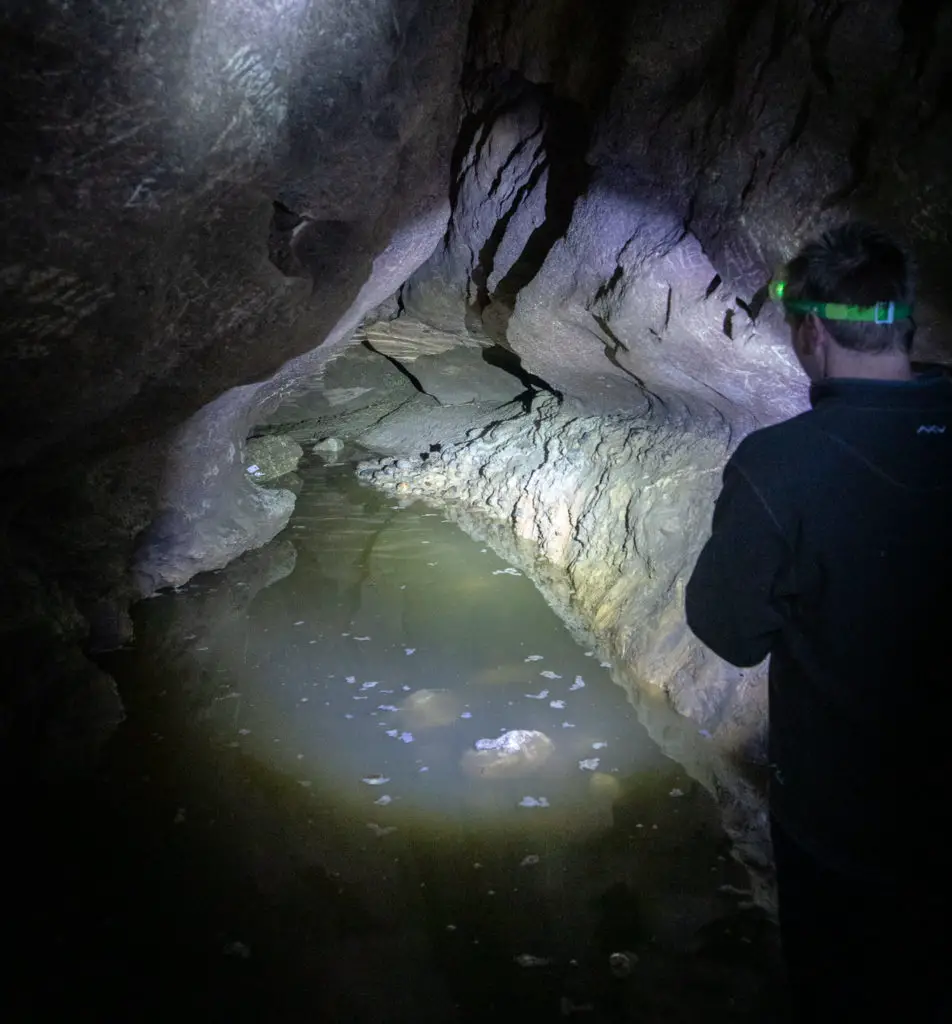
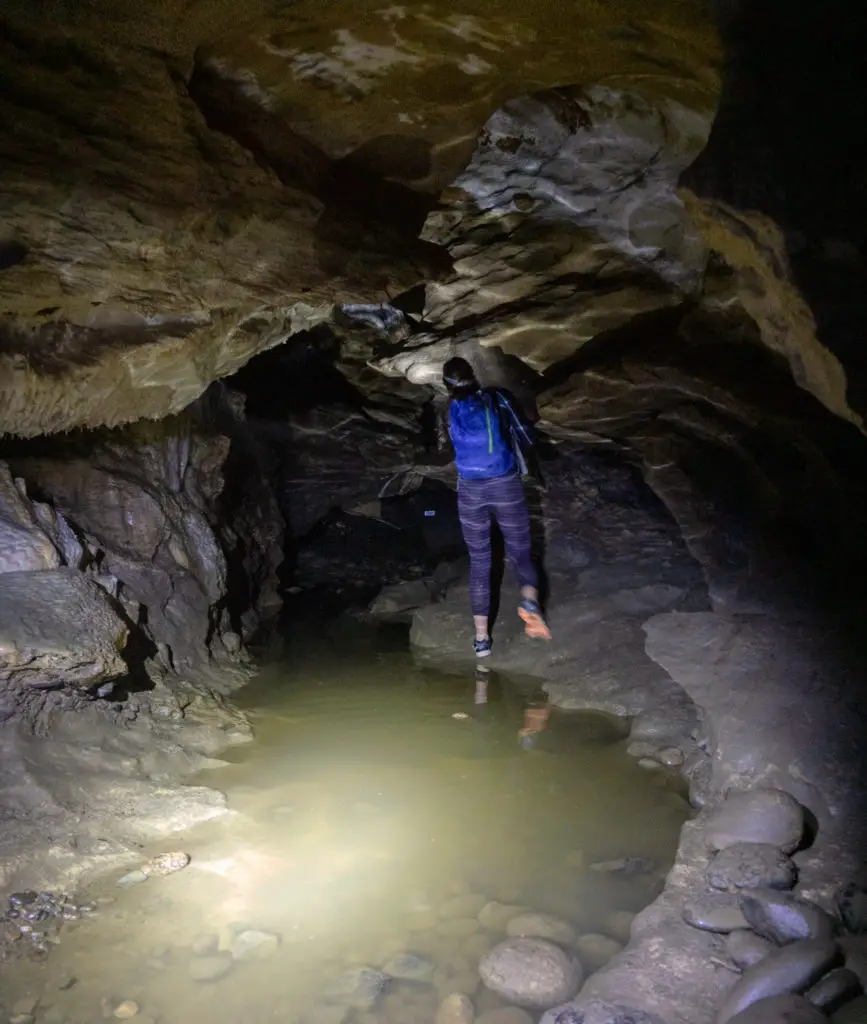
Some of the water pools were relatively easily negotiated by scrambling around the edges, holding on to ledges or straddling the pools. But some of the pools weren’t. We ended up wading carefully through, with cold water seeping into our shoes and clothes. (And me concentrating on there not being eels in the pools. I can’t stand eels.
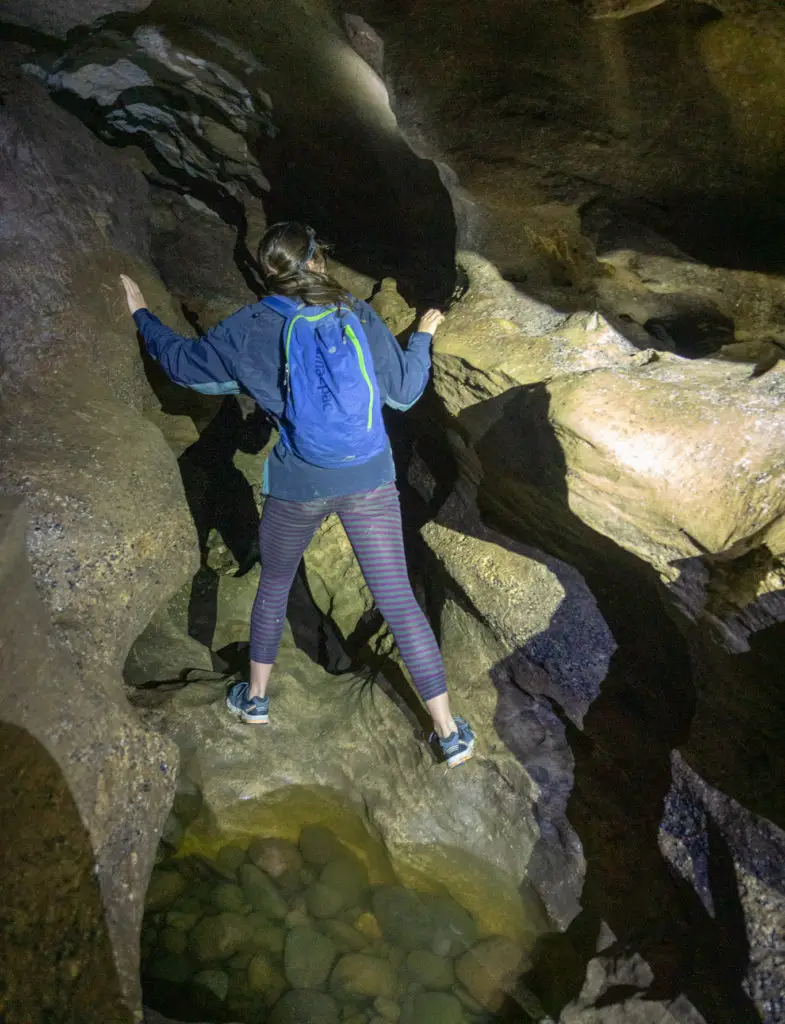
Because the water was cloudy with mud and opaque most of the time, we couldn’t see where we were putting our feet. So a lot was guess work and slowly feeling out the path to make sure there weren’t any sudden deep holes ahead of us that we were going to fall into. I knew the “swimming pool” was up ahead and I wasn’t looking forward to it. The ledge that marks the safe way around was definitely going to be under a bit of water.

I tried to look up the Te Reo name for this cave system, or at least some kōrero tuku iho / stories of the area, as surely the Māori would have known about the caves. Unfortunately I didn’t find anything. Other than a very colonial source which referred to the caves as te-ana-o-te-karara – the caves of the karara; a variety of taniwha or water monster. If there was any place that a water monster would dwell, it would be in the “swimming pool” which never drains of water no matter how dry the area is.
The Clifden Caves swimming pool
We soon reached the pool. A dark, brown pool of water about 3 – 4 metres in diameter standing between us and the way out. The trick is to stick to the left. There is a small ledge that runs around the left-hand side of the pool, although it is normally under about 5 cm of water, just enough that you can’t see that it’s there, and it is sloping, which makes for unreliable footing.
The water level of the pool was definitely higher than normal. 40cm of water (up to our knees in places) hid the legs. There was even a small pool to navigate across just before the swimming pool. Lauren told us that when her school group went through one of the girls fell into this pool (literally like manhole shape). It was so deep she didn’t touch the bottom at all. I have no idea how deep the larger swimming pool is and haven’t felt the desire to find out. But we all got across both pools ok (cameras, phones, and our new fancy torch carefully bundled into dry bags). And then, because I’m an evil person, I made Matt and Lauren go back for some photos.
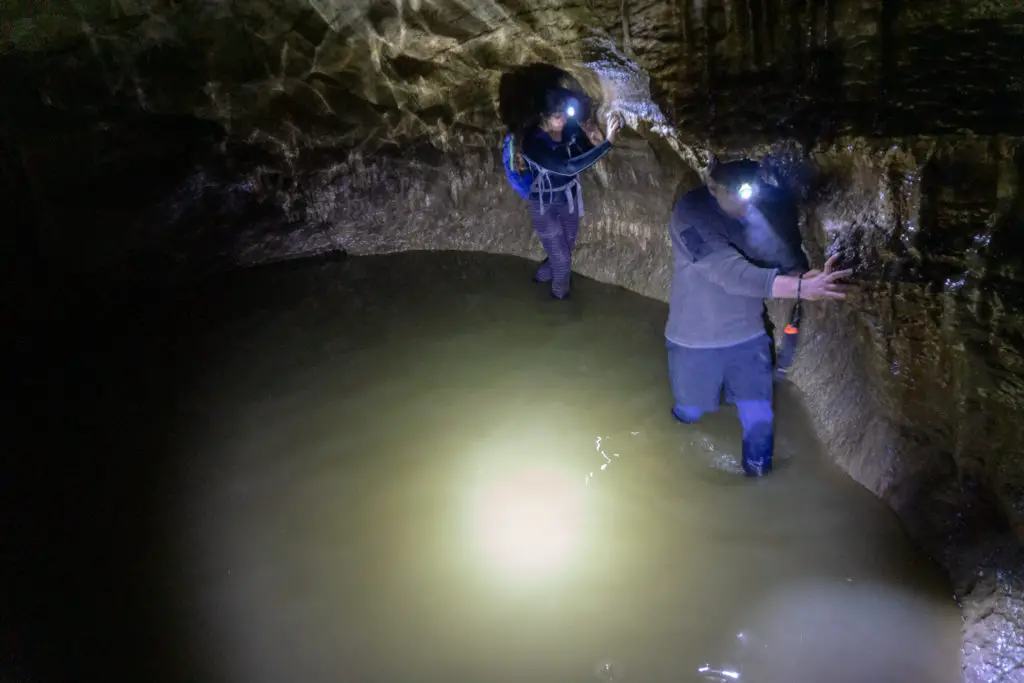
A lot of people turn back at the pool, especially if they haven’t read the signs and information online, and so don’t know about this hidden underwater ledge. Worst case scenario is that you fall into a pool of cold, creepy water that may or may not house a taniwha. But that is why DOC recommends completing the cave in this direction; if you do get wet, you’re close to the end and won’t have as long being soaked.
Ladders
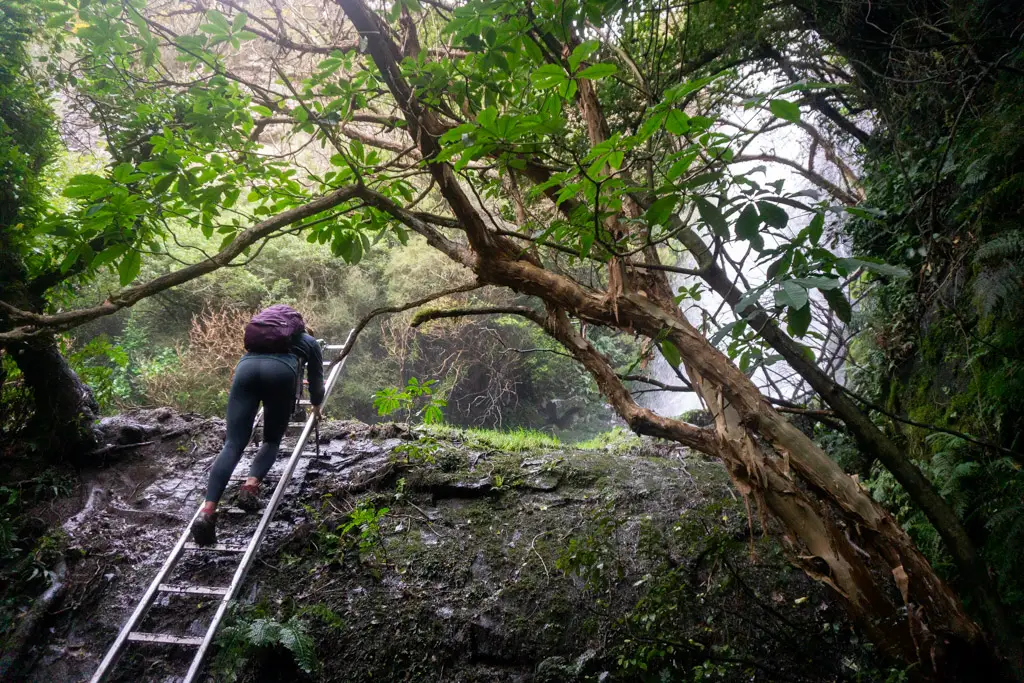
After the pool, there are a series of three ladders (one up, one down, then a really skinny one up again), that are all about 4 metres of so in height. This is where you start to hear the sound of rushing water; an underground stream that runs through in a lower layer of the cave system. In between the ladders (I can’t remember if it was before the first ladder going up, or the second), there is a passage off to the right. Following that will take you to a dark drop down to the underground stream. Be very careful not to fall in as it’s a long way down. I’m assuming this is where experienced cavers can start from using ropes, but haven’t heard of anyone doing that (if you have, let me know!).
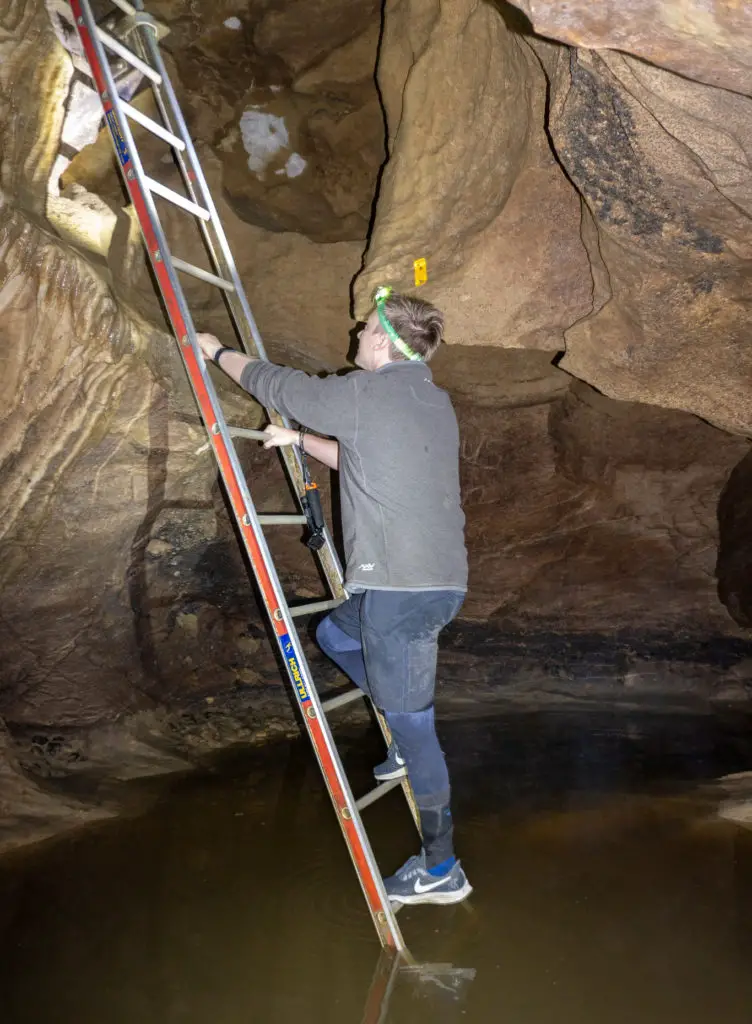
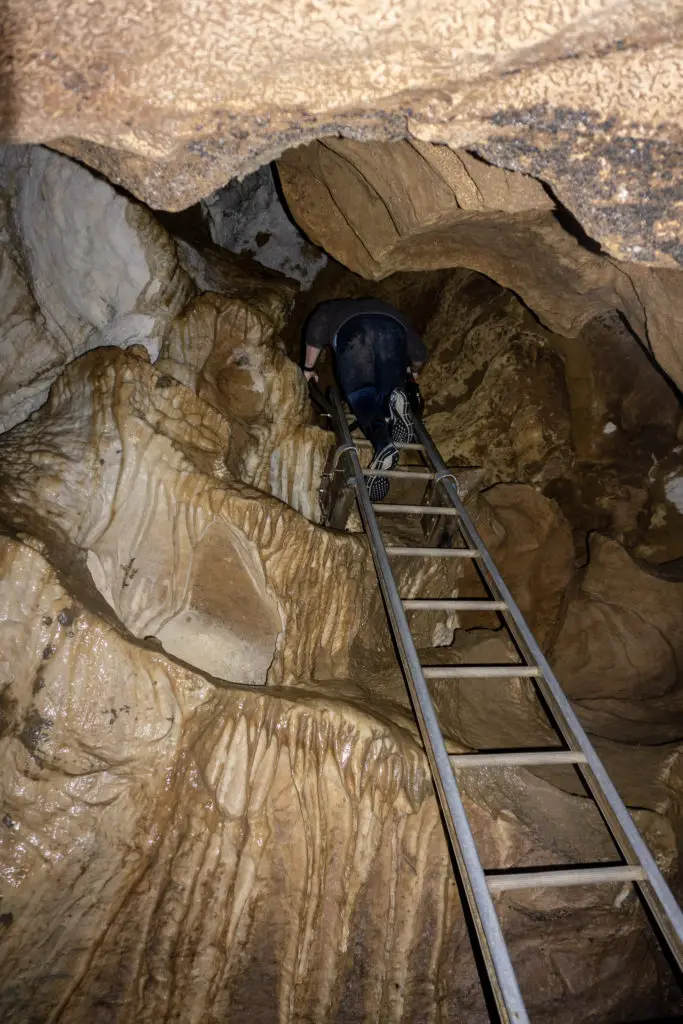
After the ladders, it wasn’t not too much longer before we spotted daylight. A comparatively small and tight opening leads back out to the farmer’s paddock on the side of the road. Looking back at it you almost couldn’t tell it was the entrance to a cave system!
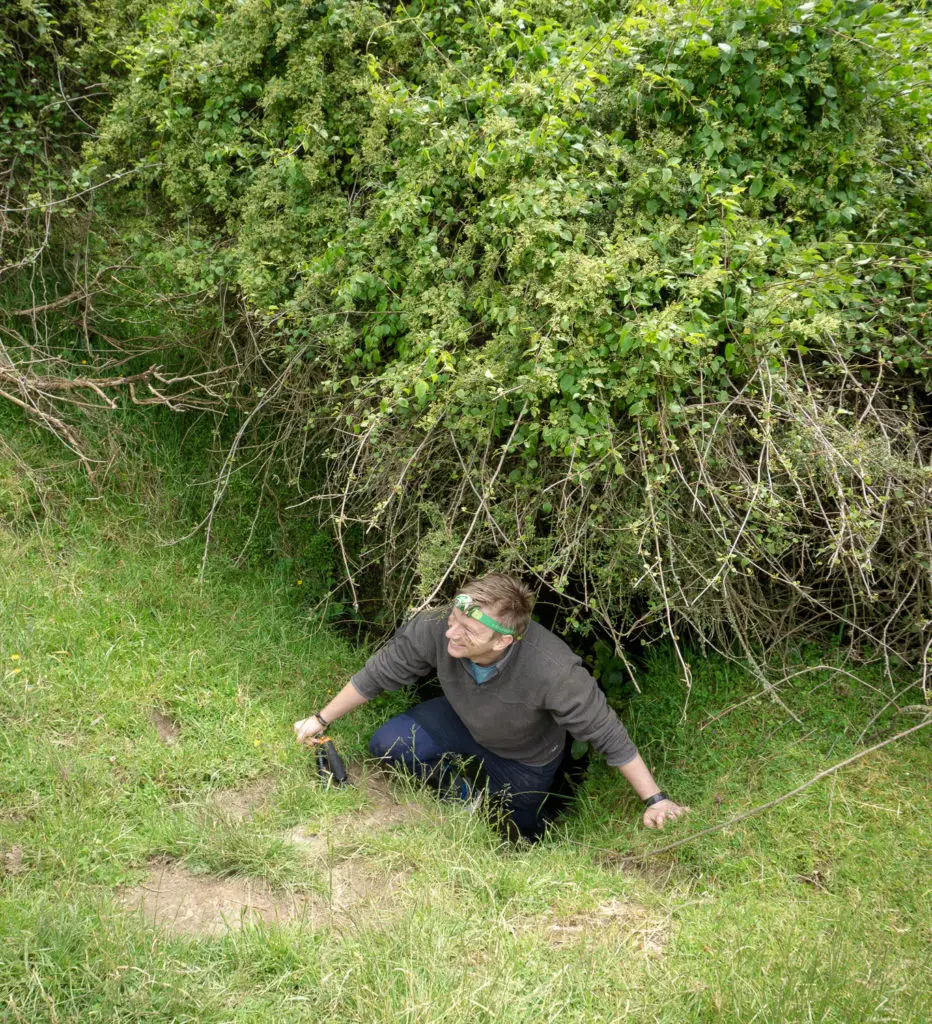
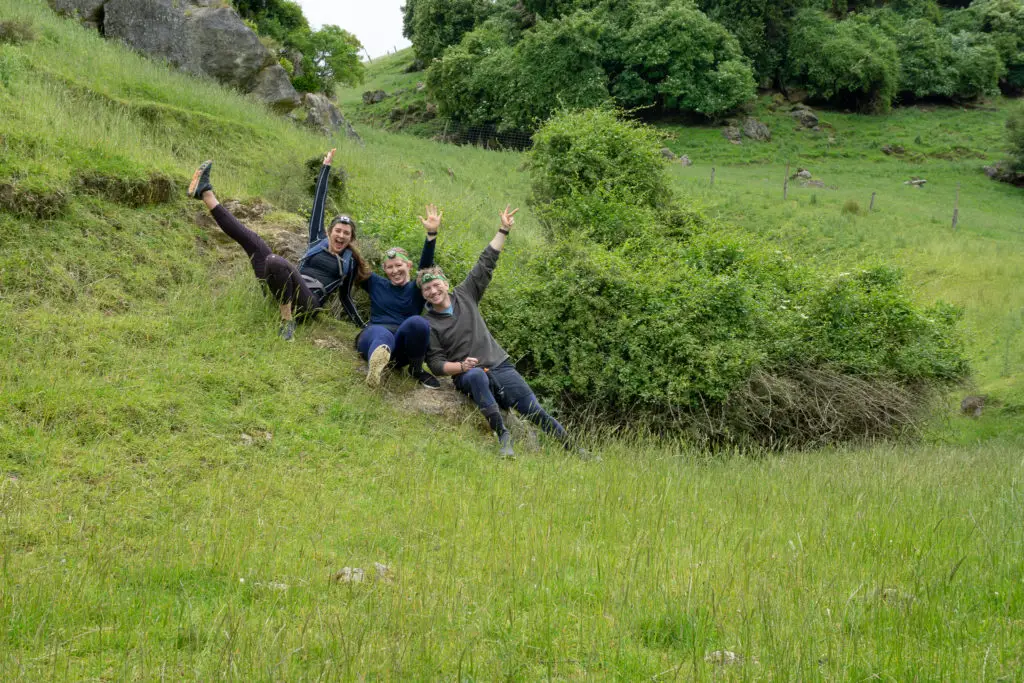
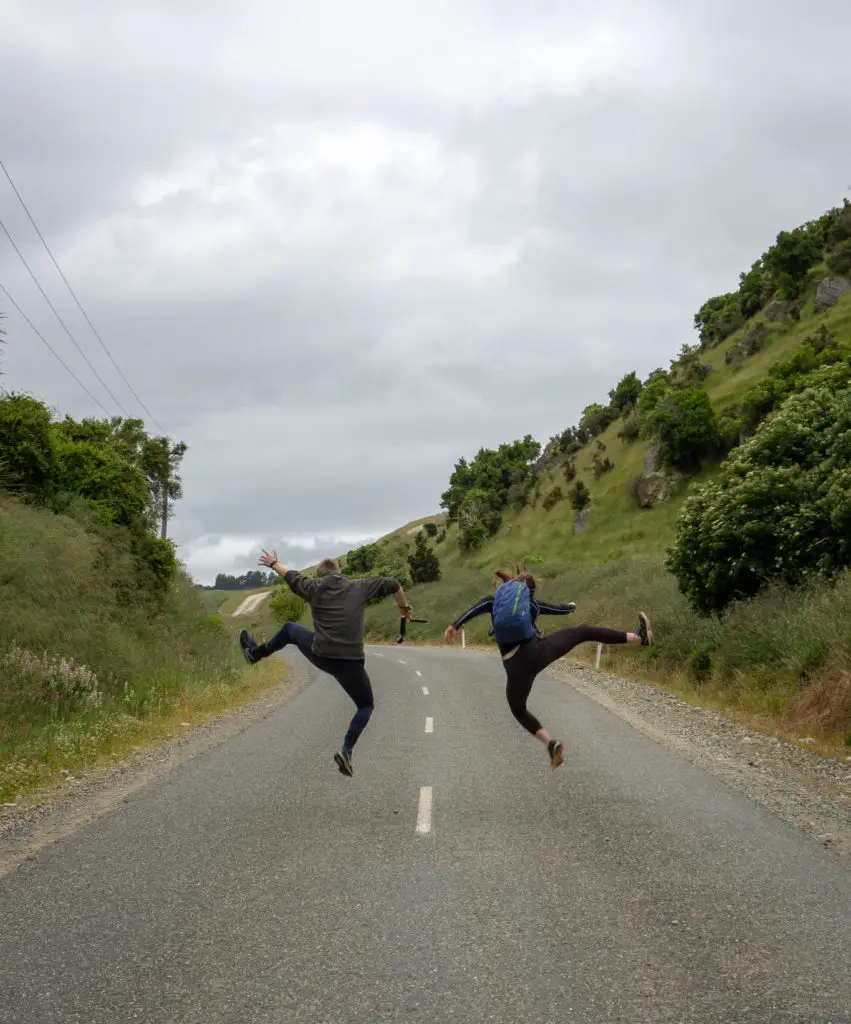
It’s always a bit of a surprise that after at least an hour underground, it only takes about 2 minutes of walking back up the road to reach the carpark. But we were happy cavers, having successfully navigated the Clifden caves with no taniwha or eels being spotted. And no-one falling into the swimming pool! We got changed into our dry, clean clothes that we’d left in the car, then drove on down to Orepuki for a delicious lunch at the cafe there. Fantastic trip all round!
Clifden Caves – Safety
I’ve already talked a lot about precautions you need to take when going down into these caves, one of which is to follow the Outdoor Safety Code:
- Choose the right trip for you (read my article, talk to DOC, look at Topomaps, read other blogs!)
- Understand the weather (do NOT enter the caves before, during or after heavy rainfall is forecast)
- Pack warm clothes and extra food (including a change of dry clothes in the car)
- Share your plans and take ways to get help (have an emergency beacon on your person)
- Take care of yourself and each other (at least two people, no more than six)
If you’re not feeling super confident then you can always get in touch with me here on the blog or on my Instagram. Or take a look at my Tramping 101 series which includes this post about how to stay safe in the outdoors.
Stay safe and get outside!
Where to next?
LET ME KNOW WHAT YOU THINK! LEAVE ME A COMMENT OR MESSAGE ME OVER ON MY INSTAGRAM.
I love hearing from readers and helping them plan their own adventures!
Excellent description and photos. The conditions in the photos look a fair bit more challenging due to the recent rains than what I have experienced. Last summer I took my 5 and 8 year old daughters through, just before half way we met two guys in their mid 20s that had deemed the grotto too difficult. Amusingly as my two little girls popped out the far end the guys drove down the road looking absolutely emasculated
Yes, it was much more interesting with the rain water than the last few times I’d been down. I love your story! Can only imagine the looks on their faces haha
Hi, is it possible to do with a huge 65 l backpack? I love caving and would love to do a sidetrip from te araroa, btu not sure if the tight spaces aren’t a bit too tight…
I wouldn’t recommend it personally although I’m sure if you’re really determined you could make it work. There are a few spots that would be quite tricky, particularly if you’re solo and don’t have anyone to pass the bag to. If I were you I’d stash my bag in the bushes / grass near the cave entrance (being aware that it’s private farmland so don’t stray too far / disturb stock).
Hope you’re able to make the trip though Alex, and best of luck with your TA adventure! I’m based in Invercargill so hit me up if you need anything once you’re out of the Takitimus