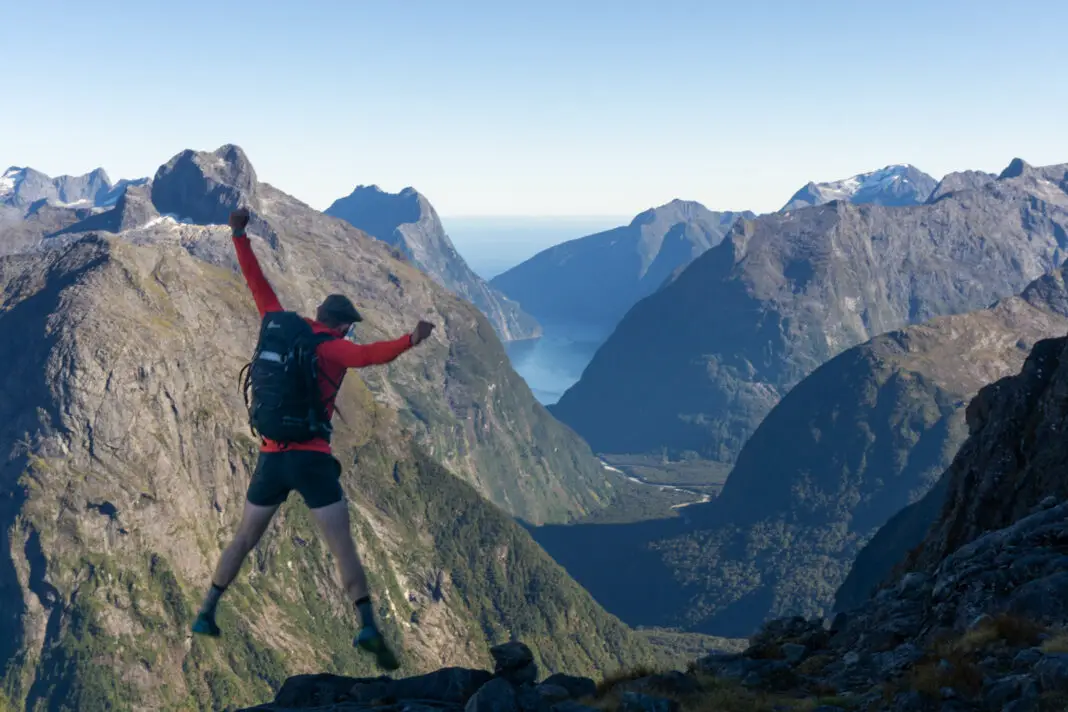
If the views from Gertrude Saddle aren’t enough for you and you want more of a challenge, consider climbing Barrier Knob for even better panoramic views of Milford Sound and Fiordland National Park.
Length: 11km return with around 1100m elevation gain
Time taken: 7-9 hours return (fit climbers will laugh and know they could easily make it in 5 hours return)
Difficulty: Difficult
Facilities: Homer Hut is a NZAC hut at the trailhead. There are public toilets at the Divide (trailhead for the Routeburn Track) not far from the Gertrude Saddle carpark. There are no toilets or shelter along the route.
– Know before you go: Gertrude Saddle is classified by DOC as an “expert route”. There have been numerous deaths on the Gertrude Saddle route. Climbing Barrier Knob involves scrambling above Gertrude Saddle on even trickier terrain with no track or markers. Rock climbing is a more accurate description than hiking. Good weather (no rain), and back-country / off-track experience are necessary. Several avalanche paths cross this track. Snow can be present well into summer on parts of this route. Do not plan this trip for winter or early spring. Make sure you are confident with route-finding, and carry a map. –
You can use this web-cam view of the Gertrude Valley to check current weather conditions (Barrier Knob isn’t visible), but know that it can change suddenly. The camera doesn’t show weather that might be building on the western side of the saddle.
Why climb Barrier Knob?
Dad had always spoken about climbing up Barrier Knob above Gertrude Saddle. He said there were better views than Gertrude Saddle, which already made it sound fantastic. Plus the challenge of climbing the peak made it even more exciting. But at the same time, the idea freaked me out. The peak looked so intimidating (although at least not impossible like most of the others). I wasn’t sure I could do it.
But over the 2021/22 summer, I’d spent most of my weekends tramping, a lot of it off track. I’d built up my confidence and fitness. Dad eventually convinced me to tackle Barrier Knob, and we chose a beautiful day in March – perfect weather to make the climb! I invited a couple of friends to come along, although Matt sat this one out – this trip wouldn’t be fun for anyone with a healthy fear of heights. As I fell asleep to snoring in Homer Hut, I couldn’t tell if the butterflies in my stomach were from nerves or excitement. Most likely a mixture of both. It was on!
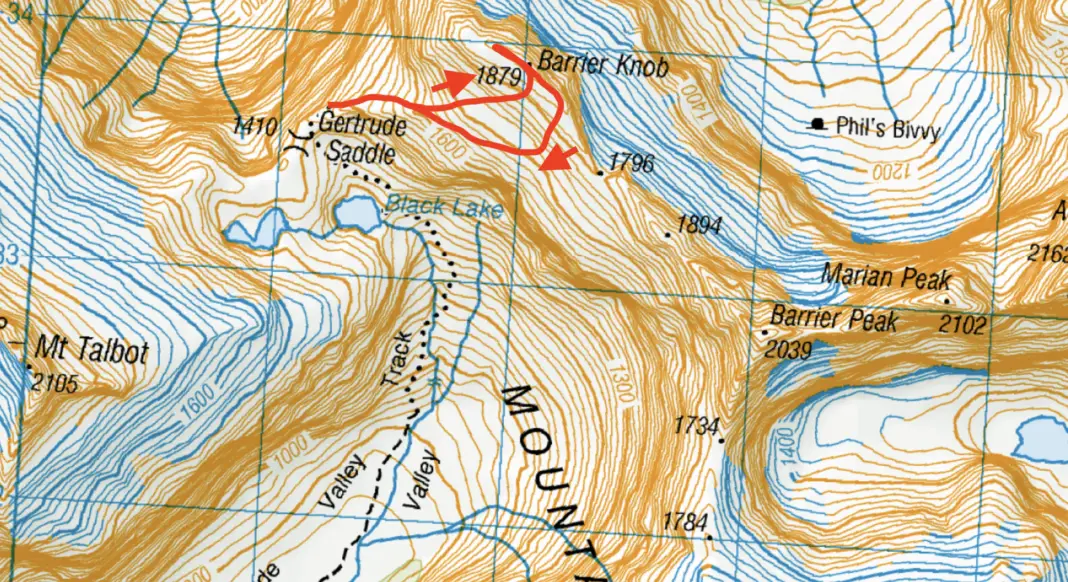
Map of Barrier Knob route
How to get to the Gertrude Valley and Barrier Knob
The trailhead for Barrier Knob is also the carpark for Gertrude Saddle. It’s accessed from the Te Anau – Milford Road (State Highway 94). It’s a 75 minute windy drive from Te Anau, or a 20 minute equally windy drive from Milford Sound. If you’re driving from Te Anau, the signpost for the carpark is just before the Homer Tunnel, on the right-hand side of the road. The road down to the carpark is gravel and can be full of pot-holes, so go slowly if you’re driving a low car.
IF YOU’RE NOT READY TO TACKLE BARRIER KNOB JUST YET THEN CHECK OUT:
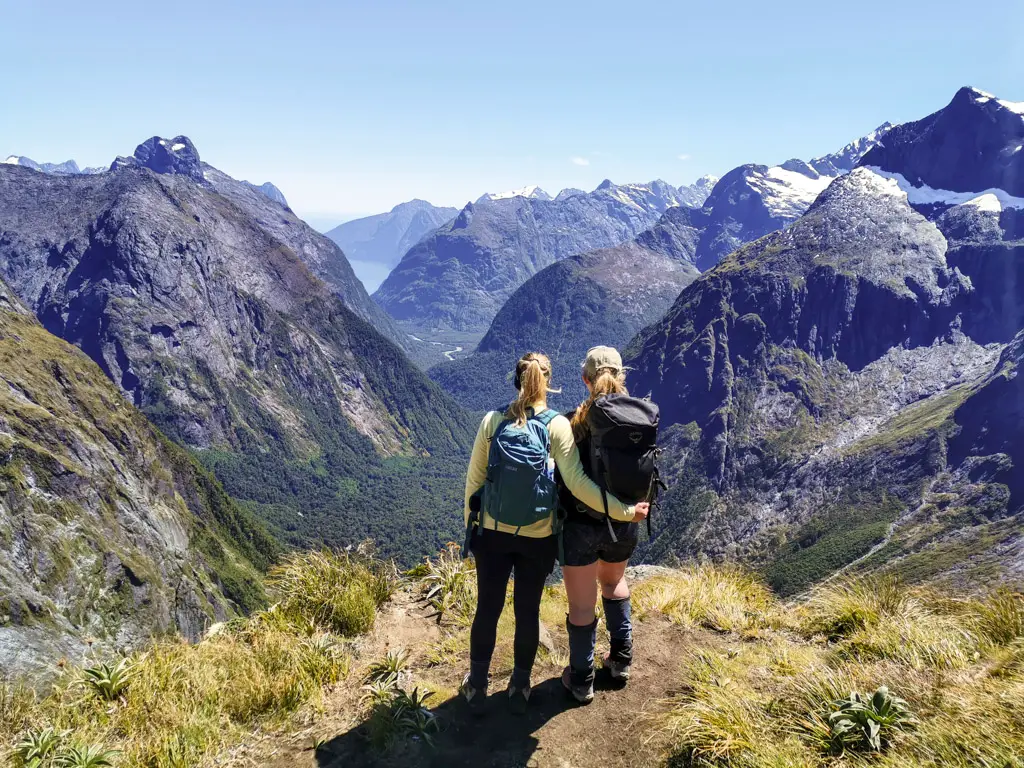
Here’s my complete guide to hiking Gertrude Saddle – a great alternative for Barrier Knob for less experienced / insane people.
OR CHECK OUT THIS AMAZING NEARBY ADVENTURE:
Climbing Barrier Knob
The first part of climbing Barrier Knob is to climb up to Gertrude Saddle – an amazing day walk in its own right. I won’t go into too much detail about Gertrude Saddle, as I’ve already written a complete guide to hiking Gertrude Saddle here. The Mountain Safety Council have a great video on the Gertrude Saddle Route you can watch here:
Up to Gertrude Saddle
Dad and I didn’t exactly match the alpine start of many of our bunk mates in Homer Hut (i.e. we woke up at 6am, not 3am). But we were on the track while it was still dark, wanting to make the most of the daylight hours. Matt joined us for the first part of the walk, while our friends Ashley and Hamish slept in, knowing they’d easily catch up with Dad and I later on.
Unfortunately my head torch completely died within metres of starting the track, (I’m still not sure why, as I’d charged it at home the week before and it was reading as fully charged). So I had to make do with a much less powerful back-up hand-torch to light the rocky path. I sandwiched myself between Dad and Matt, their head torches illuminating the way up the valley.
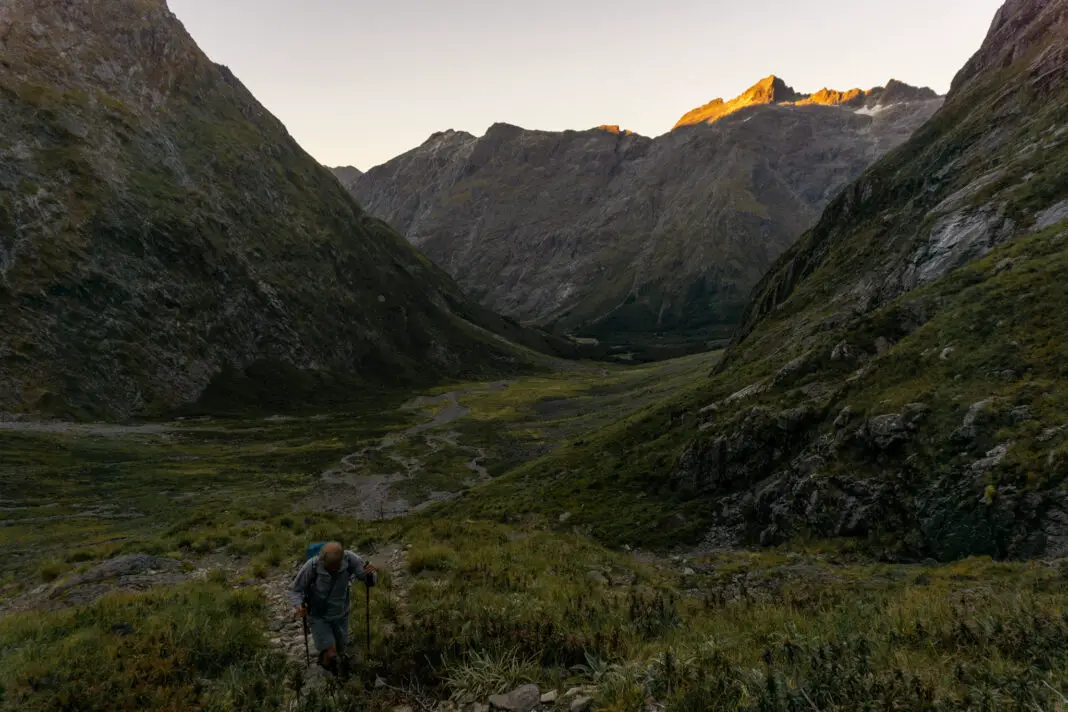
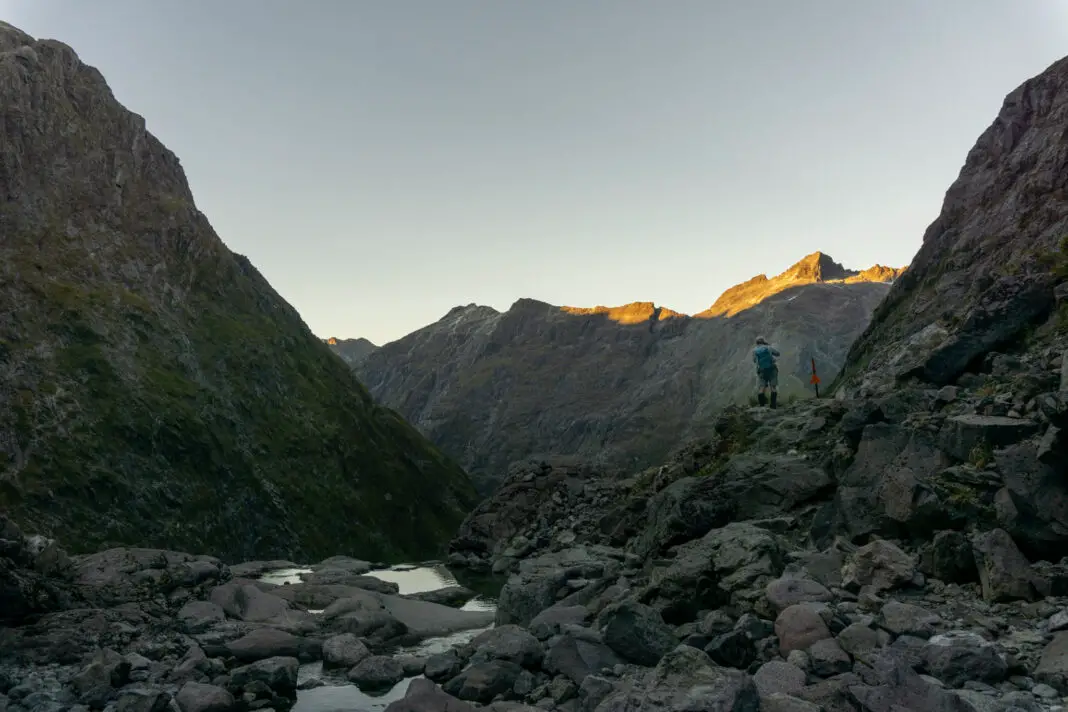
It was pretty special walking in hushed pre-dawn silence under a starry sky, the moon illuminating the snowy peaks high above us. Matt turned back once it was daylight and the track started to climb up the valley wall, while Ashley and Hamish caught up with Dad and I once we’d arrived at Black Lake.
We reached Gertrude Saddle after about two hours, meeting a few members of OUTC wearing crazy outfits (such as a massive novelty Irish felt tophat) coming down from their camp on the saddle. I looked up to the right at where we were headed, and gulped (Ashley swore). Barrier Knob looked like a mess of cliffs and boulders. I could do this, right?
Gertrude Saddle – Barrier Knob
If you’ve visited Gertrude Saddle before, chances are you’ve already walked slightly above the saddle on the north-eastern side. There is a track through the tussocks worn by many feet seeking better photo opportunities. As you climb above the saddle, the views of Milford Sound open up.
We followed the muddy track, skirting the edge of the 700m sheer drop on the left-hand side down to the Gulliver Valley far below us. At first the going was relatively easy, although still uphill – just following the worn track. But soon the tussocks petered out, and we were walking up rock slabs. We kept climbing up the obvious ridge, gaining views of Black Lake far below on our right.
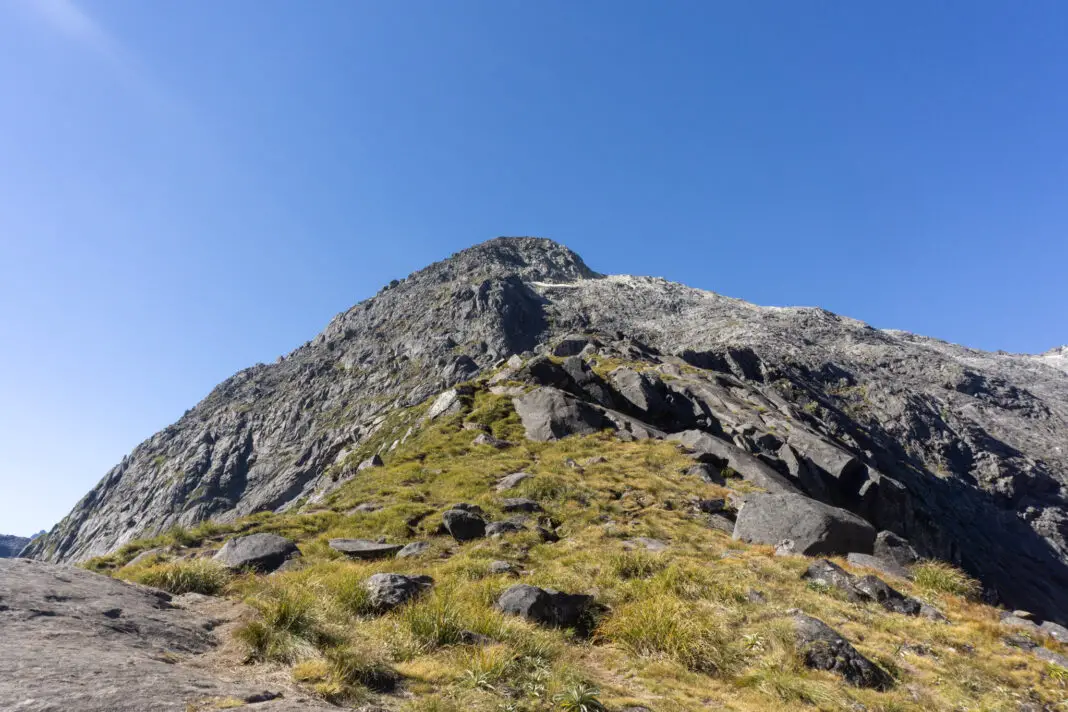
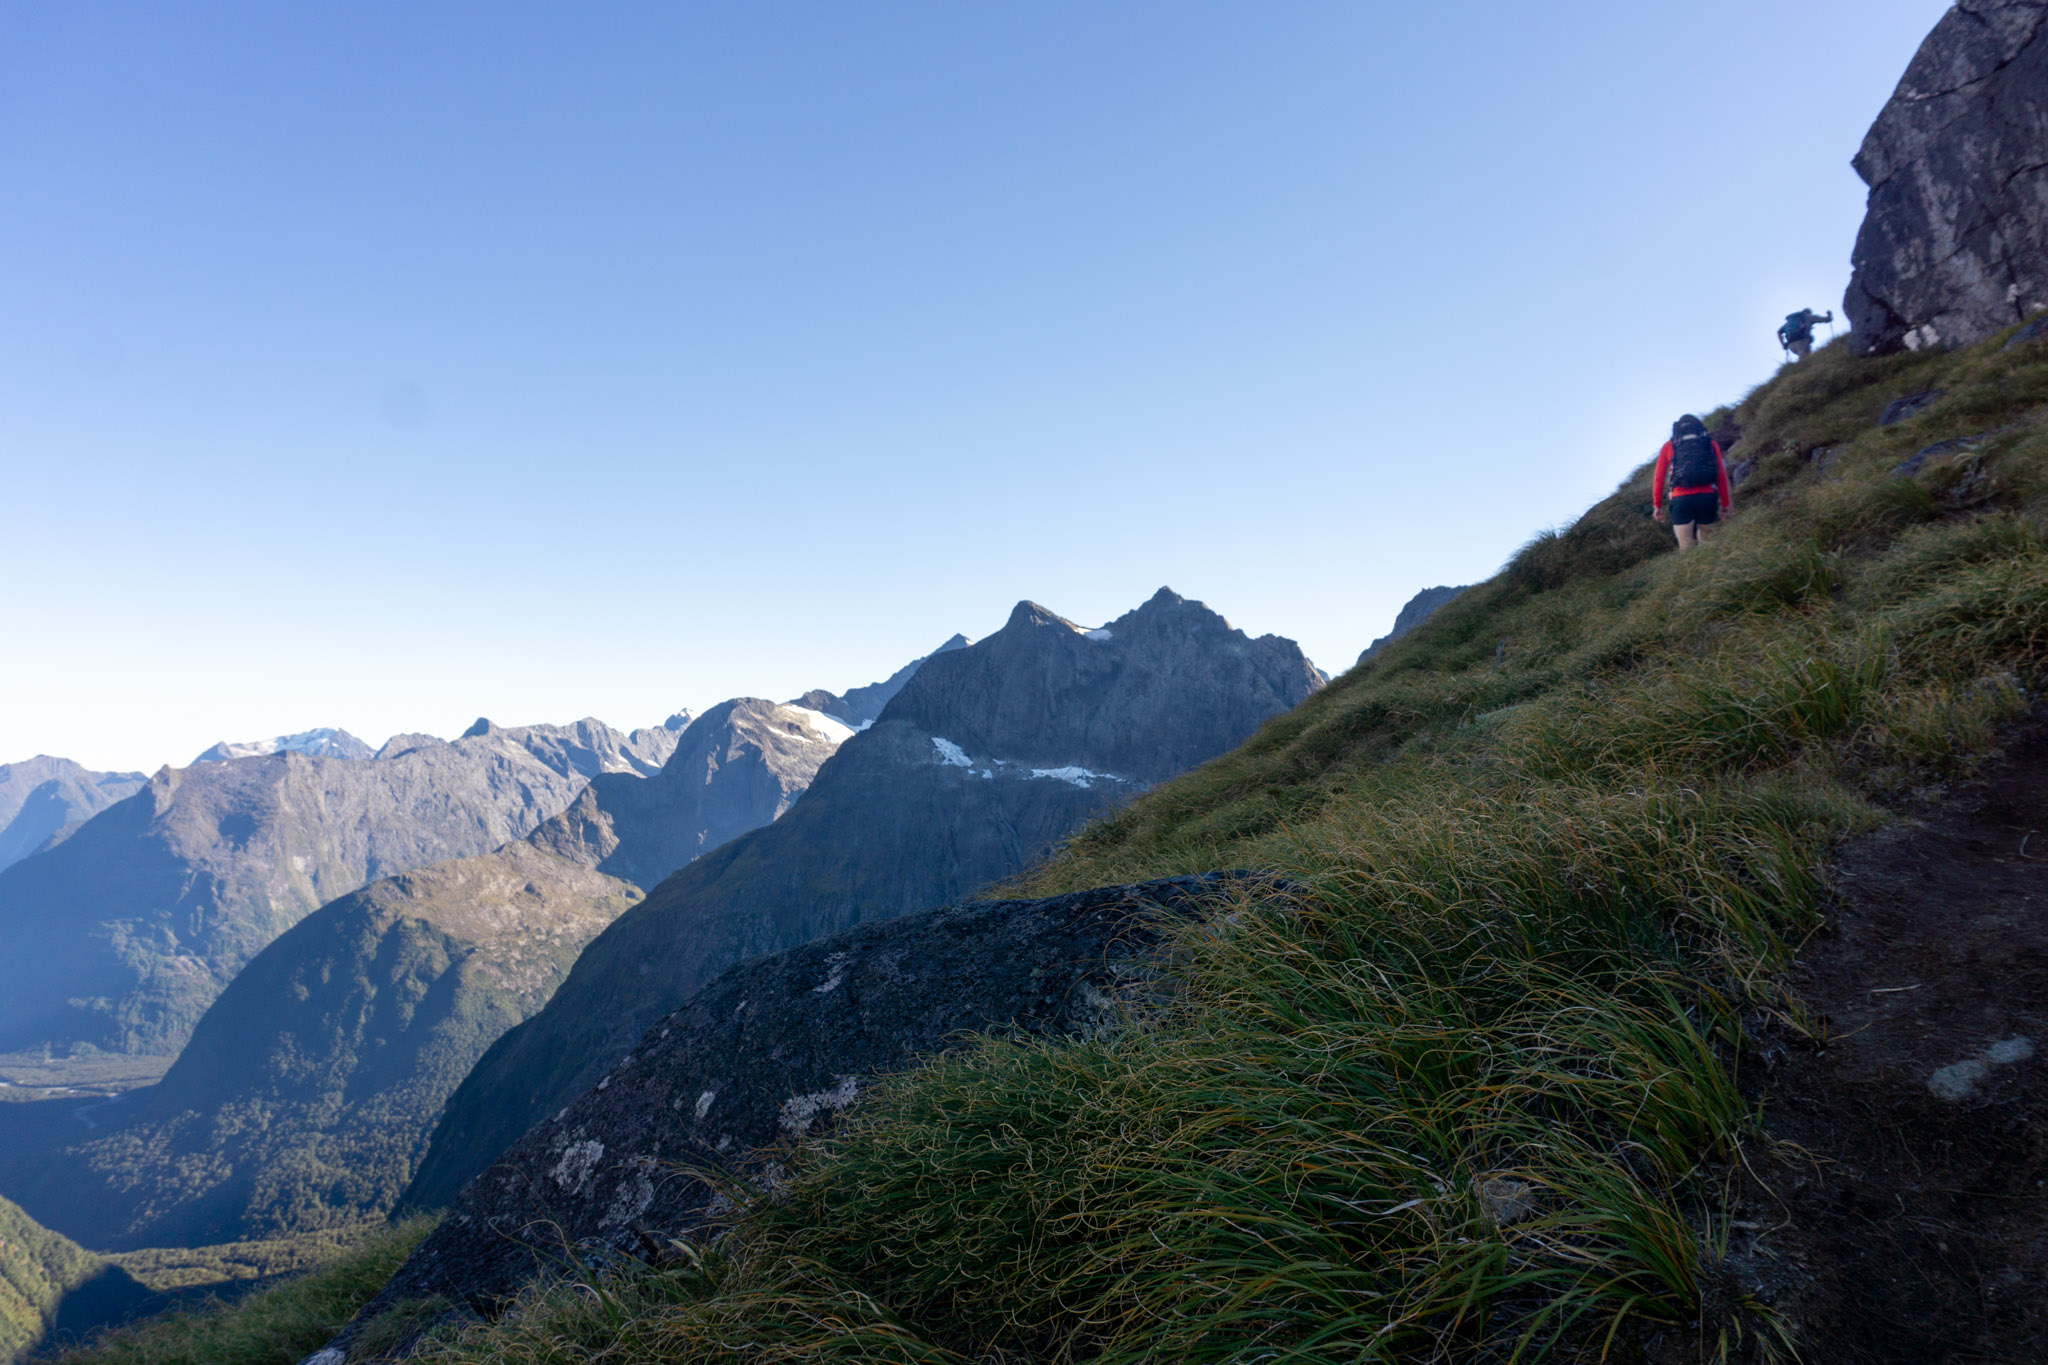
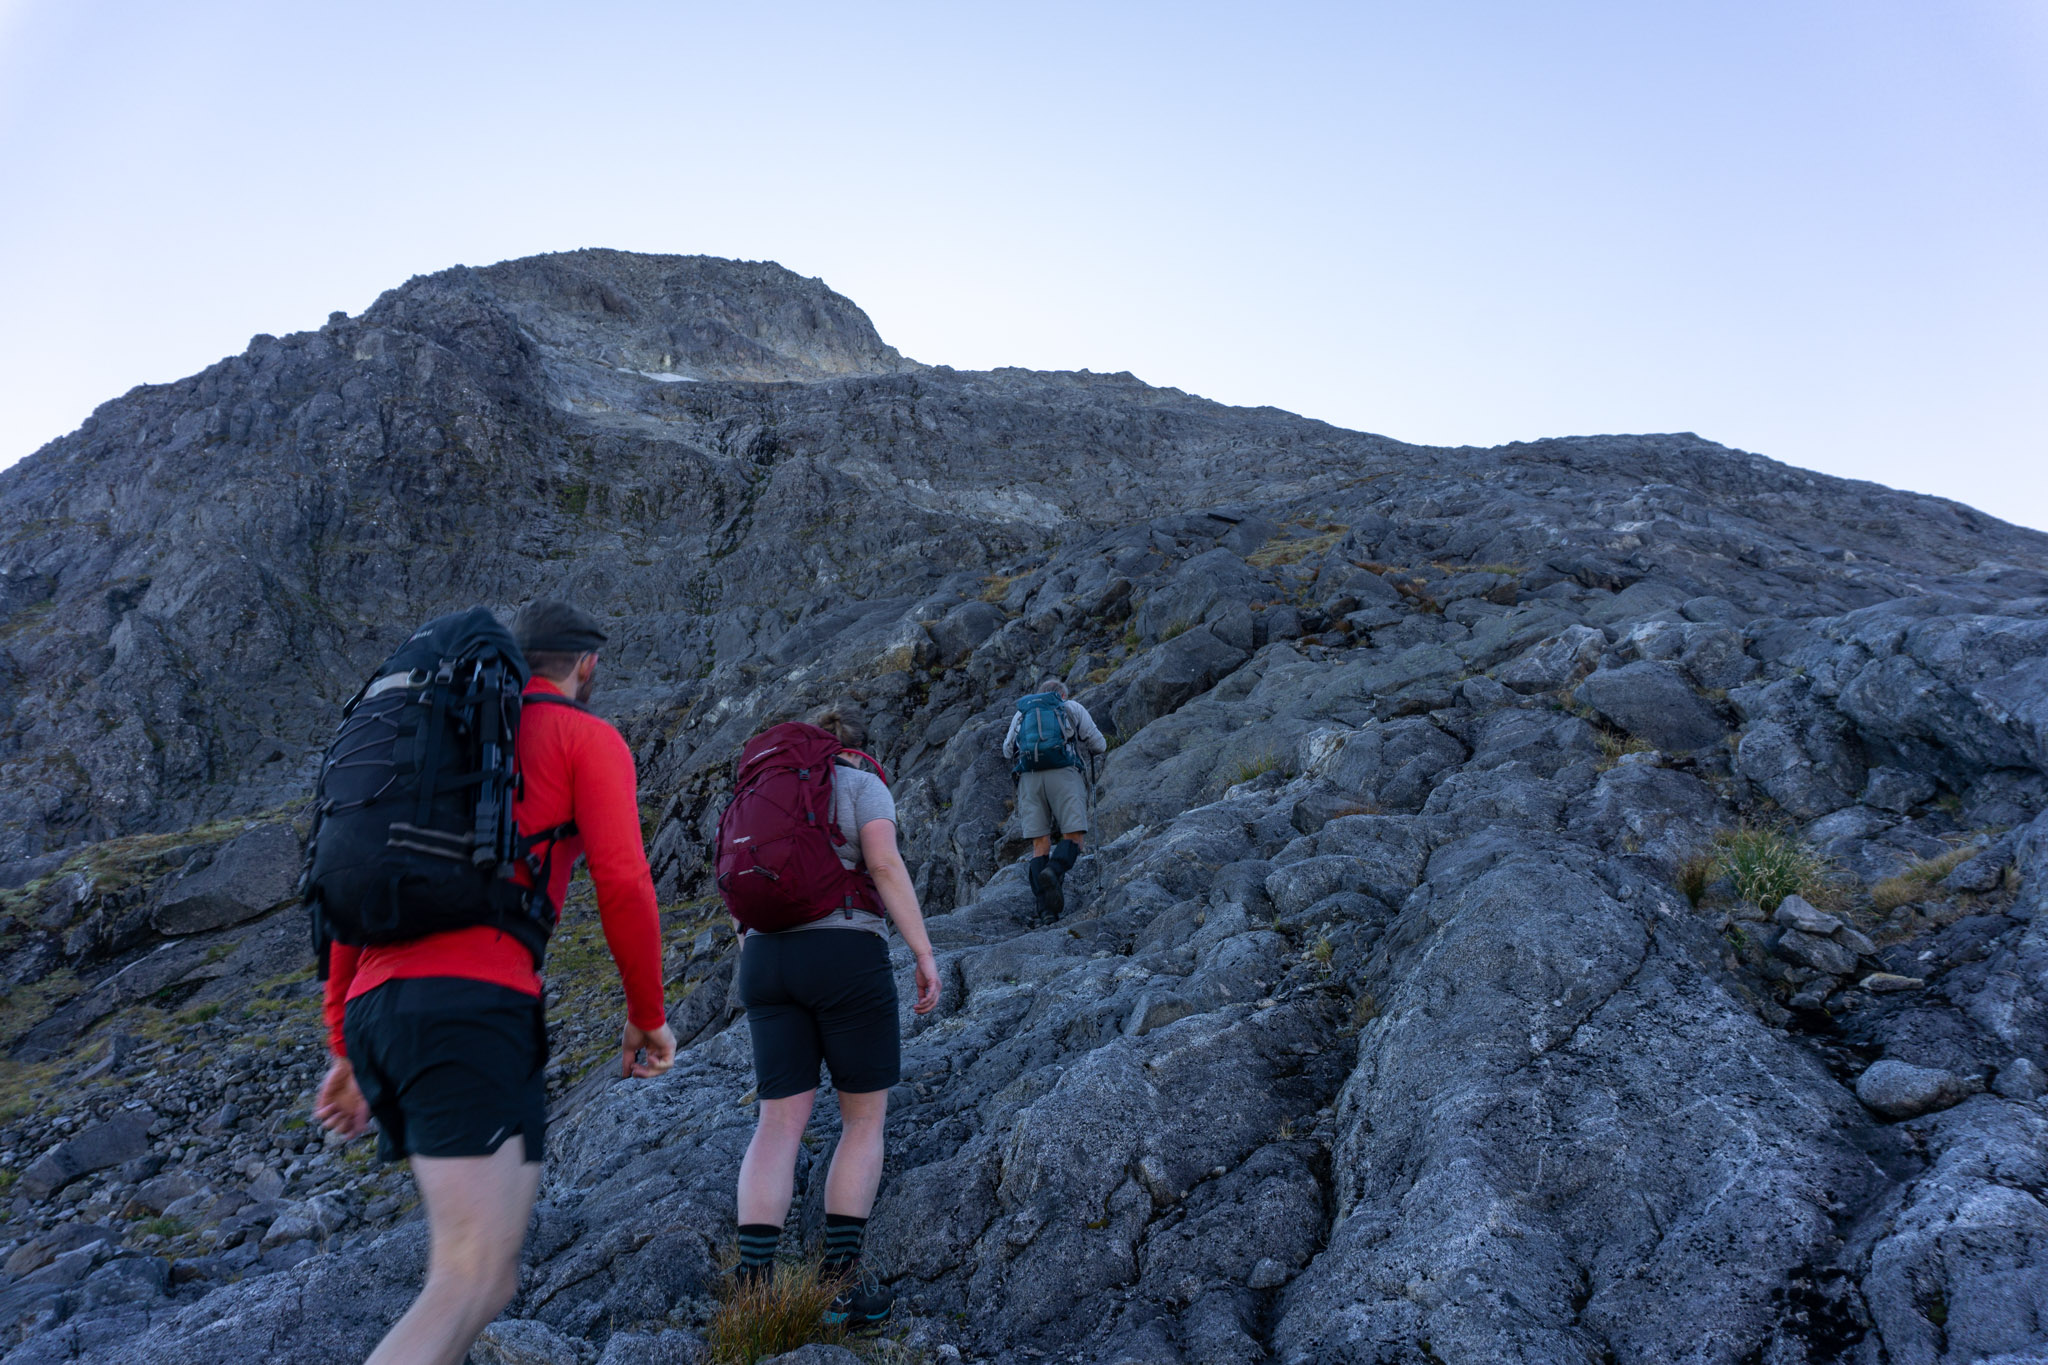
Eventually it was decision time. Did we want to keep following the ridge to the right on what looked like a longer route? Or did we just want to head straight up? We followed our nose and chose a middle ground; climbing up to the right-hand side of Barrier Knob, avoiding some of the steeper bluffs and loose scree directly below it.
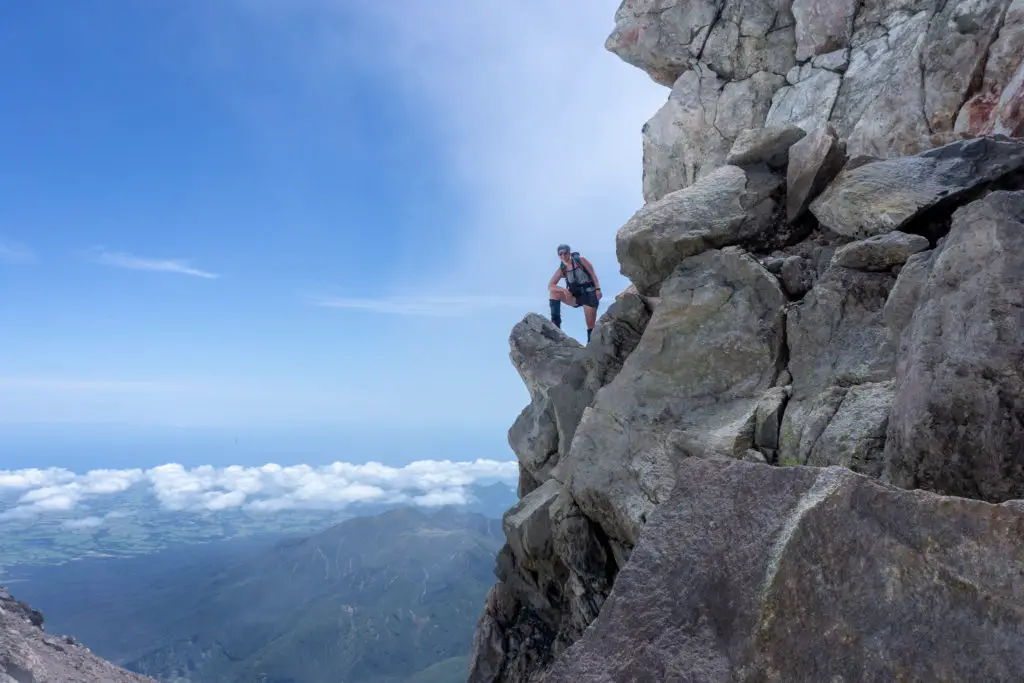
There were still some quite steep sections where I was using all four limbs to climb up the rocks, nothing too crazy but you definitely wouldn’t want to lose your balance and fall. It was definitely a mixture of hiking and rock climbing. But there were plenty of little flat parts to stand, catch your break and admire the views – which just kept getting better.
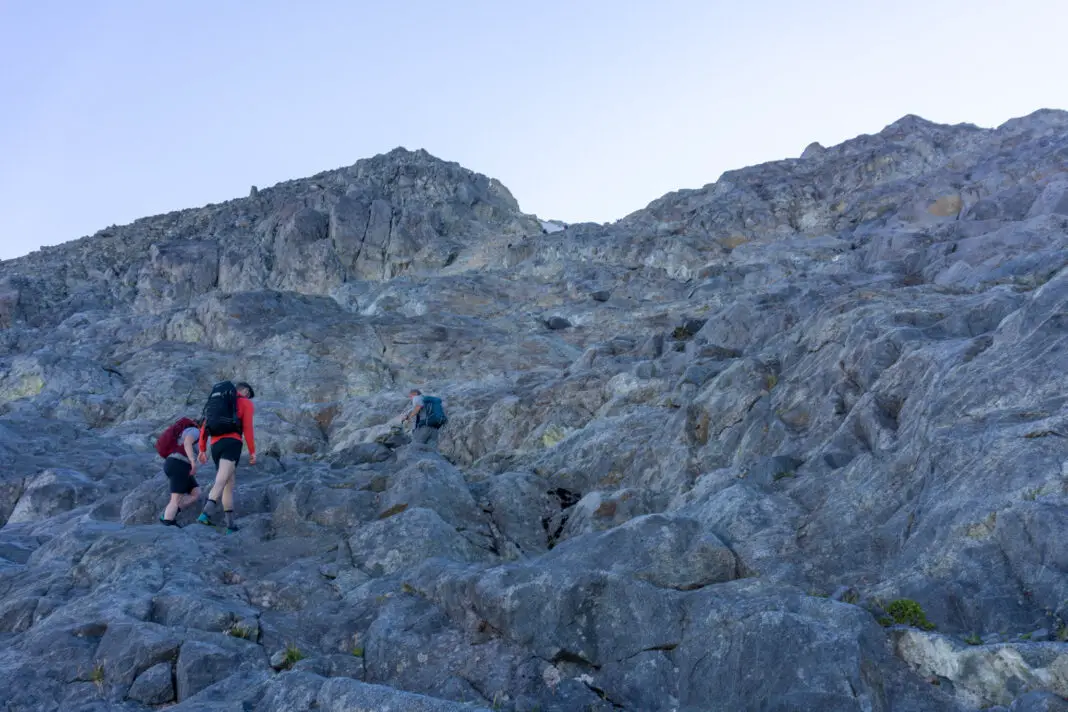
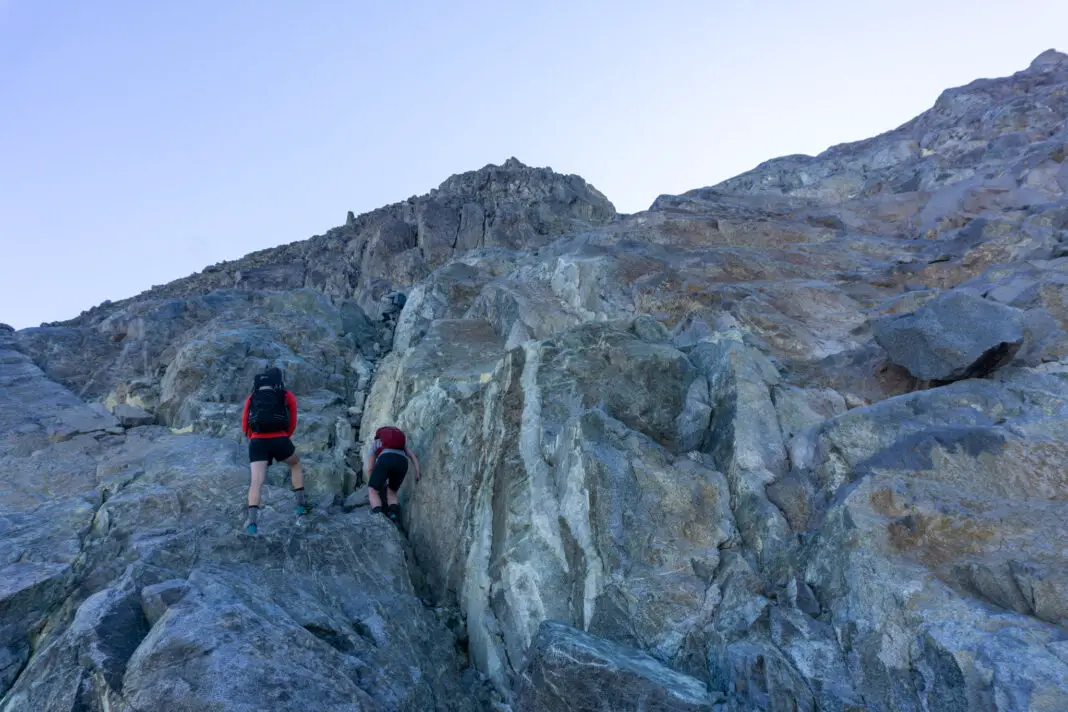
On the way back down we chose a different route for our descent (drawn on the topomap at the start of this article). Although this second route, skirting towards the east, was less direct, it was much easier and less steep. I’d recommend climbing up this way instead of the way we took.
Barrier Knob summit
As we got closer to the top, we came across the corridor of snow that we’d seen through binoculars when we scoped out the route the night before. As a precaution we’d brought microspikes (earlier in the season you’d need crampons and ice axes), but this late in the season the snow was easy to cross with just our tramping boots.
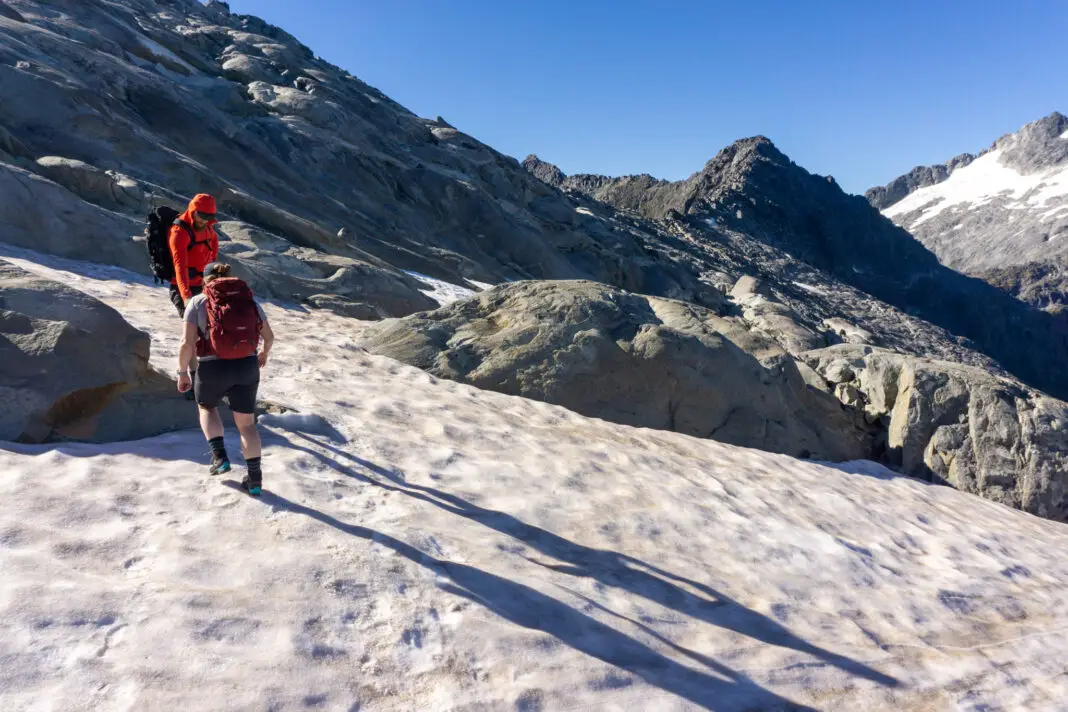
Once across the snow, we had a last steep push to the summit ridge. It was the steepest climbing so far, I was huffing and puffing as I finally scrambled onto the ridge.
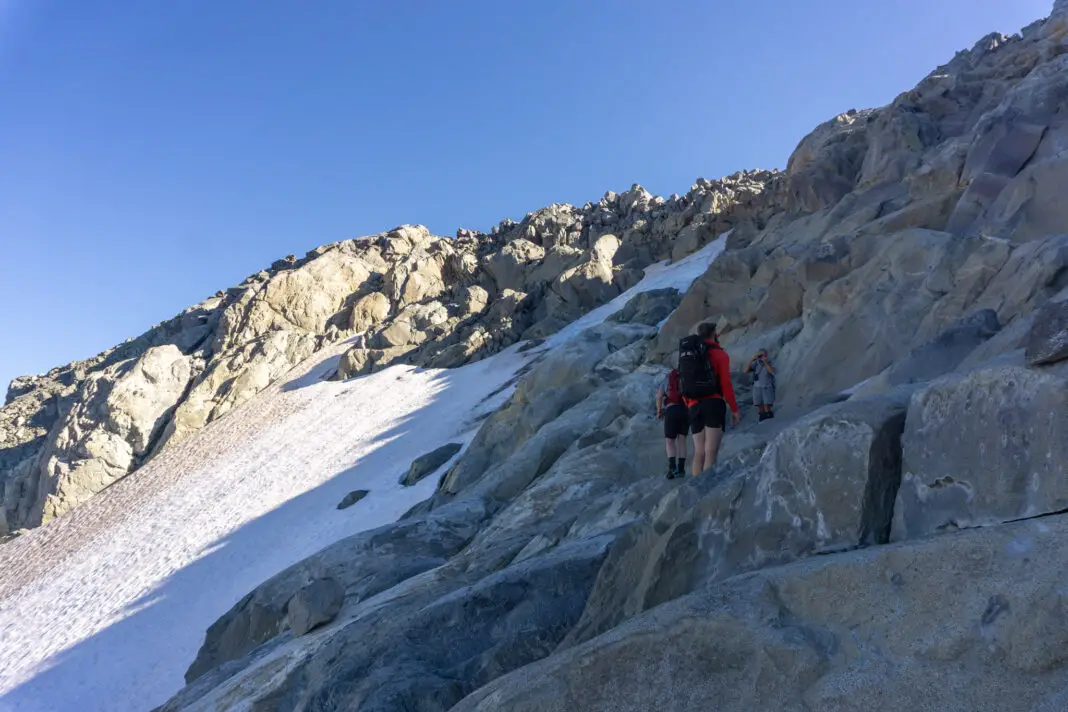
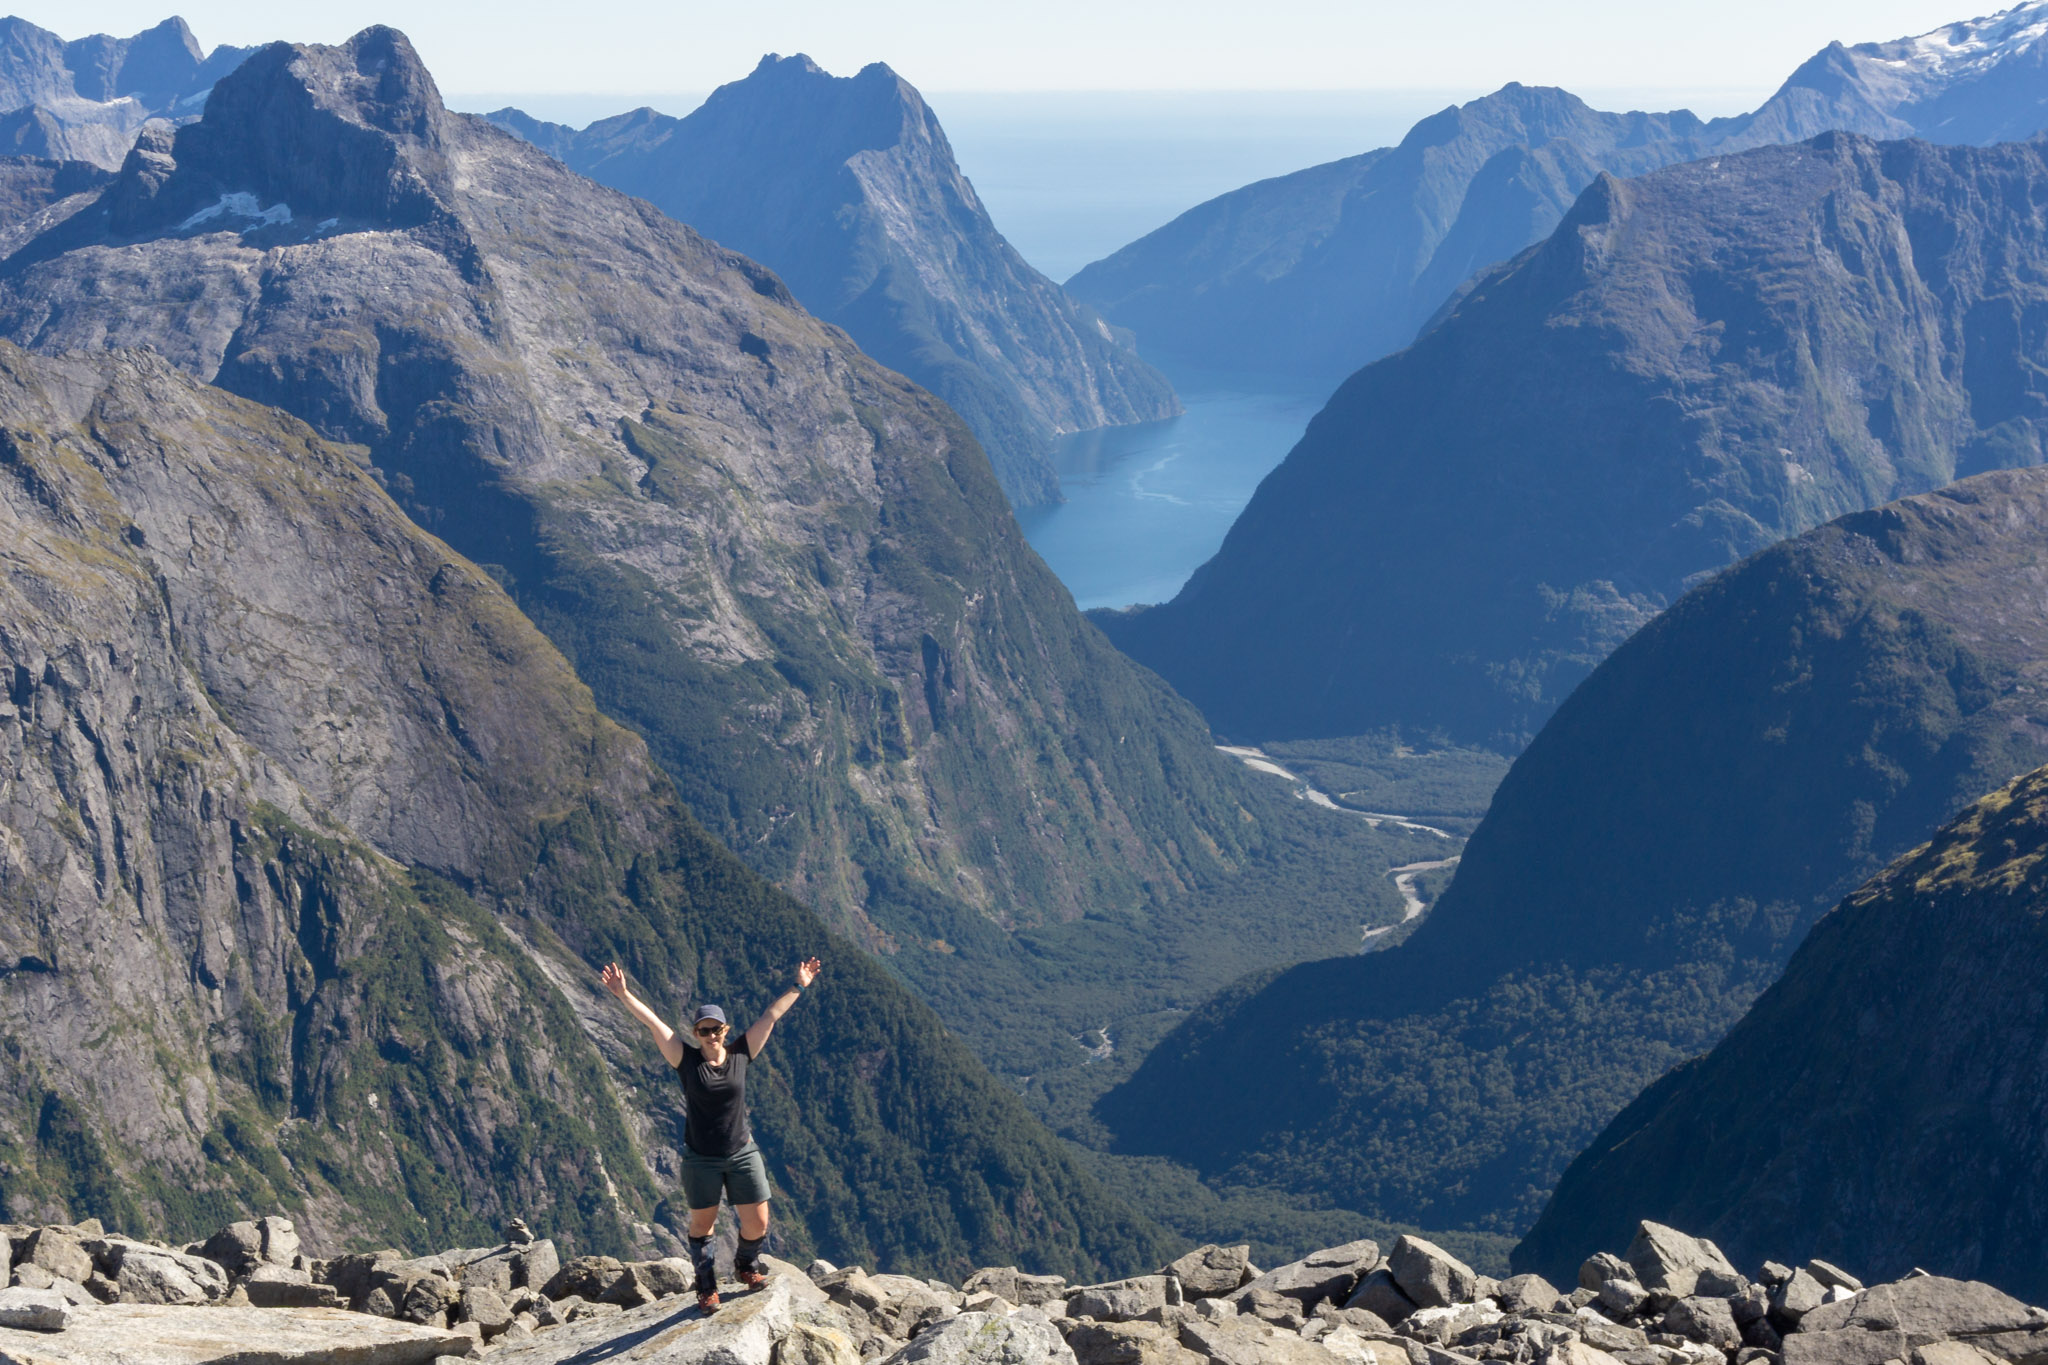
A beautiful vista greeted me from the ridge – a large lake; (Lake Adelaide) sat sparkling in the midday sun far below us on the other side of the ridge. There was a sheer drop down to the lake, and to my left was the ‘summit’ of Barrier Knob (the ridge was pretty flat, so it didn’t really feel like a proper summit, even with the cairn of rocks to mark it).
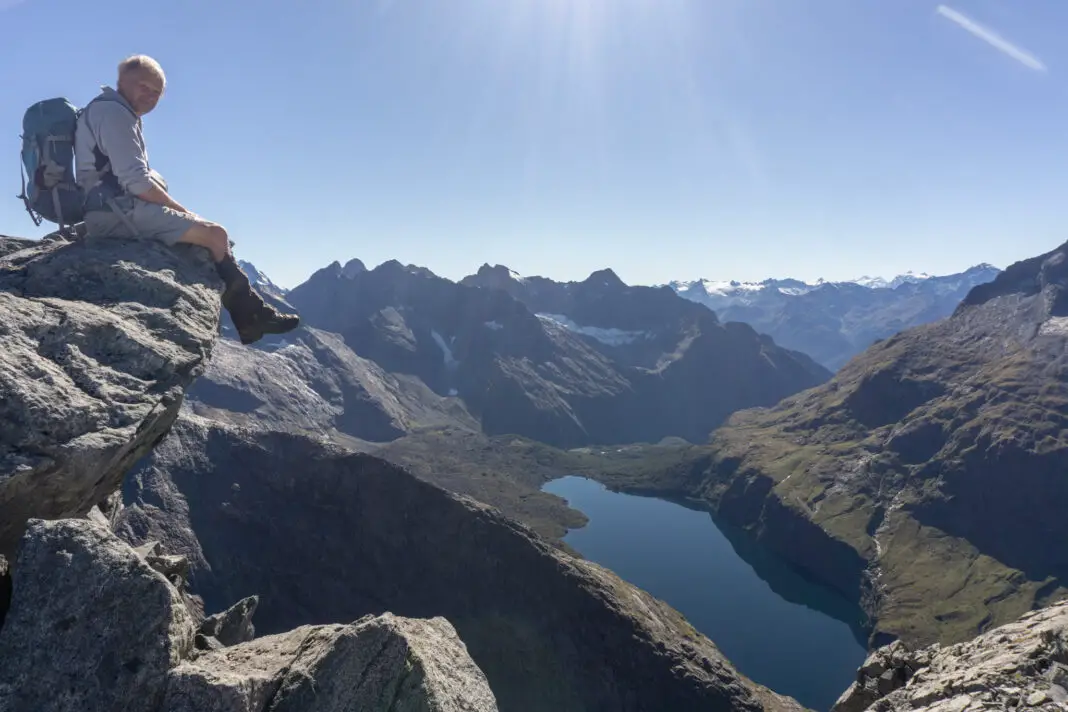
The ridge wasn’t stable ground or rock slabs – just a collection of precariously stacked boulders that we had to negotiate. It wasn’t Ashley’s favourite thing in the world, and I too felt more comfortable once we were on the ‘summit’ with seemingly more stable rocks.
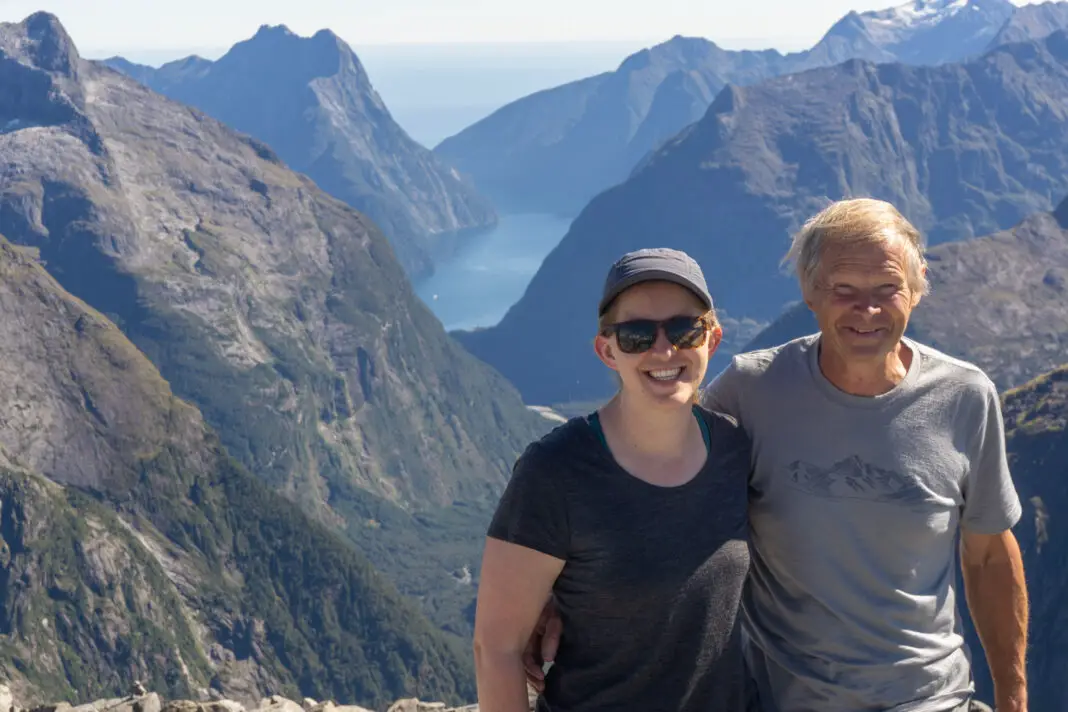
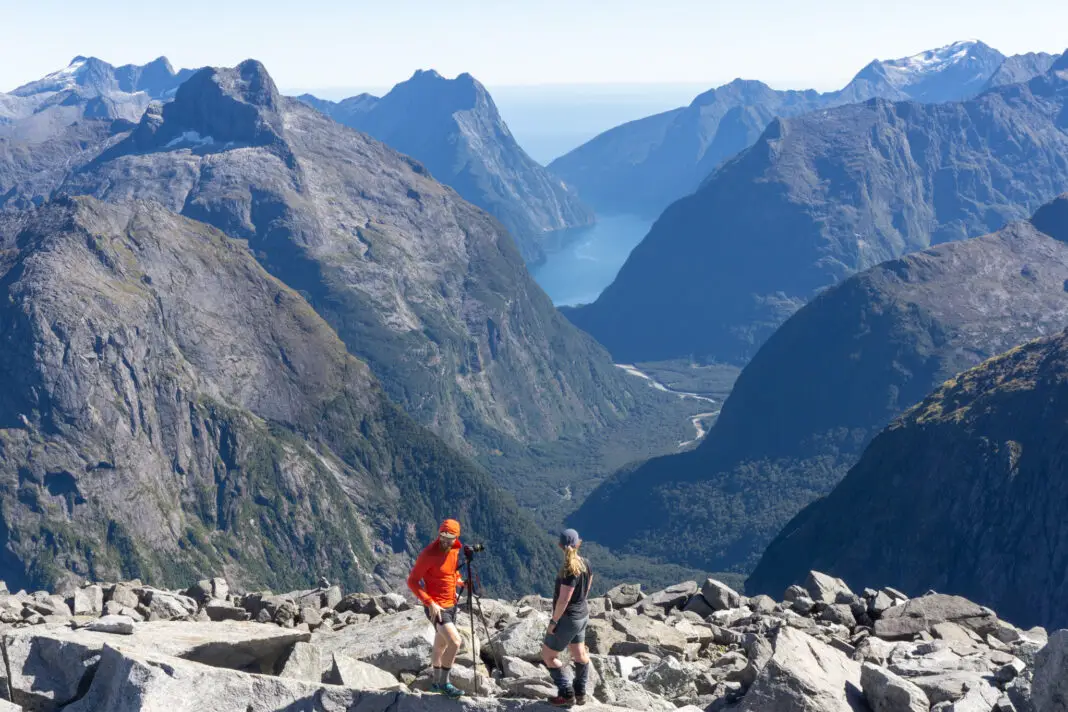
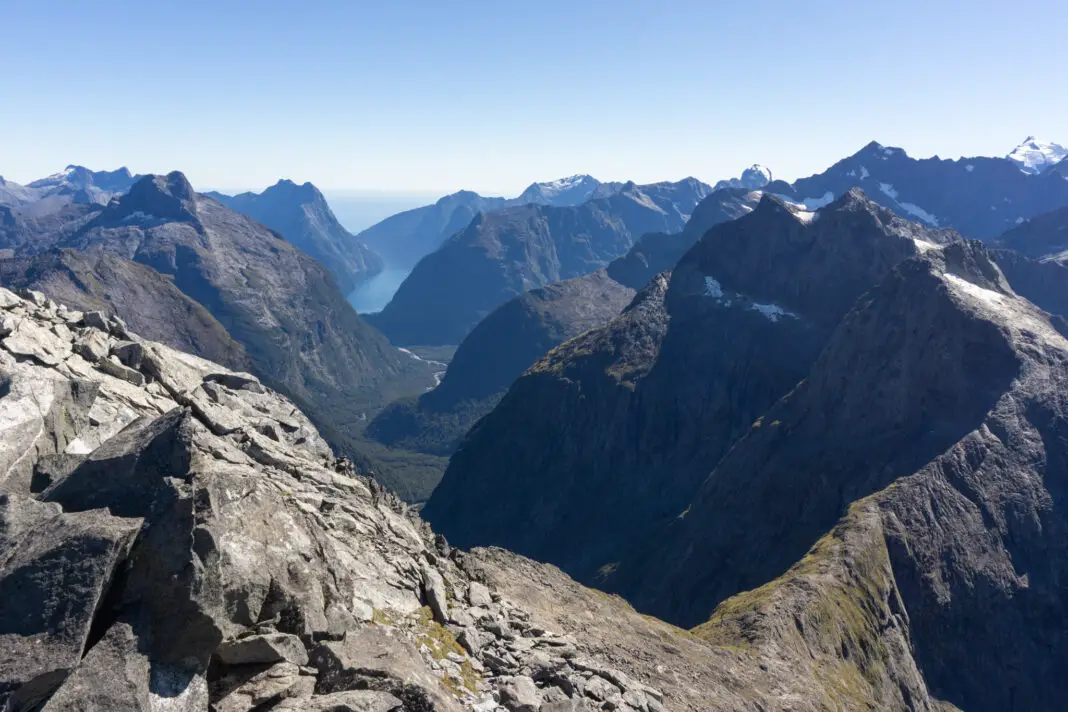
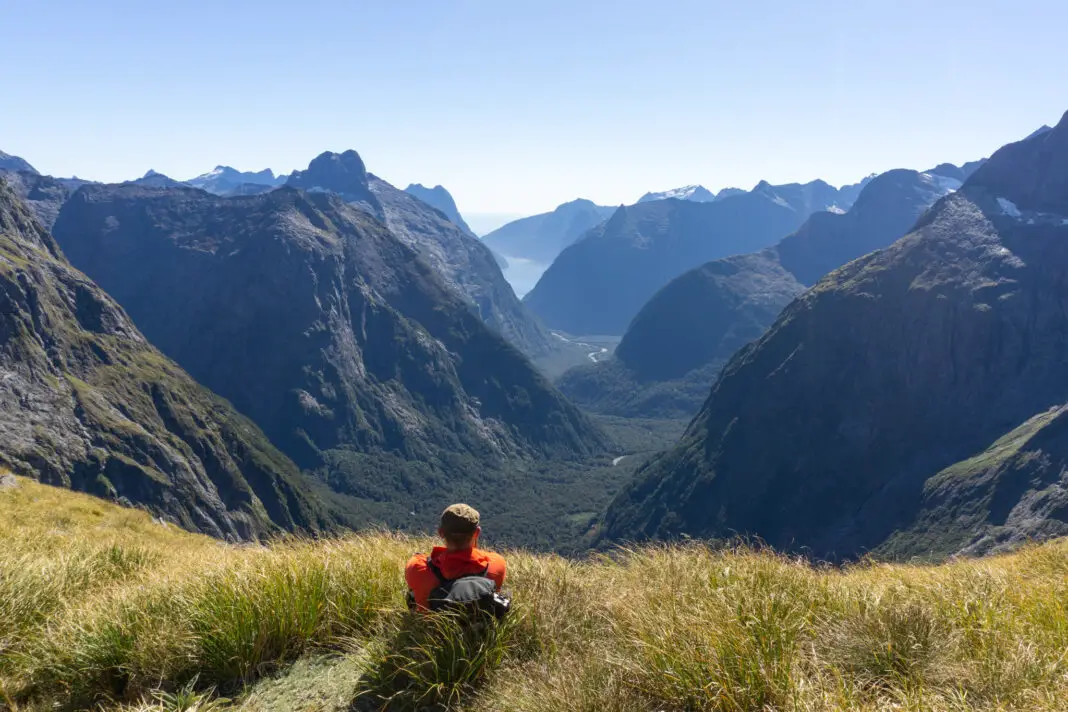
We hung around taking lots of photos and soaking in the amazing 360° views of Milford Sound and surrounding mountains. I was stoked to have reached the top. And to have found it much easier than I was expecting (read: a fun challenge instead of ‘I’m-shitting-my-pants challenge’). It was a perfect day, not a breath of wind at almost 1900 metres elevation. Crazy!
Descent from Barrier Knob
But reaching the top is only halfway. There was still the descent to go.
We re-traced out steps back along the ridge behind the summit, this time going further along the ridge to find slightly less steep rock slabs to climb down. We crossed the snow at the same place as on our way up, but then swung more to the left / east to descend easier terrain.
Occasional rock cairns marked the route, although they were quite hard to spot amongst all the other rocks. This made it seem like the most preferred route. It was the way Dad remembered going on his previous climbs.
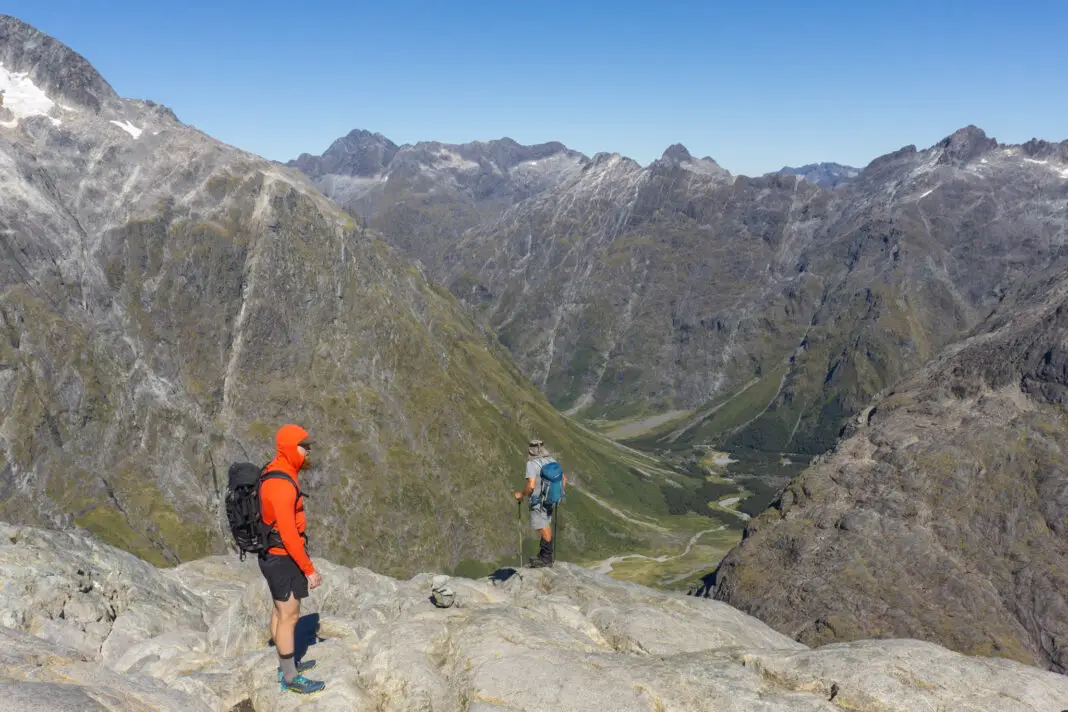
Before too long we were back onto the solid rock slabs, and then the tussocks. There were a lot more people milling around on Gertrude Saddle in the mid-afternoon, taking in the views. We took some more photos, and then continued down past Black Lake, down the waterfall section and into Gertrude Valley as the sun started to sink behind the mountains.
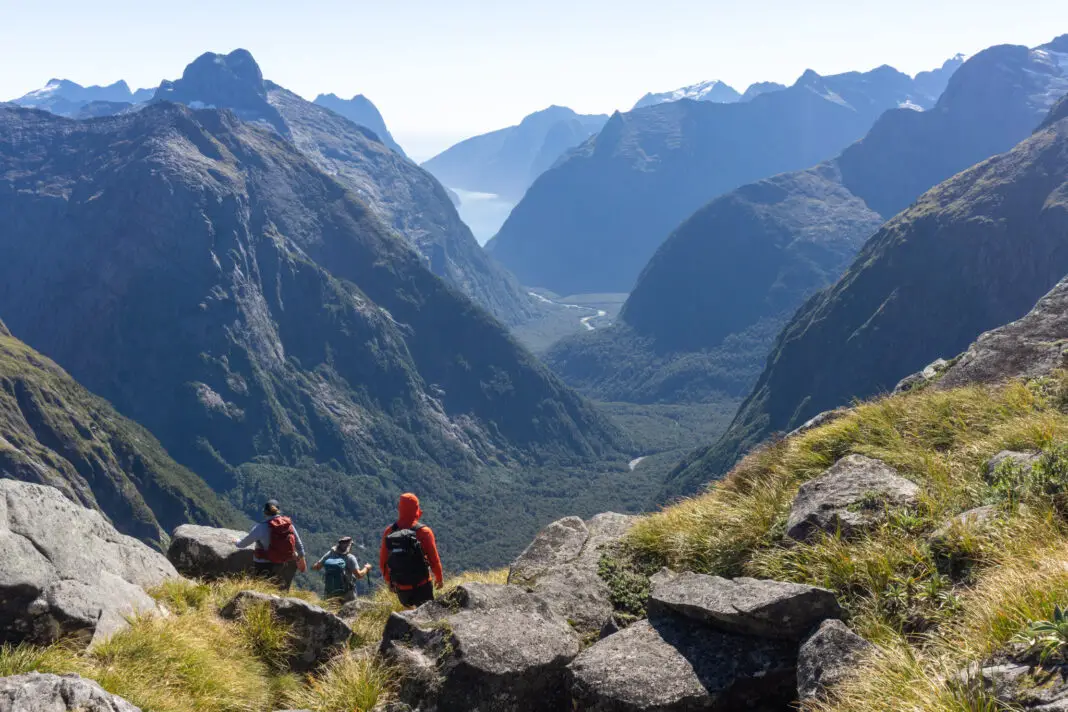
It had been a fantastic day out in the mountains with beautiful weather and lovely company. Looking back at Barrier Knob from Homer Hut carpark, I was in awe of what my body and mind had accomplished. Much like when I climbed Taranaki Maunga; it felt unreal that my body had been transported itself all the way up there and back down again under its own steam.
Barrier Knob was an amazing trip. I’m so glad I got to share it with my dad. Maybe one day I’ll be back. Or perhaps I’ll tramp in to some of the new places we saw from the summit, like Lake Adelaide. Either way, the adventures will continue!
Safety
As always, please stay safe when you’re out exploring. Follow the Outdoor Safety Code:
- Choose the right trip for you (read my article, talk to DOC, look at Topomaps, read other blogs!)
- Understand the weather (this would be an extremely dangerous hike in adverse conditions)
- Pack warm clothes and extra food (including windproof and warm layers, regardless of how nice the day is when you set out. You check out my post on what to taking tramping here)
- Share your plans and take ways to get help (have an emergency beacon on your person)
- Take care of yourself and each other
If you’re not feeling super confident then you can always get in touch with me here on the blog or on my Instagram. Or take a look at my Tramping 101 series which includes this post about how to stay safe in the outdoors.
Stay safe and get outside!
Where to next?
LET ME KNOW WHAT YOU THINK! LEAVE ME A COMMENT OR MESSAGE ME OVER ON MY INSTAGRAM.
I love hearing from readers and helping them plan their own adventures!
Hi Alice, is there any chance you could please share the GPX file to assist in finding the slightly easier route that you descended? Thanks!
I would if I could! I haven’t figured out how I can export GPx files from my Garmin sadly, if you’ve got a work around let me know!